|
|
Post by Matt of the Vivas on Feb 18, 2017 19:02:26 GMT
A day of glassing, filing, and glassing again:  Much better. No filler, no cracks, and even from underneath it all looks good. Very happy. A skim of filler and it should be invisible. Ive also made a new pair of mudflap brackets from the fast-shinking sheet of Dural... |
|
|
|
Post by Matt of the Vivas on Feb 18, 2017 19:02:58 GMT
 Skimmed....  ....and Primed. Happy with that.  So i cleared out the boot, removed a load of junk and painted it gloss black in there.  Also gained a good pair of taillights. |
|
|
|
Post by Matt of the Vivas on Feb 18, 2017 19:03:39 GMT
|
|
|
|
Post by Matt of the Vivas on Feb 18, 2017 19:06:05 GMT
Fed up with bodywork, so thought id have a look at the engine. The original engine was seized solid - i was told that when i bought the car, so no disappointment. I removed the head to have a look, and found this:  Yeah thats seized...... Various people said to try diesel, coke, vinegar etc. It didnt work. Removing it from the car and removing the crank, then applying a bloody big hammer did work though. The engine has been rebuilt, and probably never run - the crank is reground to plus 10 and is perfect, as are the shells, theres a new timing chain, clutch, oil pump etc etc. The pistons are plus 10 thou and its been rebored - then left to sit for years in the damp with no spark plugs, hence the rust. Liners seemed to be impossible to get for a 700cc engine ( and i really want to keep the original 700 engine) although you can get pistons. With knackered liners though, i had written this engine off and stuck it in a box. Then came Beaulieu autojumble last weekend. I can only put it down to too much sun, or rain, or beer, but £80 left my wallet in exchange for this delightfully crusty 700cc lump from a Regal.  Erm, lovely isnt it. Note the loose manifold and general lack of any indication that its run in the last 30 years. So i dismantled it, and almost straight away hit a snag - the head was seized to the block. And i mean seized. Normal methods did not work, so in desperation i broke out a massive chisel and got the head off - but i wrecked the block face and head in the process. Heres a pic of it in the skip, in disgust:  However, i did mange to salvage the liners, and with a gentle hone they cleaned up ok. So i dug out the original block and steam cleaned it....  Here are the liners removed from the Beaulieu engine:  And cleaned up, sealed, and pressed into the original block:    So i have a decent block with standard size bores. Im going to build it up with the reground crank and shells from the original engine, and a combination of the least worn bits. I still need a new piston as one is damaged, but they are easy enough to get, and a new set of piston rings. |
|
|
|
Post by Matt of the Vivas on Feb 18, 2017 19:06:51 GMT
Right, scratch that. This engine is no good. I started to assemble it Saturday morning and straight away hit a snag. The crank barely turns in the main bearings. Much mucking about and measuring later i came to the conclusion that the crankshaft is 3 thou oversize for the bearings - in other words, when it was reground to suit +10 bearings, they only actually took 7 thou off... Hence the tightness. So it needs another regrind, another set of main bearings as these ones are now scuffed, and a set of pistons, oil pump, water pump, gaskets, plus the starter and dynamo are no good and need exchanging, the dizzy is worn.... Its getting silly. £500 plus to end up with a half decent 700cc engine? Im on the look out now for a late model 850, im told the "yellow top" is the one to have? If i can get one thats complete and just works then i'll just drop it in. Meanwhile, ive not been wasting the bank holiday weekend and have cracked on with some bodywork:          So thats both rear quarters ready for paint and the NS sill mostly there. |
|
|
|
Post by Matt of the Vivas on Feb 18, 2017 19:07:27 GMT
The sill came out ok:  So i sorted out the rear roof section, which had been drilled for a broken and ugly aerial:  Ground out the hole to a taper and dropped some GRP matting in the hole:  Skim of filler, squirt of primer  Lovely  |
|
|
|
Post by Matt of the Vivas on Feb 18, 2017 19:08:08 GMT
Finished the side, the "door shut" being heavily contoured was a bit of a pig as lots of extra holes had been drilled and chunks knocked out of it.    I might have had some luck with an engine, one of the guys on the Reliant FB group has a "yellow top" 850cc engine for sale in good running condition, supposedly low mileage. Im told the yellow top is the one to have as its got a better cam etc. Will see what deal i can do. |
|
|
|
Post by Matt of the Vivas on Feb 18, 2017 19:08:46 GMT
 One engine. Ive heard it running, and its a sweet one. I'll probably partly strip it anyway, its got a few oil leaks and i like to clean the sump out on all my cars. Might have the head off and grind the valves in as well, while im at it....     More progress on the bodywork...  And the wiring loom is out. I might repair it, i might replace it, we will see. |
|
|
|
Post by Matt of the Vivas on Feb 18, 2017 19:09:23 GMT
The engine then. Its supposed to be a low miler, and i heard it run it and it seemed ok.. It had a few oil leaks, One from the rocker cover and one from the front crank seal that had covered everything at the front in oil. Also the waterpump leaked, but a new one came with the engine, as did a nearly new starter. I degreased the block, and pulled the sump off to check the bottom end:  Lovely and clean, and no real sludge in the sump either. This engines had plenty of oil changes. I didnt like the timing cover, it had been removed at some point and put back with lashings of Silicone. I took it off and found the timing chain in good condition behind it, but as i had a brand new chain it seemed silly not to fit it:  The cover was cleaned up, the old crank seal knocked out ready for a new one, and fitted back with a proper gasket and a smear of hermetite. I cleaned and painted the sump, then that went back on as well with another new gasket. I then decided to "whip off" the head and check the bores etc. What a nightmare. It took the best part of a weekend, as it was seized on two of the head studs. I eventually managed to draw the head off with two heavy duty G clamps and a scrap spanner:  Happily, the bores are perfect and theres very little carbon, so im satisfied the engines ok. It was just about worth the effort to get the head off, as the old gasket was corroded and probably didnt have that long left. At least when this engine goes into the Bug i'll hopefully not have to touch it for a while... |
|
|
|
Post by Matt of the Vivas on Feb 18, 2017 19:10:11 GMT
In between bouts of struggling to get the head off, i had a look at the gearbox. Its a total unknown as it came with the car. So i popped the top cover off:  Looks good, clean oil, no metal chunks in there, and everything looks clean and bright. It feels fine when you rotate the shafts, so i see no point in stripping it further. I flushed it through with some brake cleaner and filled it with clean, then cleaned it up a bit:  I'll need to figure out exactly what i need to couple it to the new 850 engine, looks like i'll need to use the 700cc engine backplate, flywheel, and clutch, but ive got all that so no problem. |
|
|
|
Post by Matt of the Vivas on Feb 18, 2017 19:11:05 GMT
Anyway: 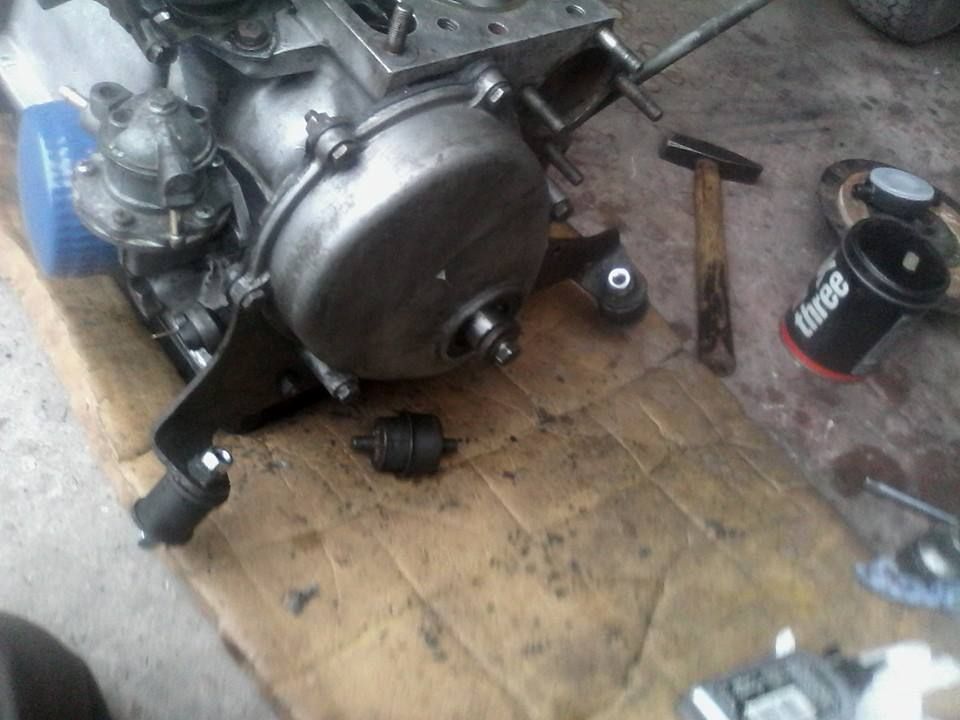 Got the block back from the engineers. New timing cover seal and new engine mounts went on. 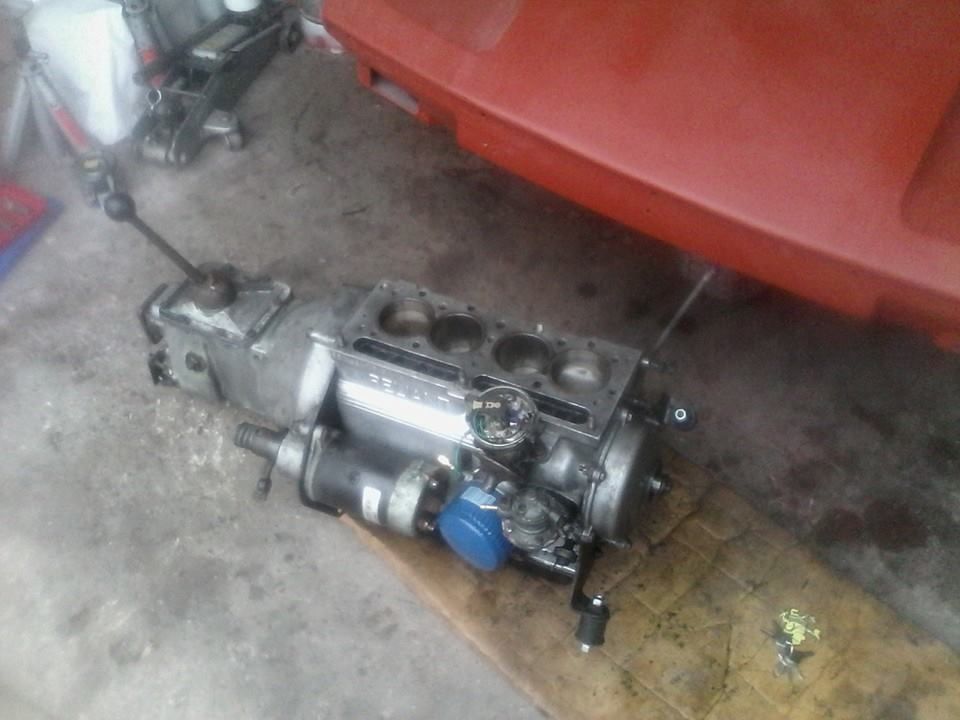 Assembled to the gearbox with a new clutch 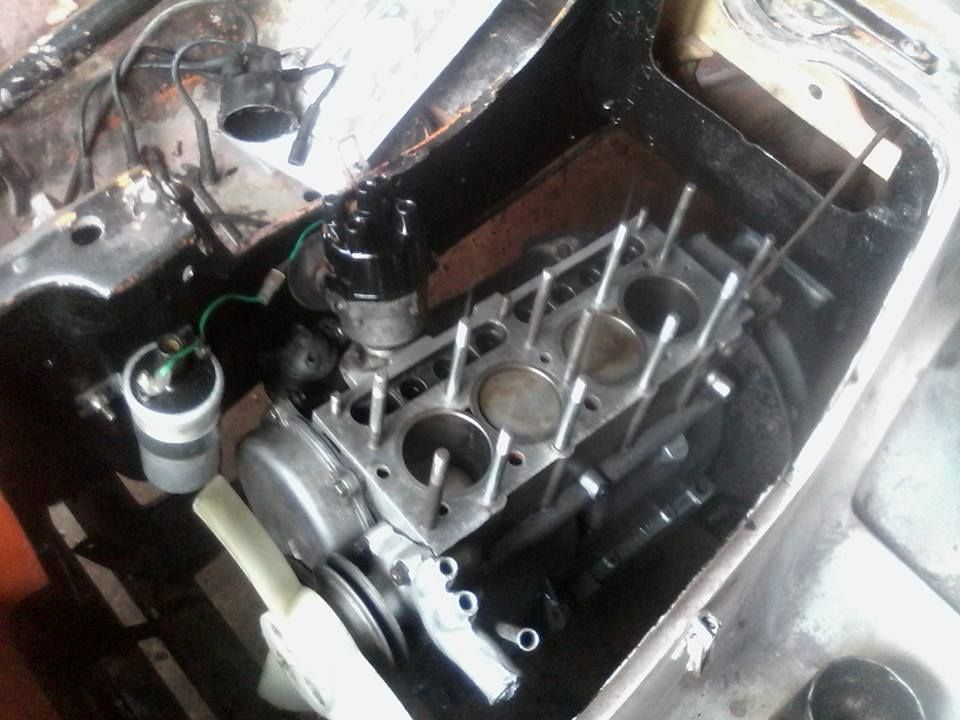 Slung in ![]() i1208.photobucket.com/albums/cc378/viva1600 i1208.photobucket.com/albums/cc378/viva1600/13495218_10207924071594331_3711952942302573381_n_zpsjsvyegj7.jpg[/IMG][/URL] Head nailed on I was going to post a video here of it running, but i can't figure out how to do it. I hate Photobucket. More bodywork - daft extra switch panel removed 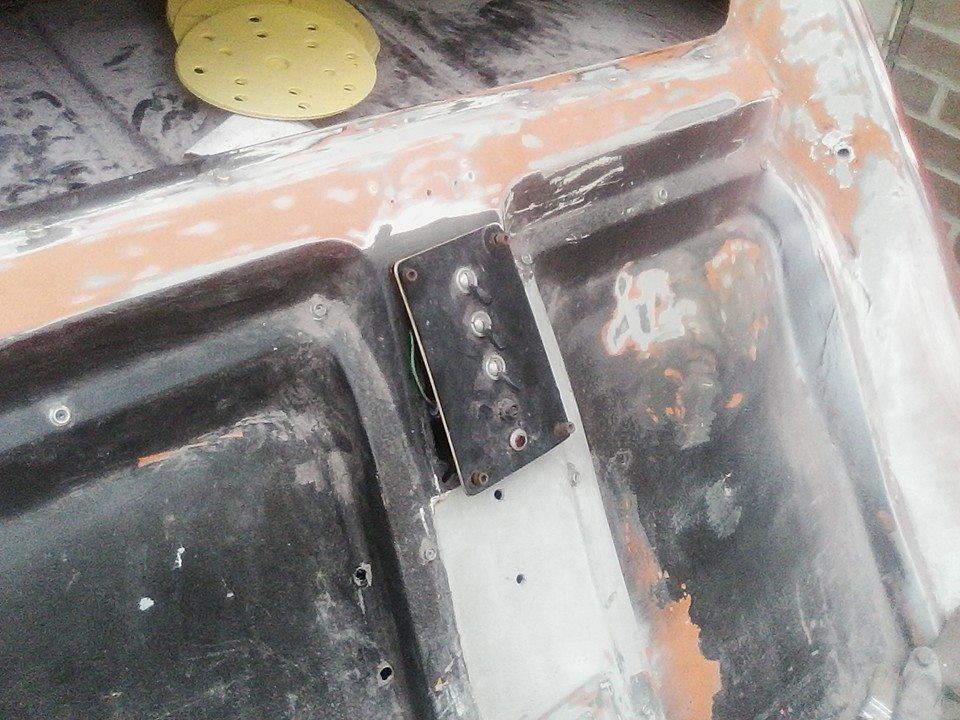 Lovely, not-hacked-at-all hole underneath 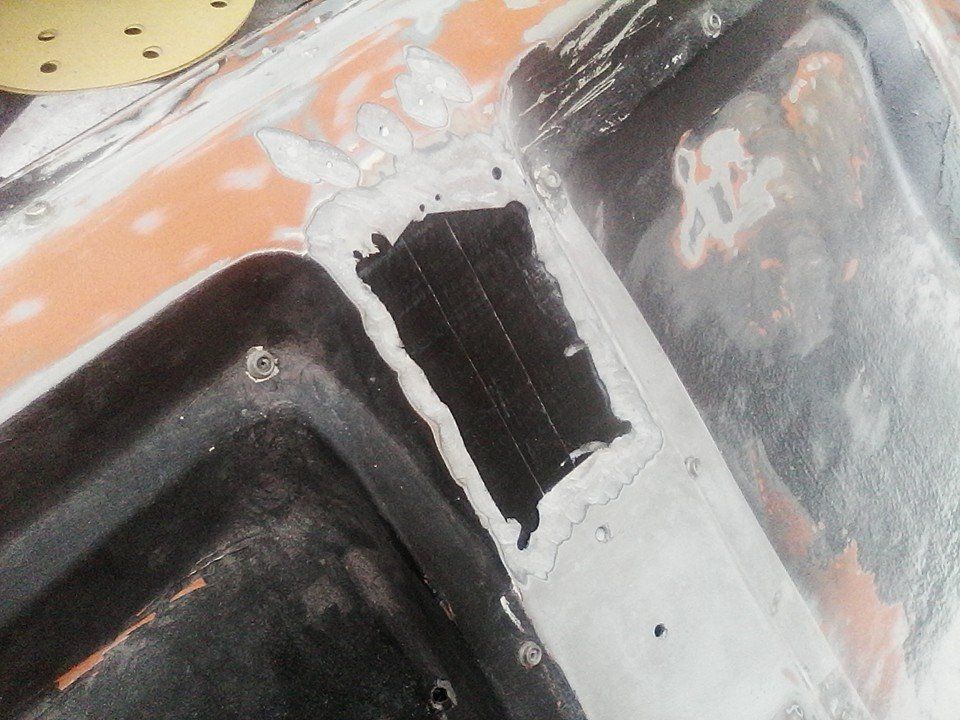 Filled with fresh matting 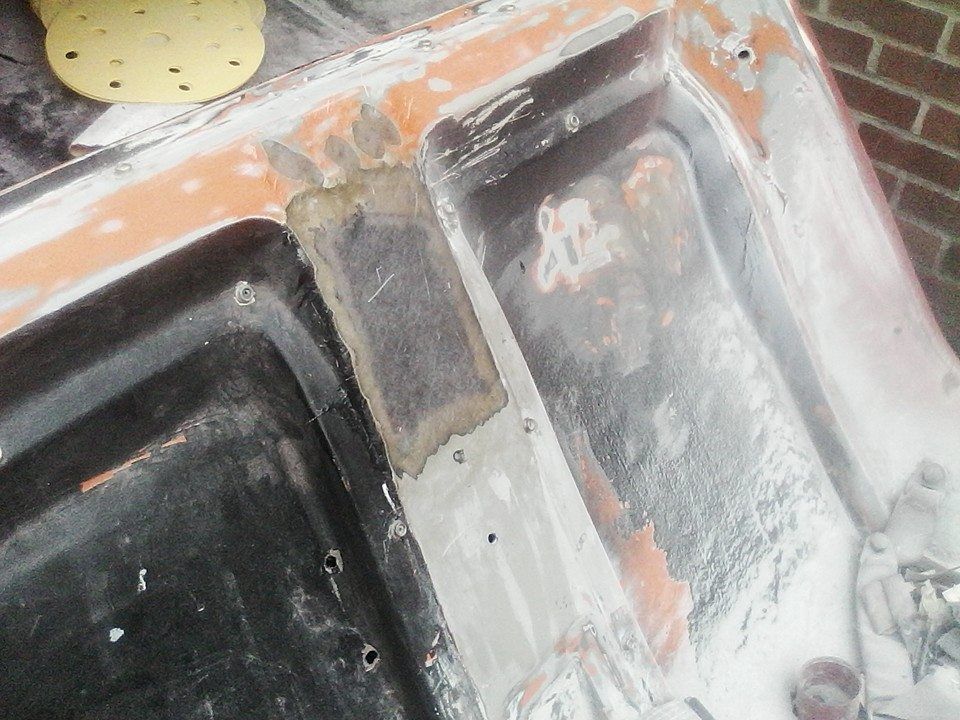 And finished off 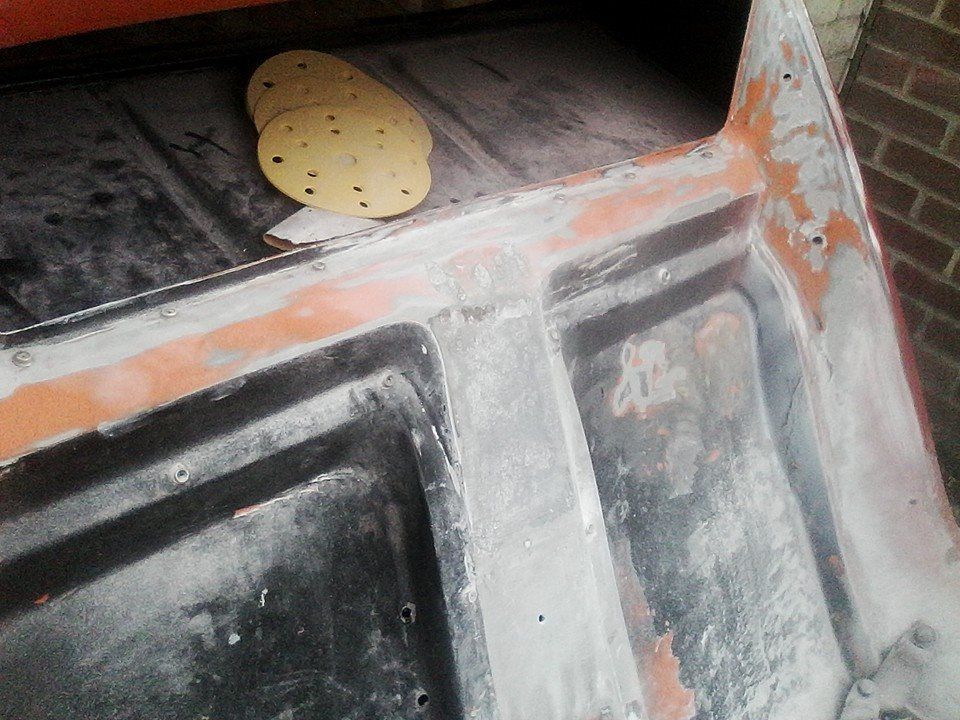 Also started on the footwells, they both need numerous small repairs to cracks and damage. The drivers side is particuarly disgusting as the brake master cylinder has leaked and lifted the paint, someones then coated the mess over with underseal. Lovely. 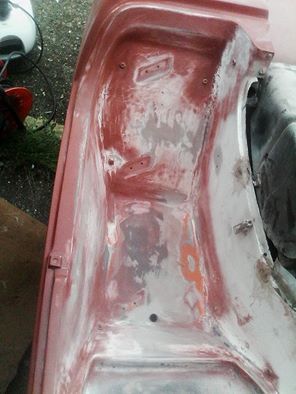 ![]() i1208.photobucket.com/albums/cc378/viva1600 i1208.photobucket.com/albums/cc378/viva1600/13532864_10207952000532537_4462295462317975060_n_zpsy9sp9ww2.jpg[/IMG][/URL] 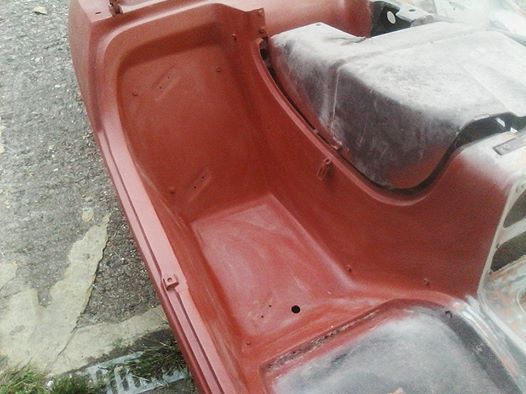 Im in discussions with the chap whos going to paint it for me. |
|
|
|
Post by Matt of the Vivas on Feb 18, 2017 19:11:56 GMT
Anyway, the whole interior has been flatted down, repaired, primed...... Hours and hours of work. Literally every inch had a chip, crack, or had been painted with bloody hammerite. Results: 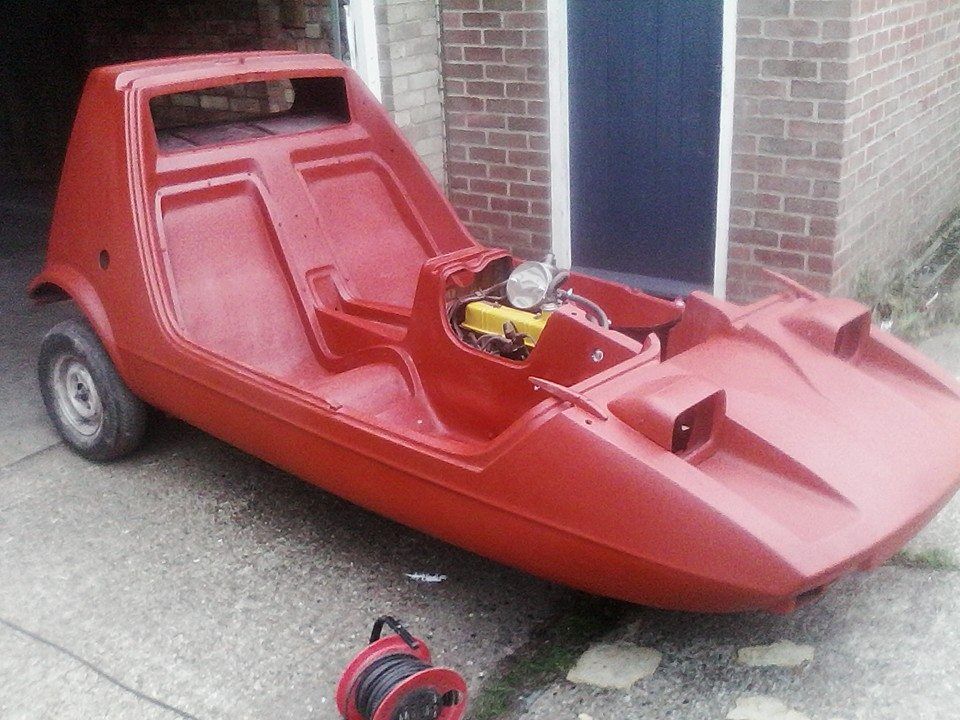 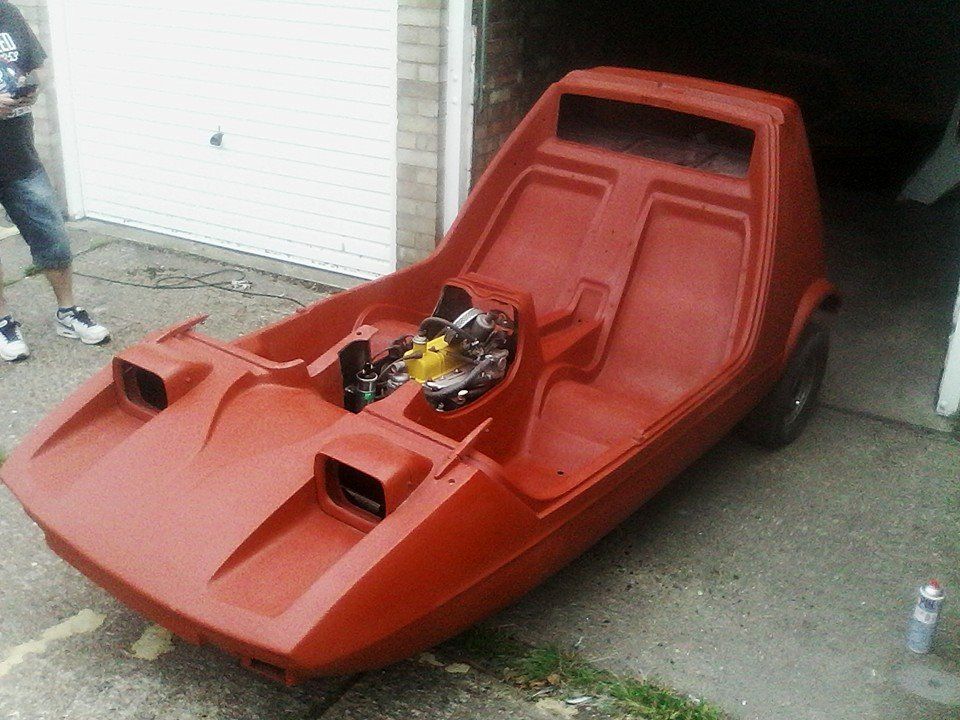 That completes the work on the body tub, its ready to paint now...  So, with the tub now strong enough to remove from the chassis, ive, er, removed it from the chassis: 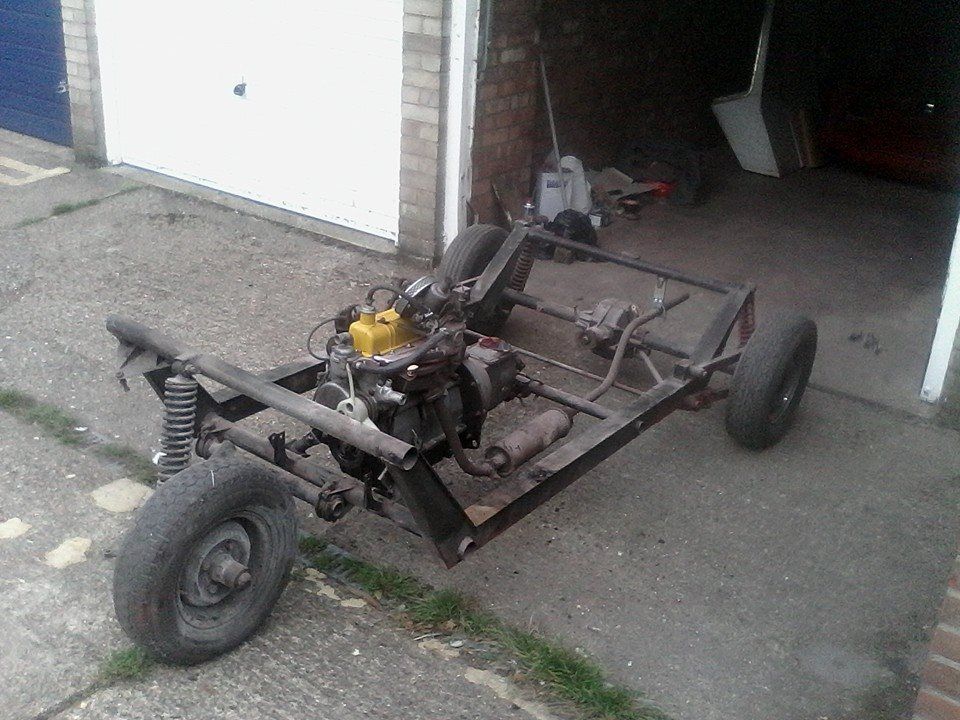 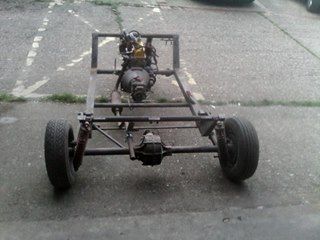 First impressions are its pretty good. Ive found one tiny spot that wants welding, but other than that it just needs a good scrub down and a fresh coat of paint. |
|
|
|
Post by Matt of the Vivas on Feb 18, 2017 19:17:27 GMT
ve spent a couple of evenings going over the chassis with a wire wheel, looked at it very closely. I found three areas that needed welding - a small hole at the back, where the chassis kicks up toward the axle, a thin part at the front that would probably clean up ok, but bugged me enough to be worth welding, and the spot welded bracket for the horns had acted as a watertrap and rusted between it and the chassis. We have a freelance welder at work who is excellent, and as the Bug chassis is pretty insubstantial and hence needs to be strong, i decided to let him tackle this one. First job was to work out a way of transporting the chassis to work...   An hours work saw the chassis stripped bare  Safe, secure and professional transport solution.          We have also seam welded the sides, where it was only spotted before. Hopefully this should strengthen it up nicely, and it should last a while. Im planning on painting it with Rust Busters Epoxy Mastic 121, and then i will inject it with Dynax rust proofing fluid to preserve it. |
|
|
|
Post by Matt of the Vivas on Feb 18, 2017 19:18:16 GMT
Chassis is painted with Epoxy mastic - good stuff it is too, very hard and a little goes a long way. Ive injected all the hollow bits with Dynax. Ive come up with a fix for the missing clutch slave mounts, having failed to find a "proper" Bond Bug engine back plate:    Ive stripped and painted the rear suspension, axle and various brackets. When the bushes i ordered turn up i'll reassemble the whole lot into a rolling chassis, then the body can go back on. |
|
|
|
Post by Matt of the Vivas on Feb 18, 2017 19:18:51 GMT
Chassis is all done:   So all the weldings been done, its been stripped, surface rust cleaned off, treated, then painted with Epoxy Mastic 121 then sprayed internally with Dynax. The rear suspensions been cleaned, painted and rebushed with Superflex bushes. New shock and spring units are on order. The axle has been cleaned, painted gloss black, and fitted with new seals. The prop has had new UJ's and a coat of paint. At the front end, the swing arm has new bushes and a coat of paint. New front to rear brake lines are installed along with the T pice, bracket and brake light switch. Apart from the brakes, its pretty much done. Rounded up some help and dropped the body back on:  |
|