|
|
Post by penguin45 on Feb 18, 2017 20:48:32 GMT
Doing sterling service as my daily. Still needs painting! She's had to have the brake servo replaced (they locked on). Trying to refurbish the Girling Powerstop IIB proved to be an exercise in futility, so one of the faux Lockheed ones was sourced and fitted with some cunningly artificed bracketry. 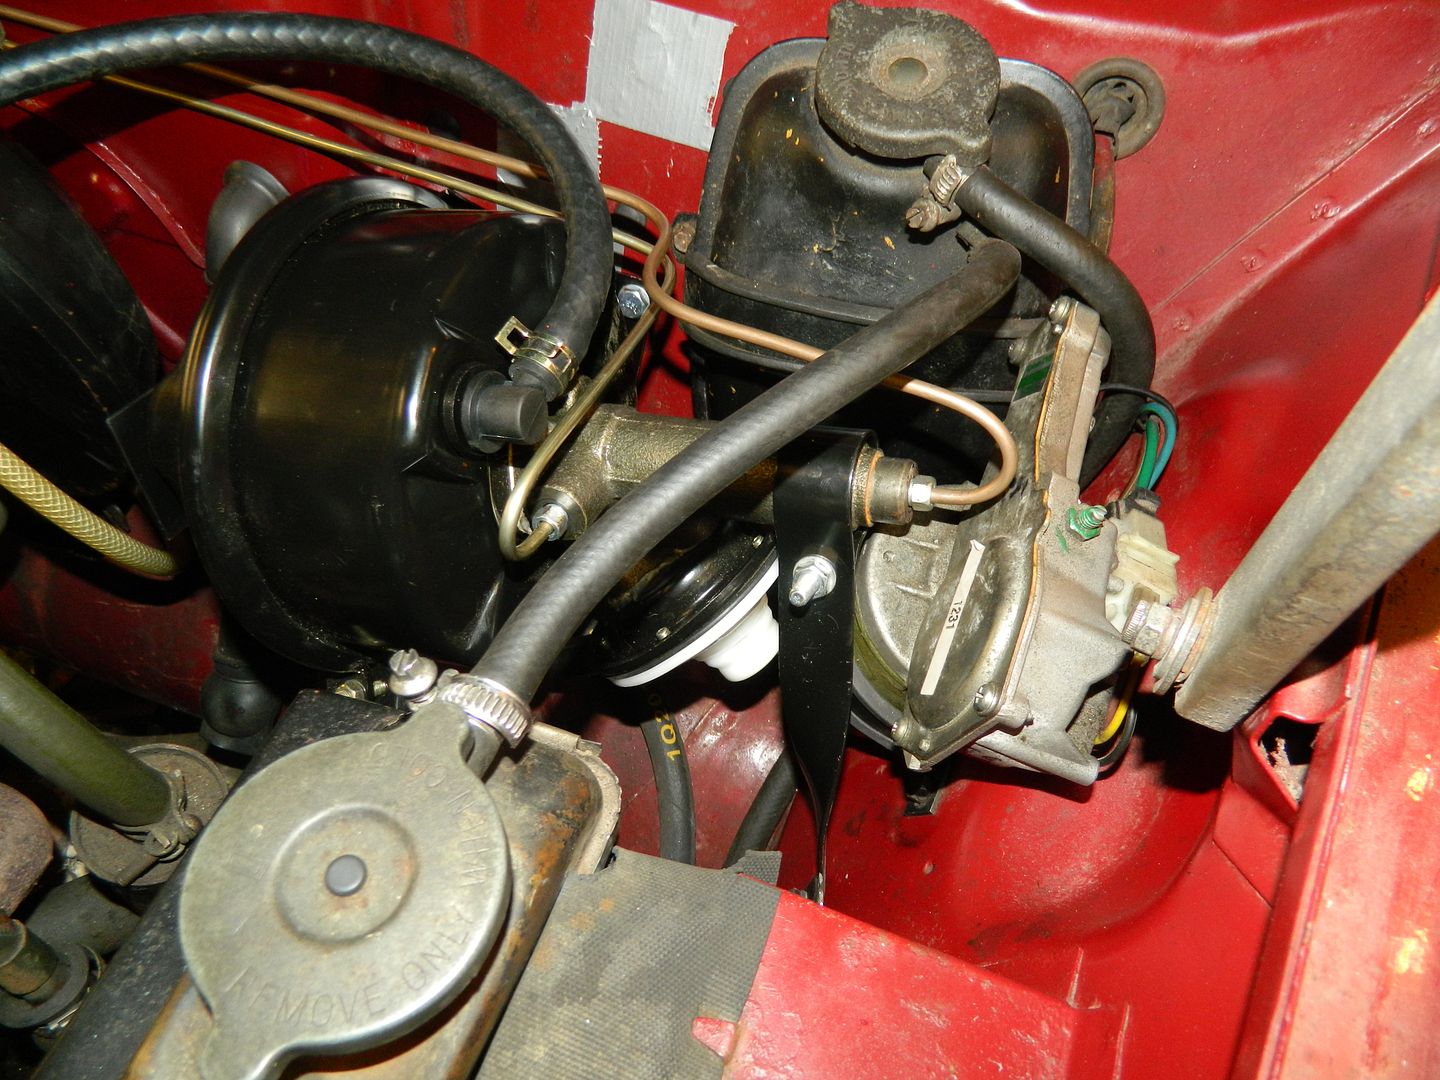 A front wheel bearing has had to be replaced and the ultimate Landcrab accessory has been located and fitted. 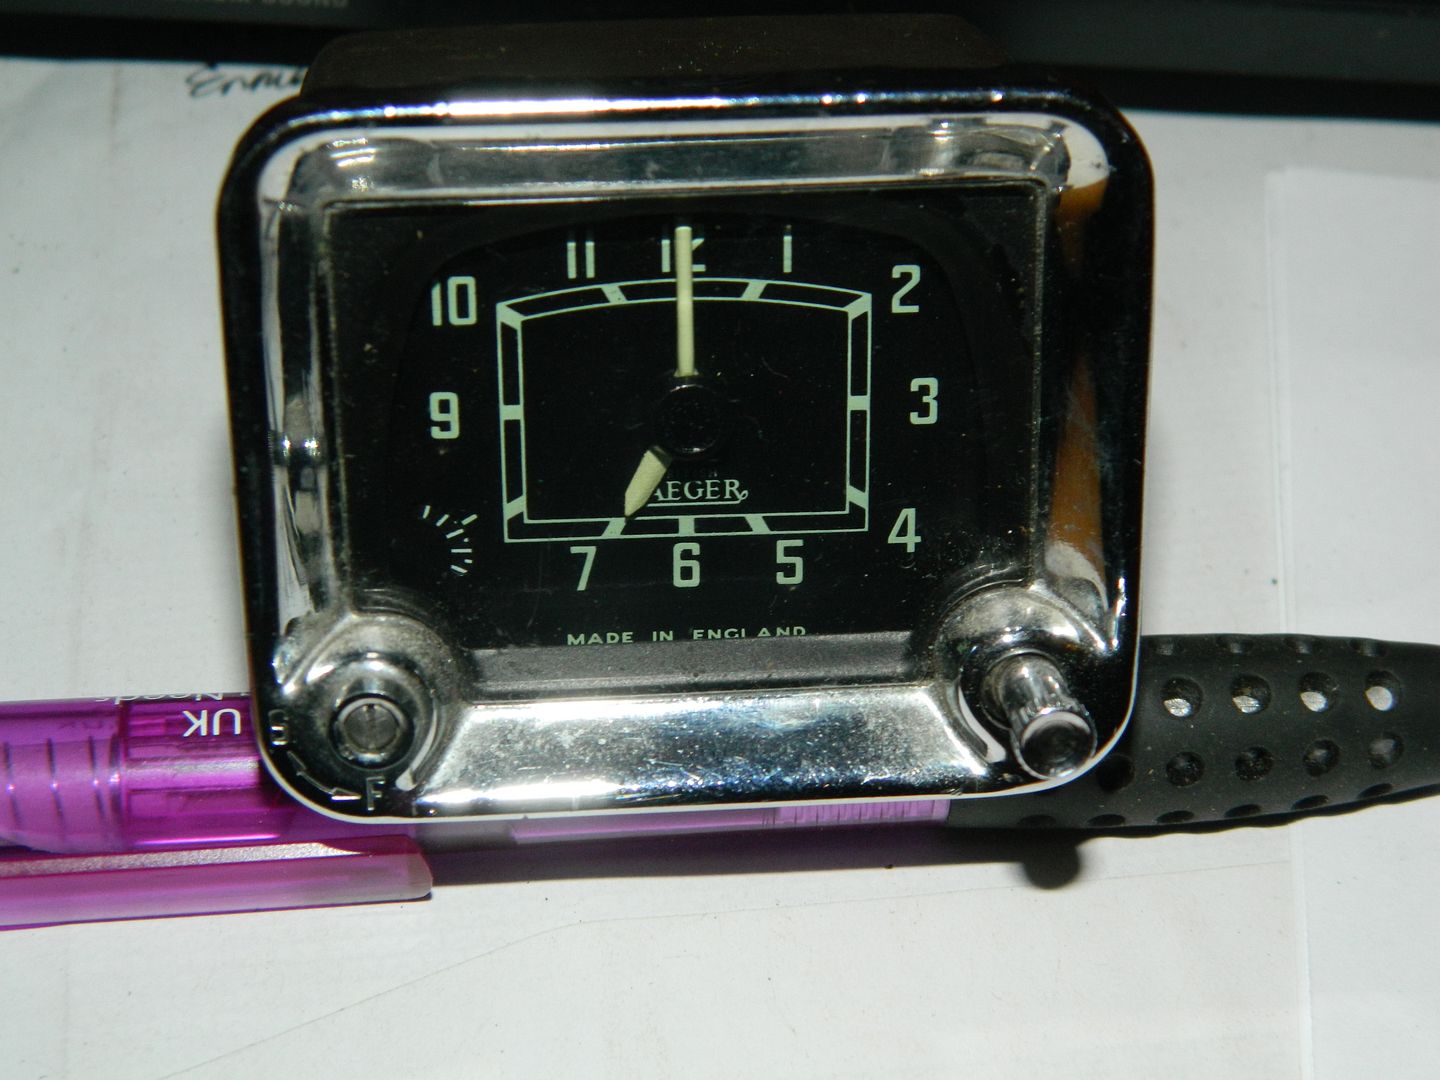 Phwoar. Rocking horse droppings are easier to find.  She's got through a few condensers - cheap ones, dear ones - all carp. I will be building a new 25D dizzy shortly. The bearing is shot on the current one, so I have sourced a unit with a good shaft bearing and will build the gubbins over into it. It'll be tweaked to take a Bosch condenser. German - what could possibly go wrong? The box says "Made in Turkey". P45. |
|
|
|
Post by penguin45 on Feb 22, 2017 19:24:55 GMT
I had to do the dizzy this afternoon, as another condenser has conked; this time the "High Quality" Lucas-type one I bought from Moss. Swapped the innards over into the new body with the slop free bearing. Then, the flange was drilled and tapped to M4. Screw the condenser to the flange. Cut off connector and crimp on a piggy back terminal. Connect that to the insulated output from the dizzy, then connect the feed wire to the piggy back. 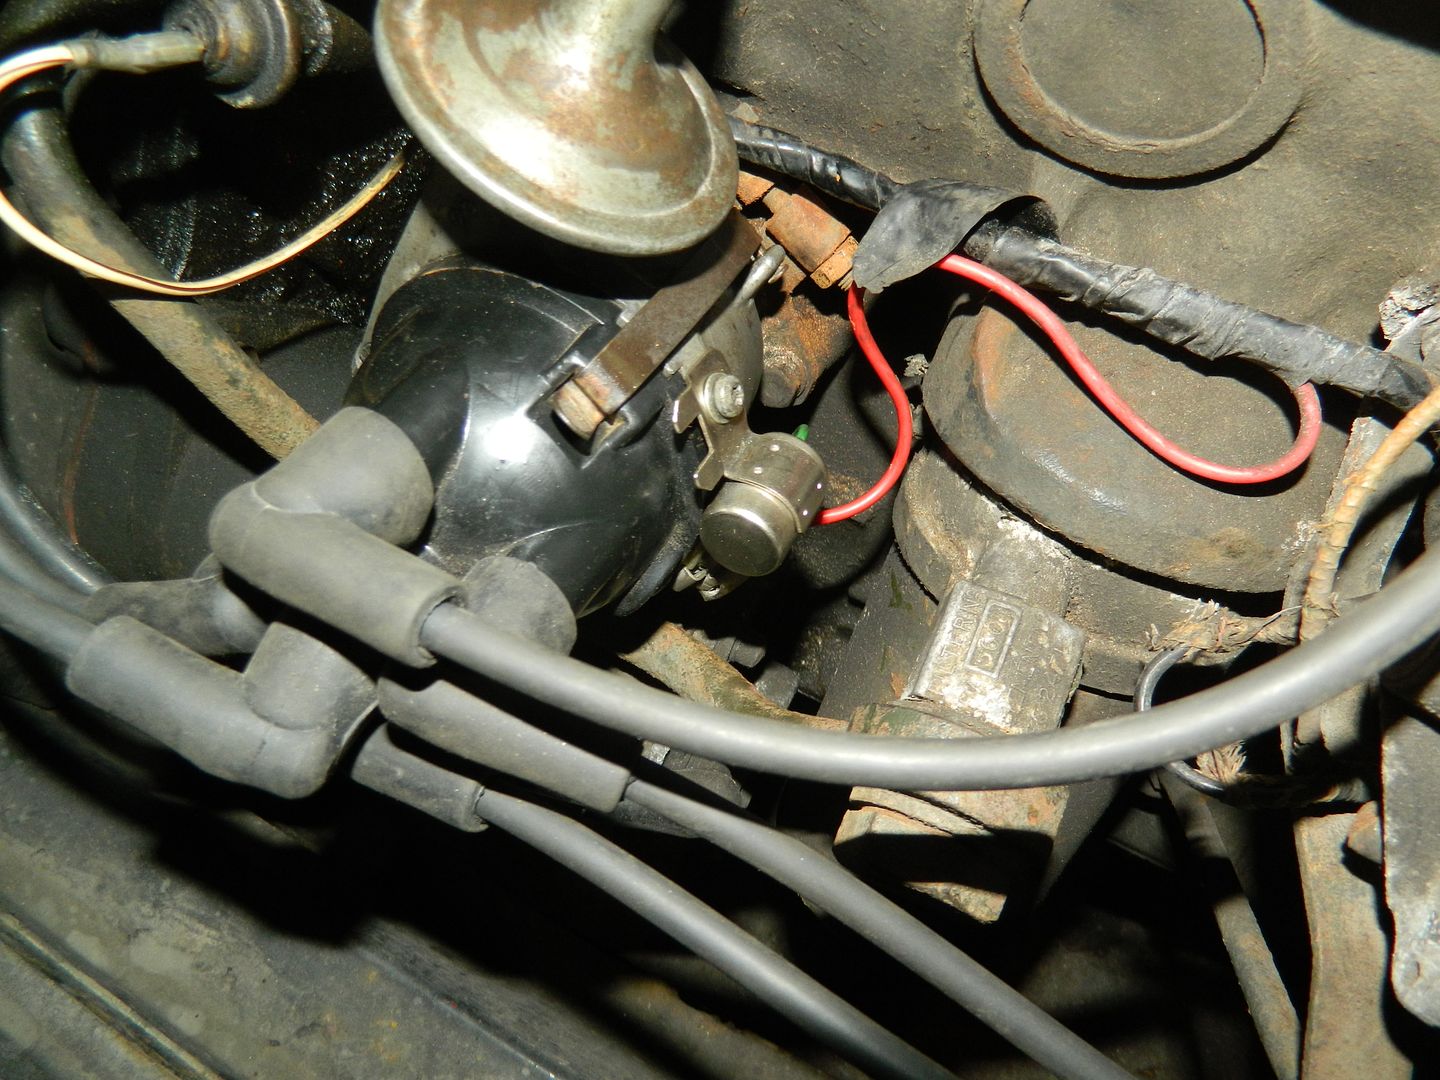 Once the timing was set she fired first turn if the key. Nice. This condenser had better last. P45. |
|
|
|
Post by aar0sc on Feb 26, 2017 11:19:57 GMT
Lovely to see it again Penguin. One of my favourite threads on the old forum!
|
|
|
|
Post by penguin45 on Apr 7, 2017 19:57:40 GMT
Cheers Aaron. I will try and do some sort of retrospective of the build at some point. In the meantime, the MoT test is on Monday and the exhaust is a major issue. The second silencer has been doing a very passable impression of a colander. The centre joint and manifold joint are both blowing. All the rubber mounting bobbins are broken or failing, so basically the whole thing is knackered. In the absence of a new exhaust rear half there was welding. 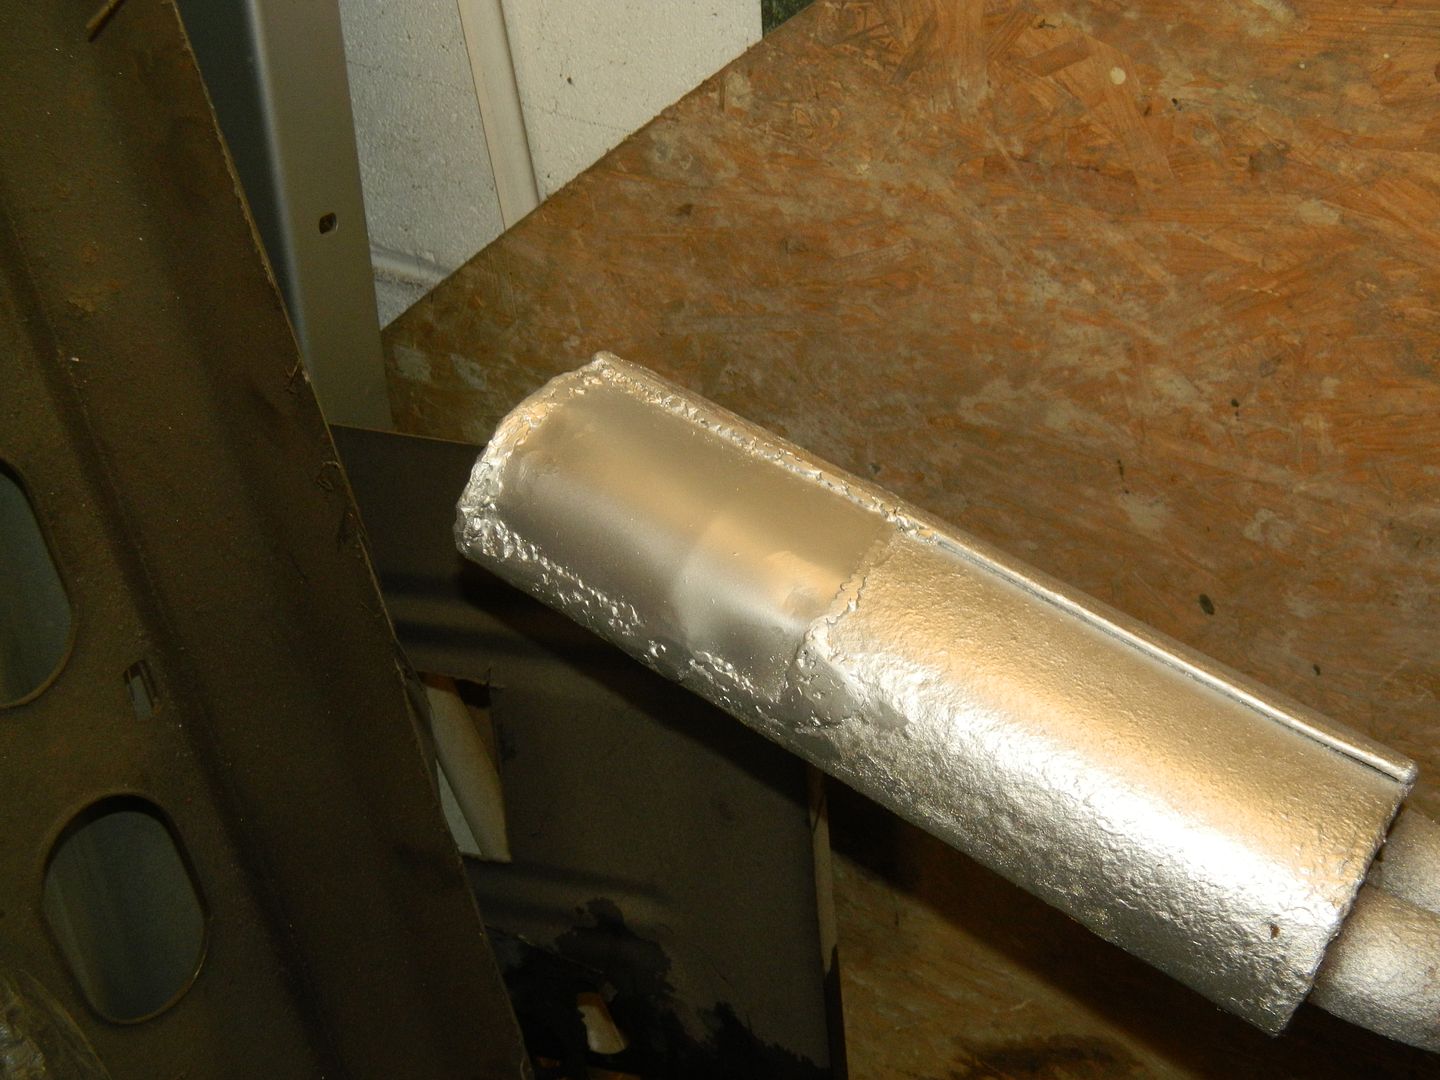 Functional if not exactly pretty. Shot over with high temperature silver paint to make it look like I've tried. 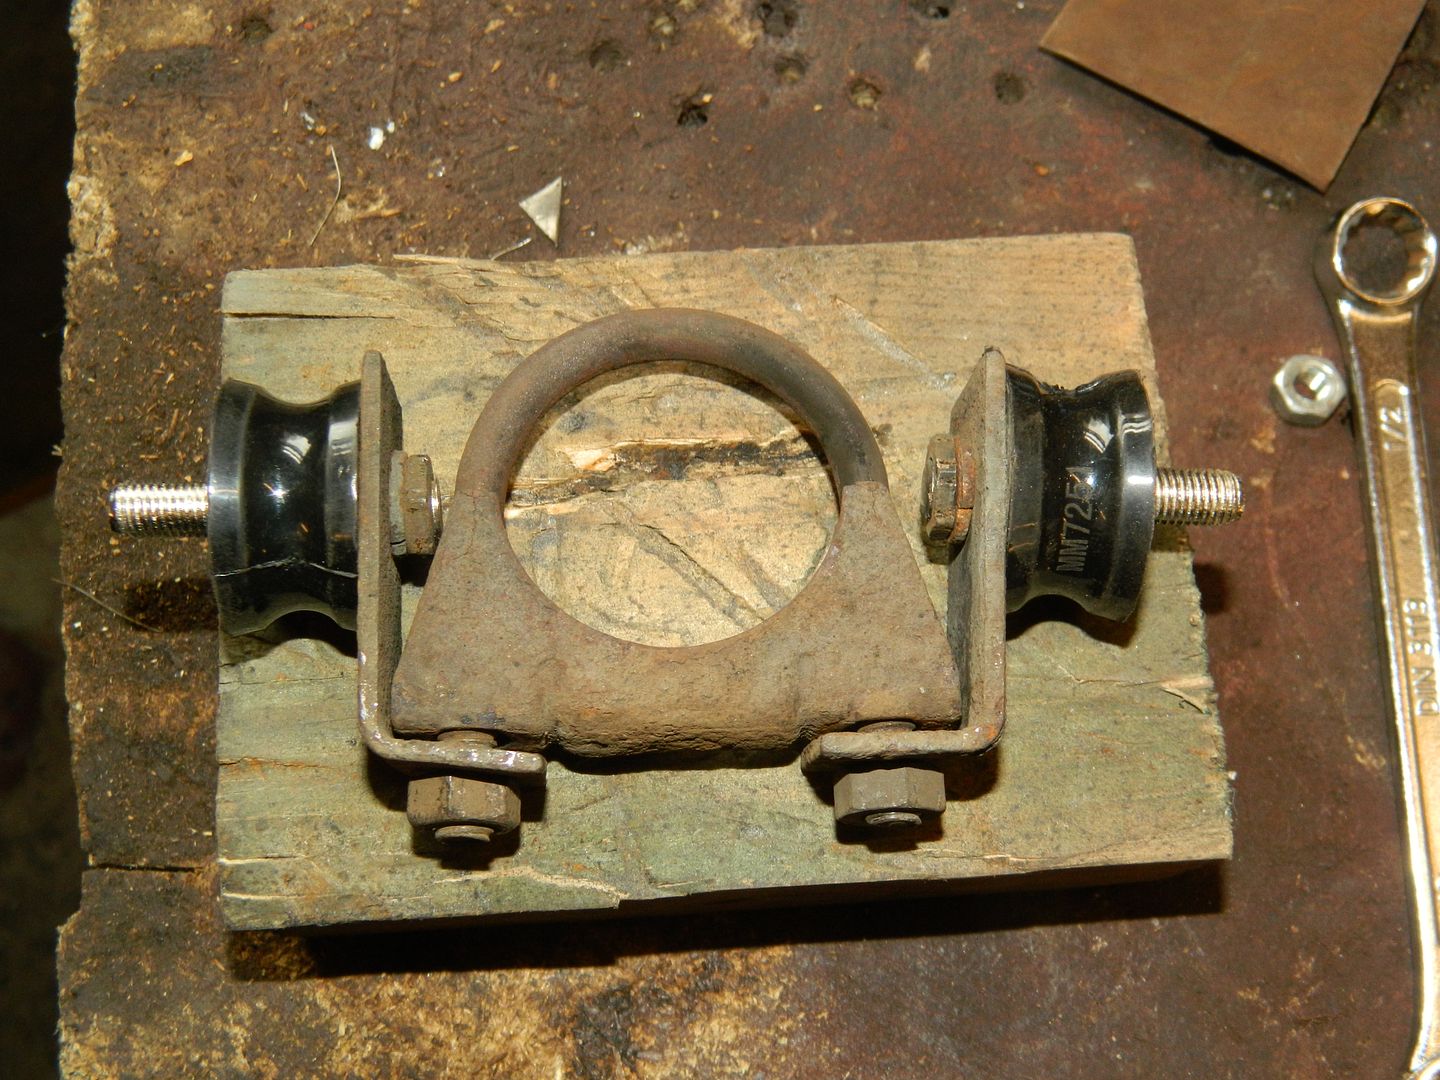 Centre hanger with new poly bobbins. I've used poly for all of them. 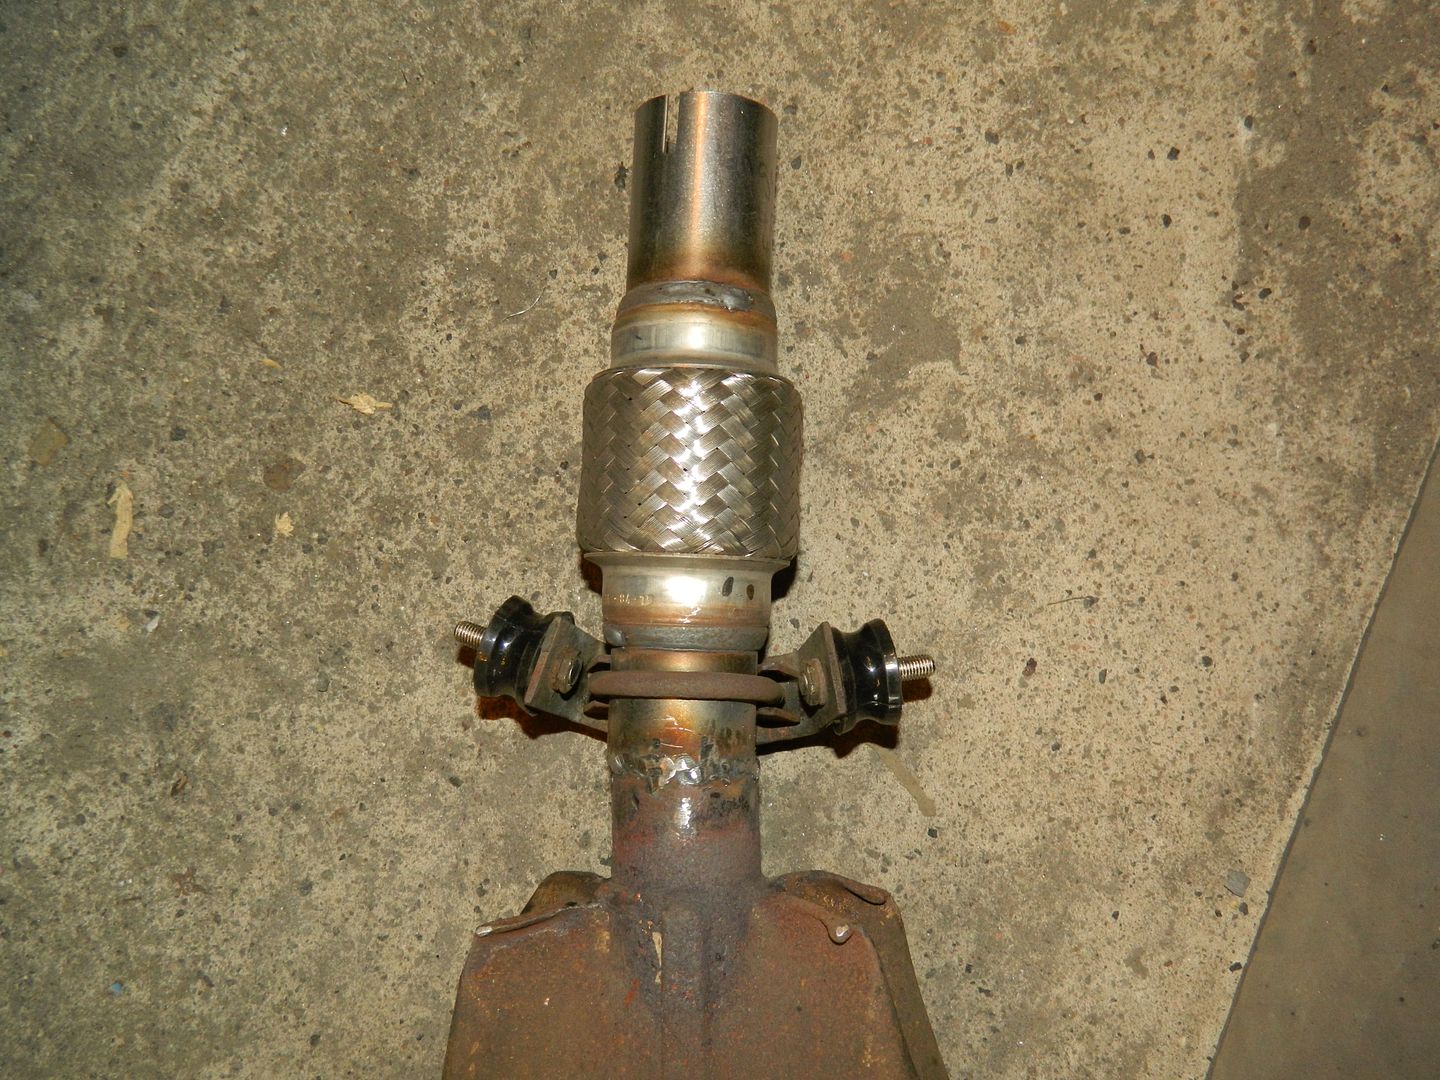 Inlet pipe shortened and then extended in order to move the joint forwards on the front pipe. 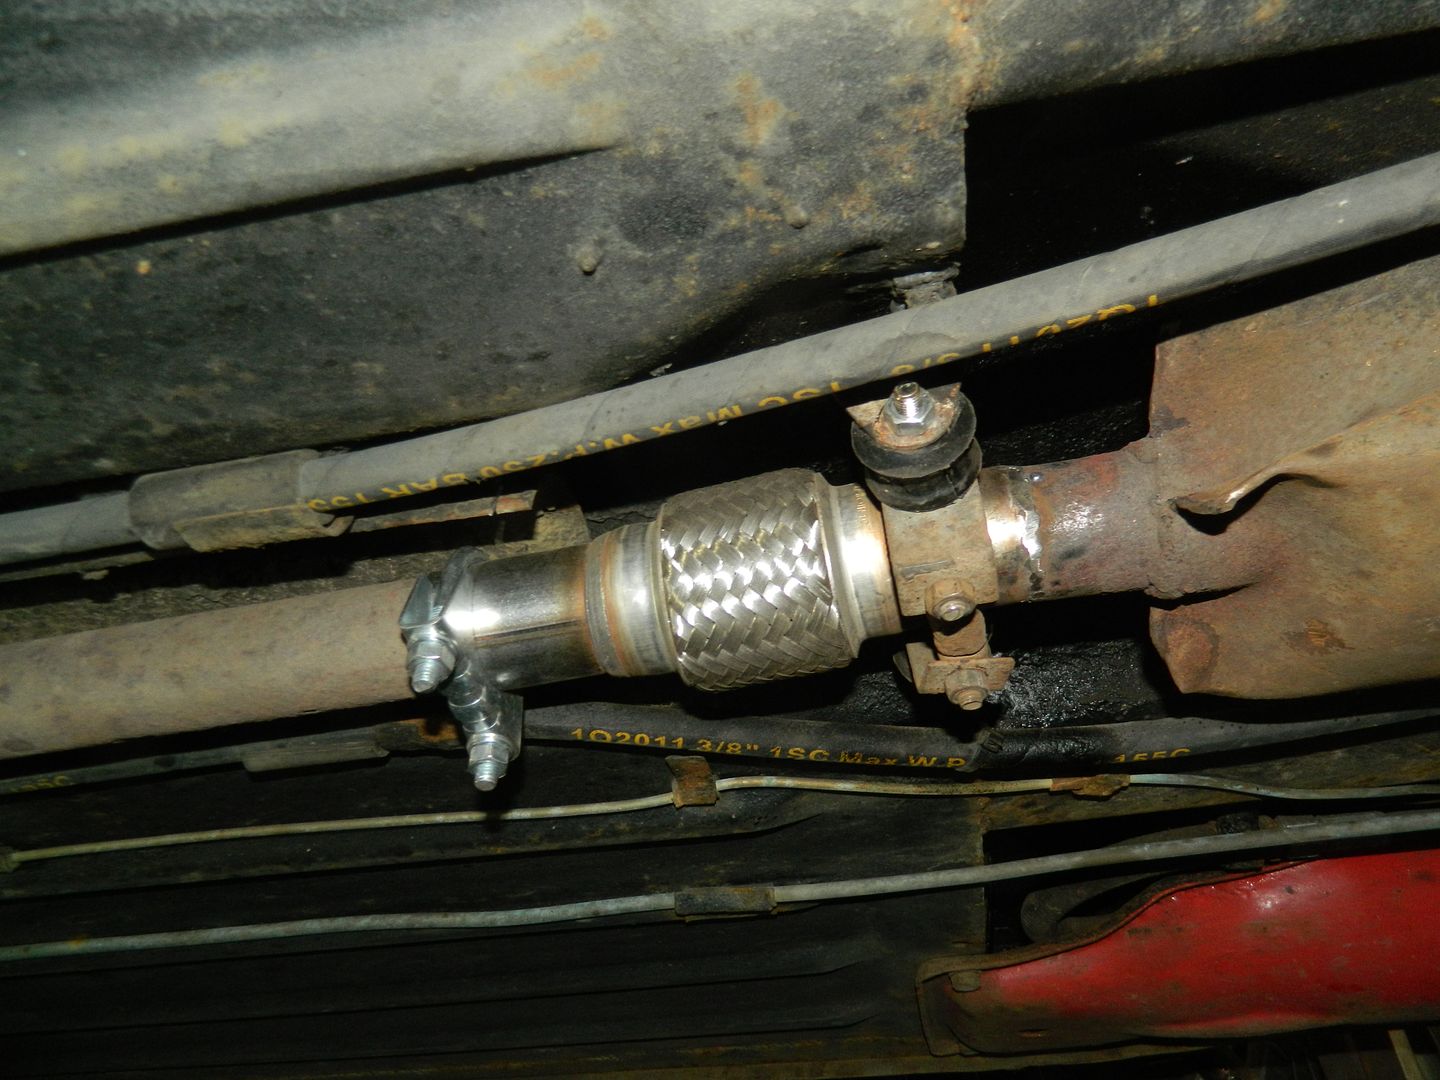 And it finished up like that. Very solid. Front end show the stability bracket missing a bolt, so that was replaced and then on to the bit I hate; the manifold joint. The clamp comprises four parts, plus the nuts and bolts. You can waste hours trying to assemble it all. I had a minor epiphany and tack welded the boltheads to one of the outer clamp halves. Assembly then took literally five minutes and could conceivably be done with one hand. Why didn't I think of it years ago? P45. |
|
|
|
Post by Father Ted on Apr 10, 2017 21:44:07 GMT
Many years ago I was an exhaust fitter. We used the same trick of welding the bolts to the outer clamp.
|
|
|
|
Post by penguin45 on Apr 11, 2017 11:06:10 GMT
It's the sort of knowledge that should be shared! 14 years I've struggled with that d@mn clamp before the penny dropped! And she passed yesterday without even an advisory. Which was nice.  P45. |
|
|
|
Post by Father Ted on Apr 11, 2017 13:51:01 GMT
It's the sort of knowledge that should be shared! 14 years I've struggled with that d@mn clamp before the penny dropped! And she passed yesterday without even an advisory. Which was nice.  P45. For the smaller clamps, as used on Minis etc they introduced a hinged clamp with just one bolt, much easier for humans with only 2 hands. I can still remember the part no. MAN1CL.
We used to hate the 6-cylinder Landcrabs, with the exhaust manifold under the inlet manifold & carbs at the back of the engine where you could barely see it and I think they had 2 front pipes which would never both line up at the same time AND 2 of those horrible 4-piece clamps.
Congratulations on the MoT pass! 
|
|
|
|
Post by penguin45 on Apr 29, 2017 20:12:03 GMT
Thanks, Ted. The polyurethane bobbins were a complete disaster and had to be re-done with the ordinary Halfords rubber ones. They seem to be holding up all right. Seeing as I got Eugenie out of the garage today, I was able to have a proper clear up and sweep out and pull the Red Dog in for a bit of work. The indicator arm has not cancelled when turning right for quite a while. Removing the assembly from the steering column showed that one of the plastic spring arms had snapped off. I had a rather grotty spare on the shelf, which I cleaned up and tested. This showed that the horn and high beam settings didn't work. A few minutes with some fine sand paper and a jewellers file got the contacts working, so that's been fitted. Next up was the choke cable. It doesn't lock, which drives me  . Again, I had a spare on the shelf. Out with the ashtray and its frame, then the mini glovebox above. After that, the contortions of undoing the nut and feeding the new one through. This one has a solid wire and stays where it's put nicely. Except that I found that the choke lever at the carb end wasn't quite coming off completely. Plenty of oil and some manipulation sorted that out. The mini glovebox buzzes on a quite regular basis. A closer look showed that two of the flat rivets used to retain the papier maché box to the tinplate front surround had come away, allowing one end to swing about. Solved with contact adhesive. I'll do some refitting after I get back from the rally tomorrow. Chris. |
|
|
|
Post by penguin45 on May 7, 2017 18:55:41 GMT
Dashboard went back together no problem. All that crawling about at low level allowed me to study the surface rust breaking out on the o/s sill in greater detail. I bare metalled the whole thing and repainted it. 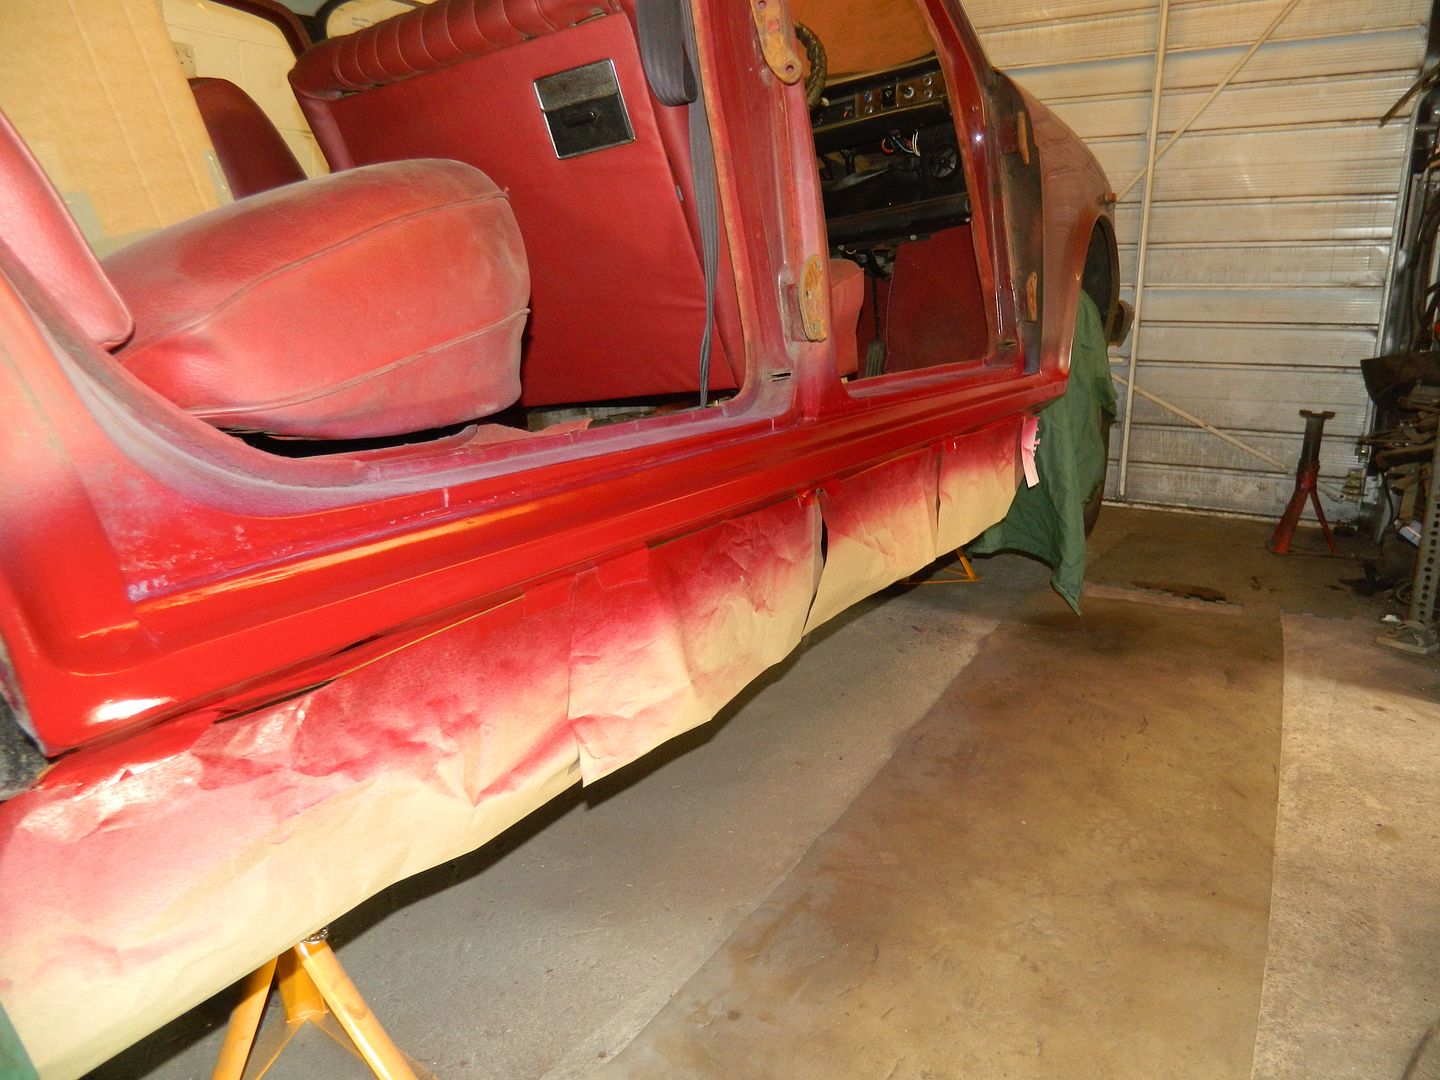 Having done that side, I've done the other. Well, it would have been rude not to. 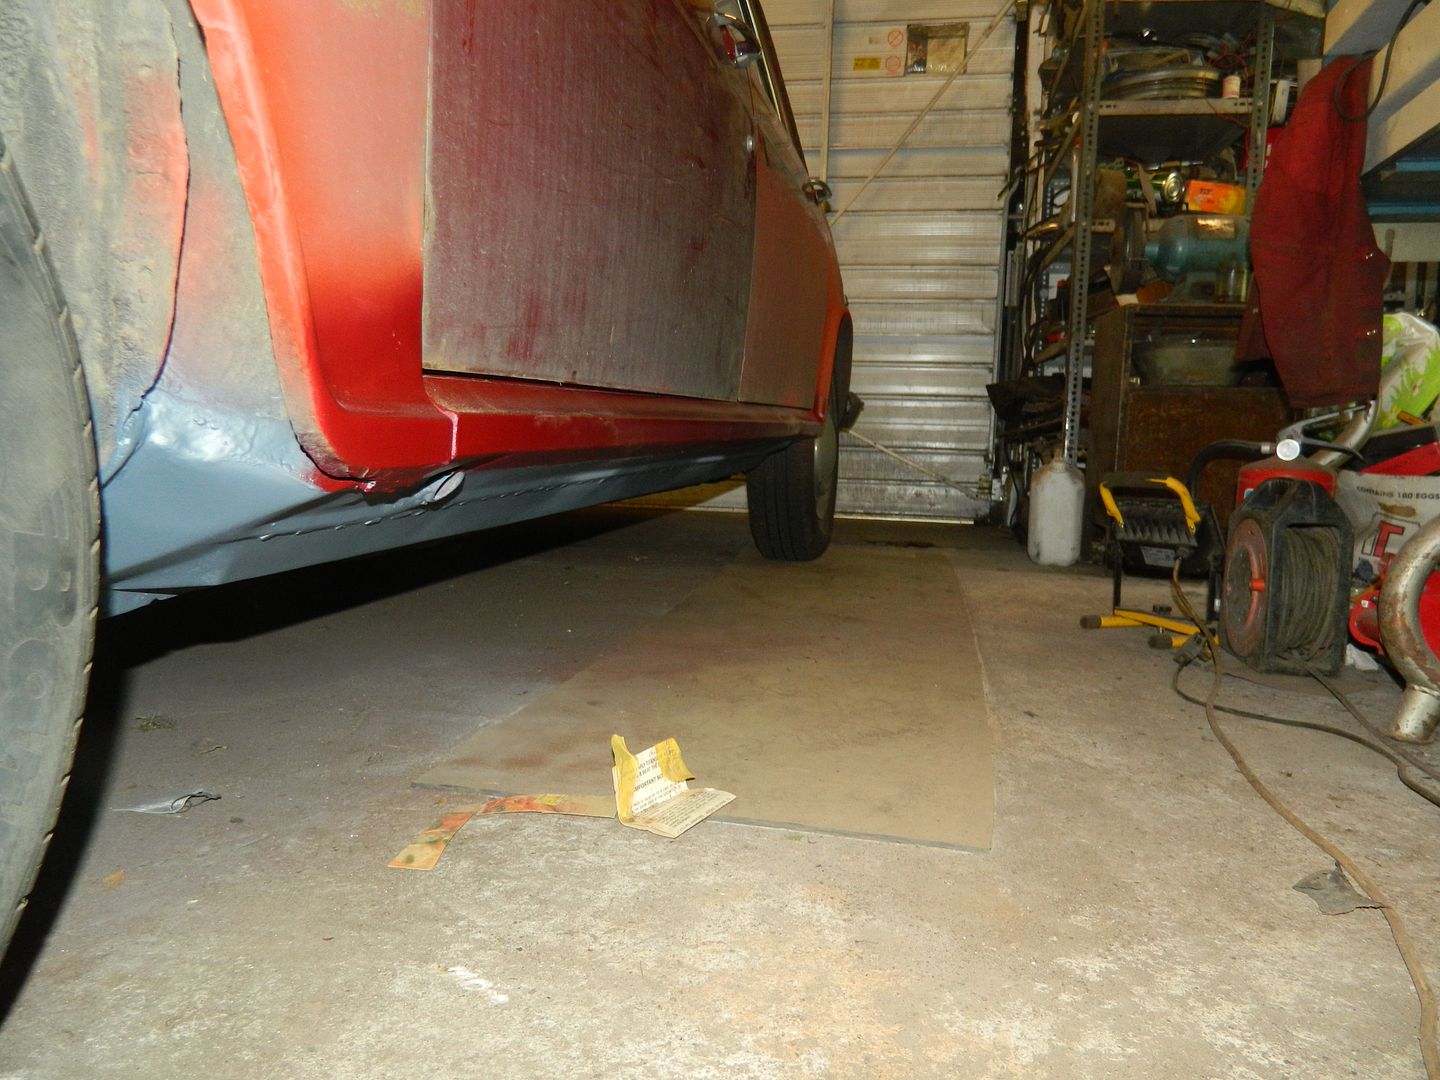 Odd picture - the red paint is pretty much immaculate. For now, anyway. And finally - disturbing reading from BBC NEWS. P45. |
|
|
|
Post by penguin45 on May 17, 2017 19:25:14 GMT
Moah... More paint. 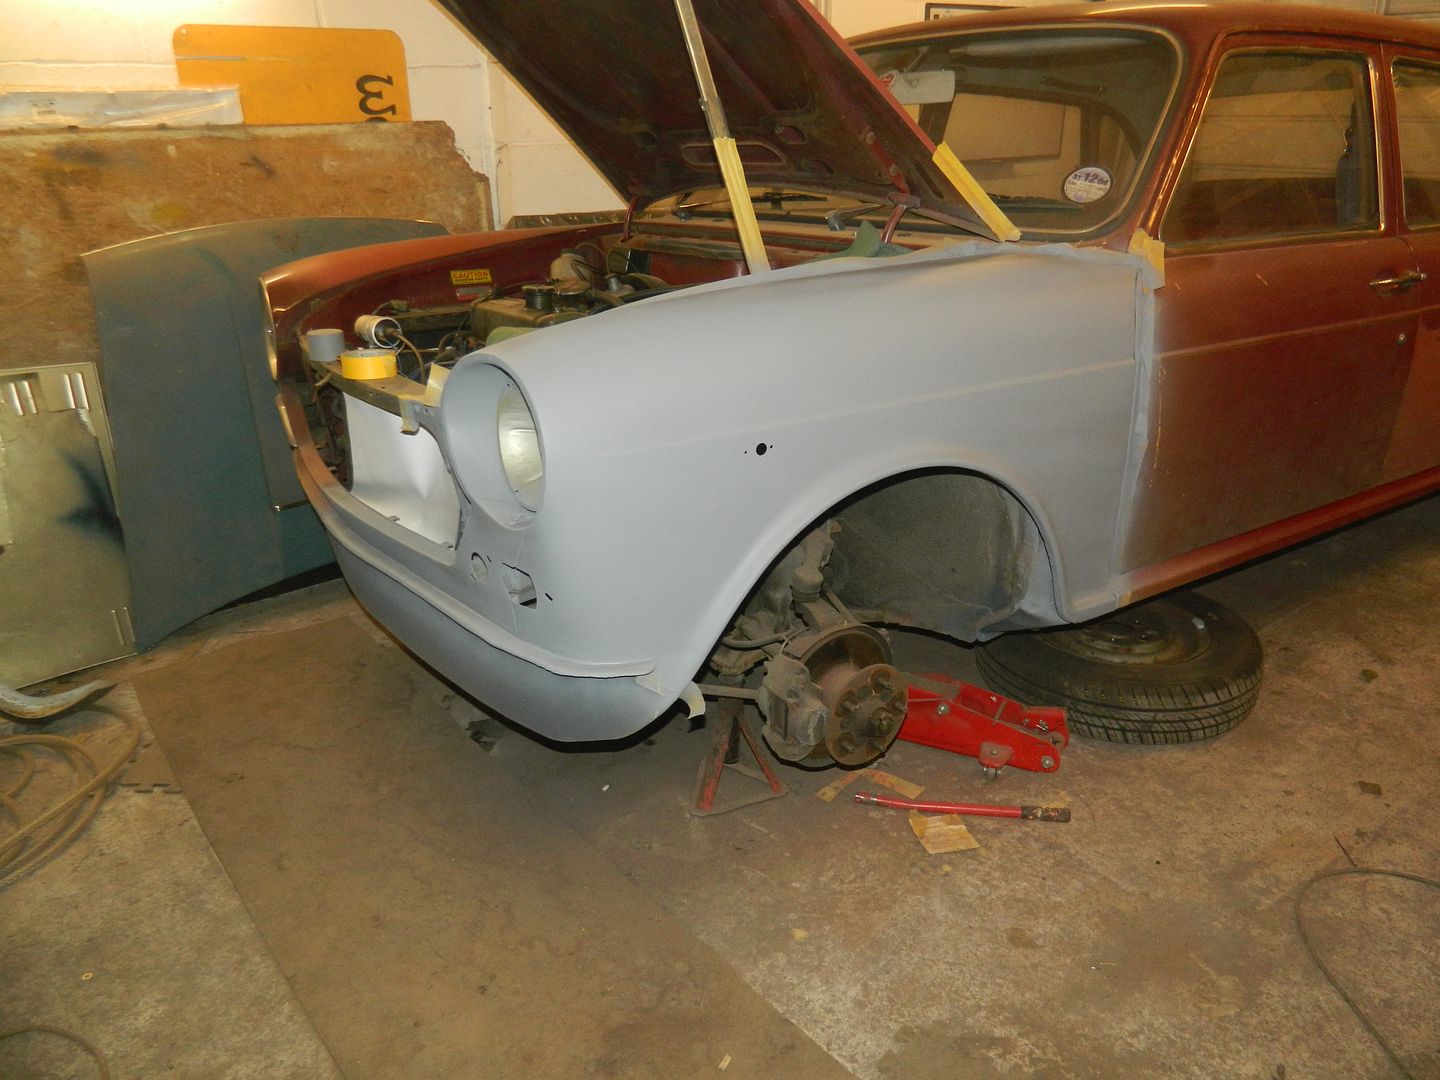 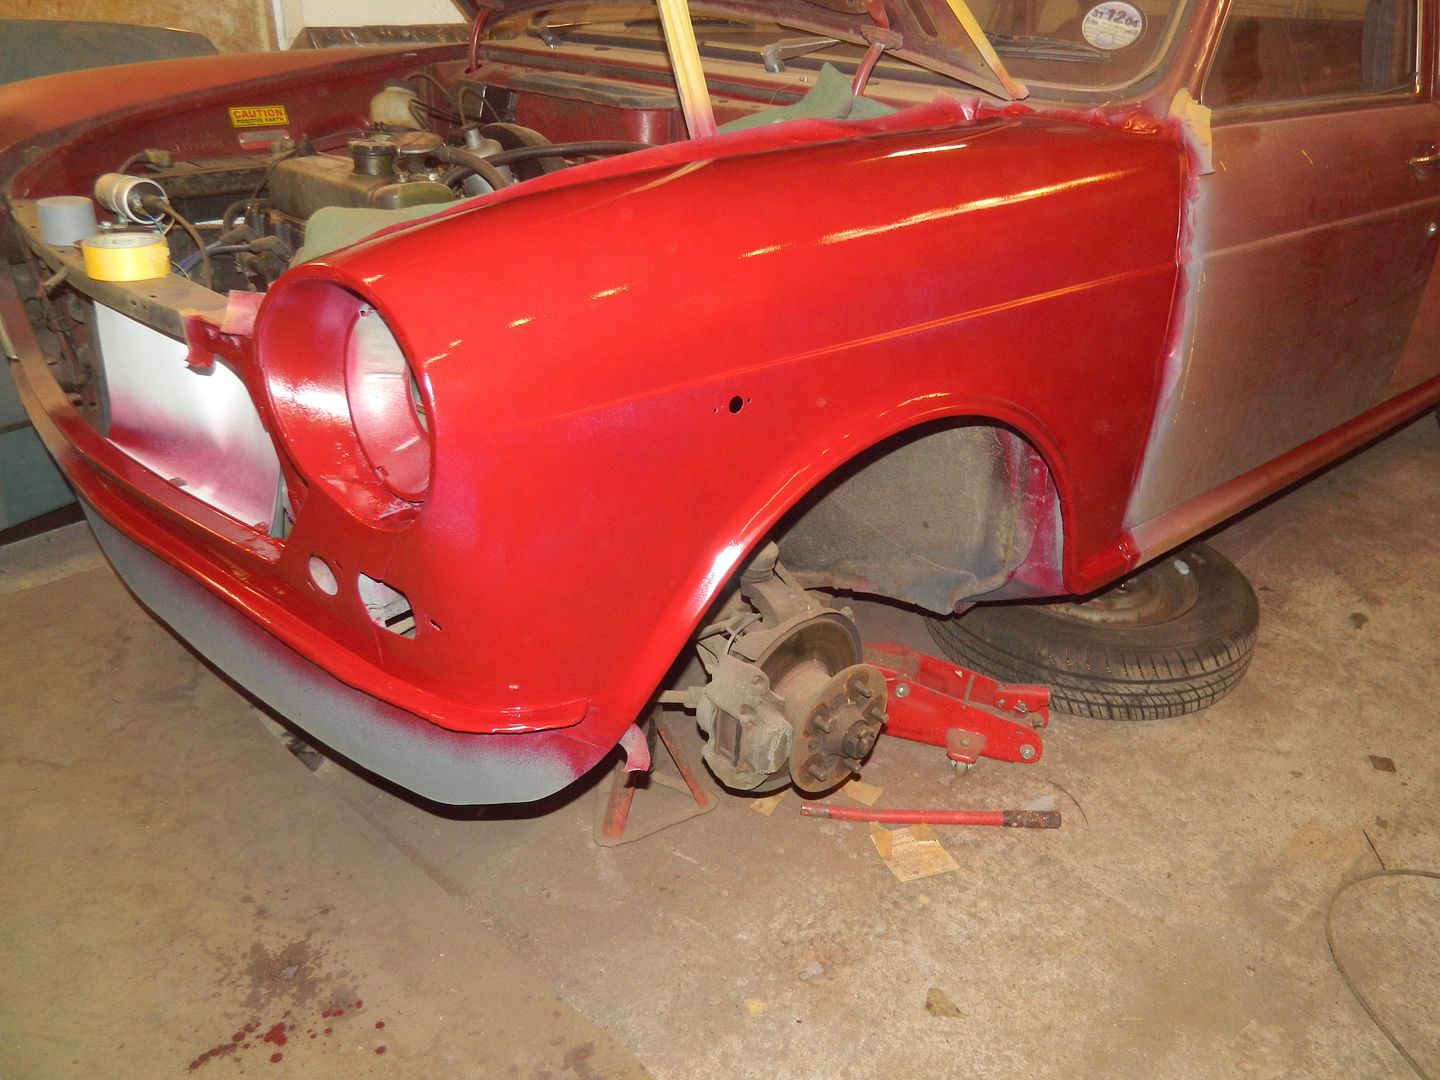 Mmm - Penguin like. P45. |
|
|
|
Post by zeebra on May 18, 2017 4:33:40 GMT
With colour matched trolley jack too. Looking good.
|
|
|
|
Post by penguin45 on May 21, 2017 19:17:52 GMT
Hah! Hadn't noticed that. Both sides done and had a day or two to dry, so much flatting back has taken place, all the way to 2000 wet and dry. It's had a quick polish over so she can go back outside. Give it another week to fully cure and see what a good compounding can add to the shine. 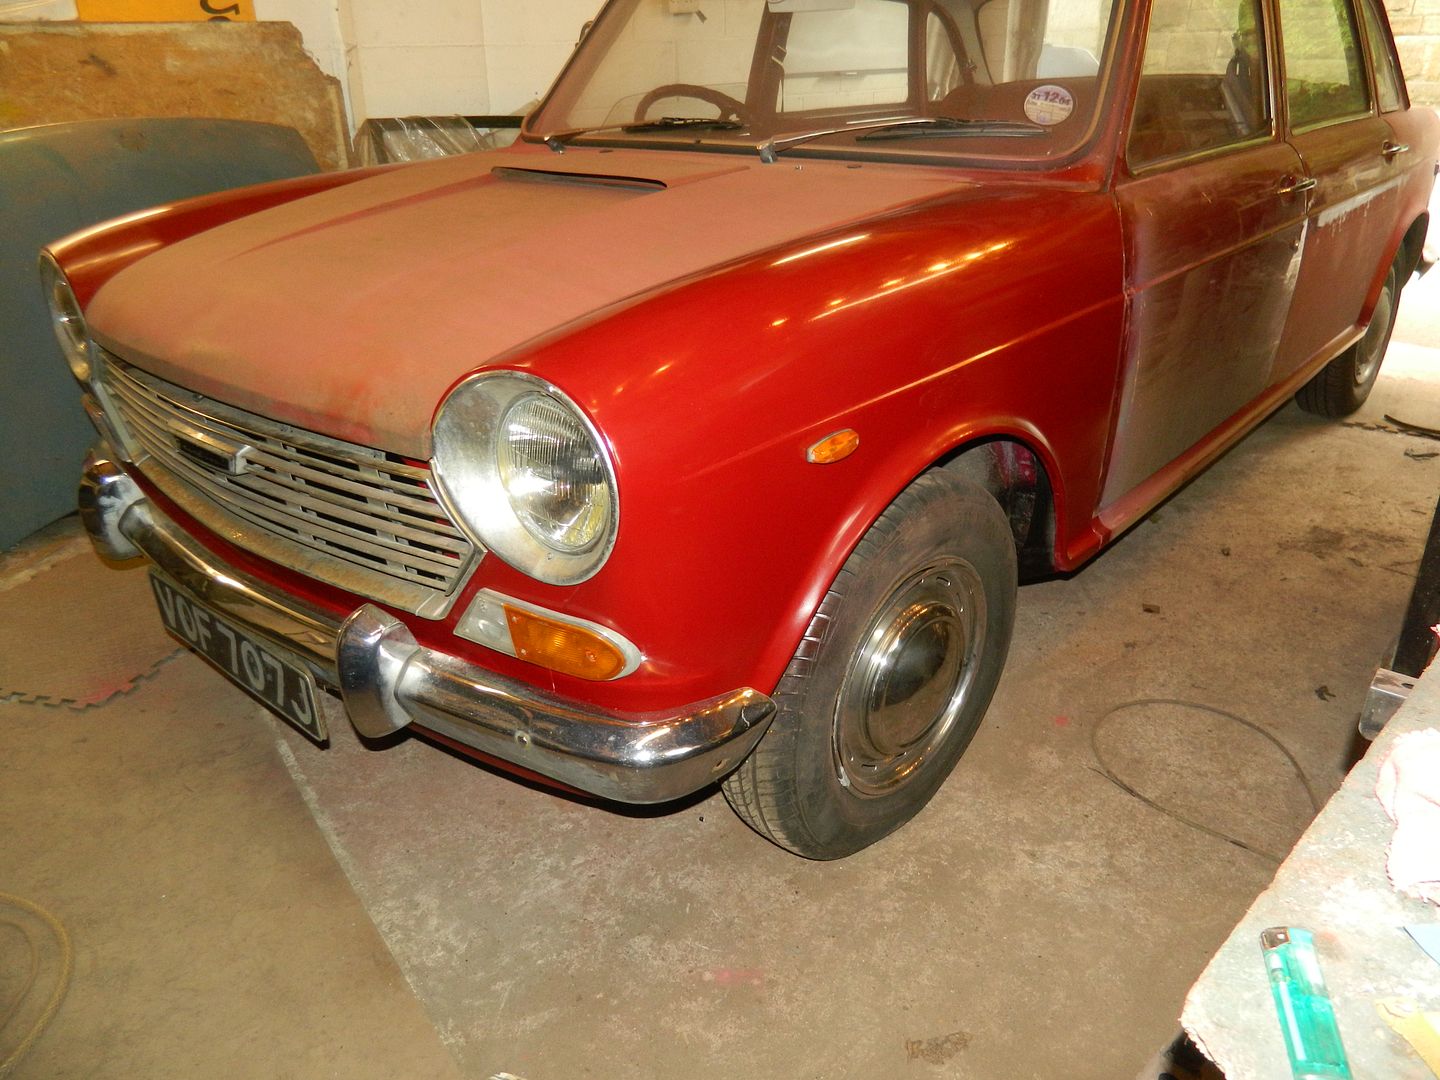 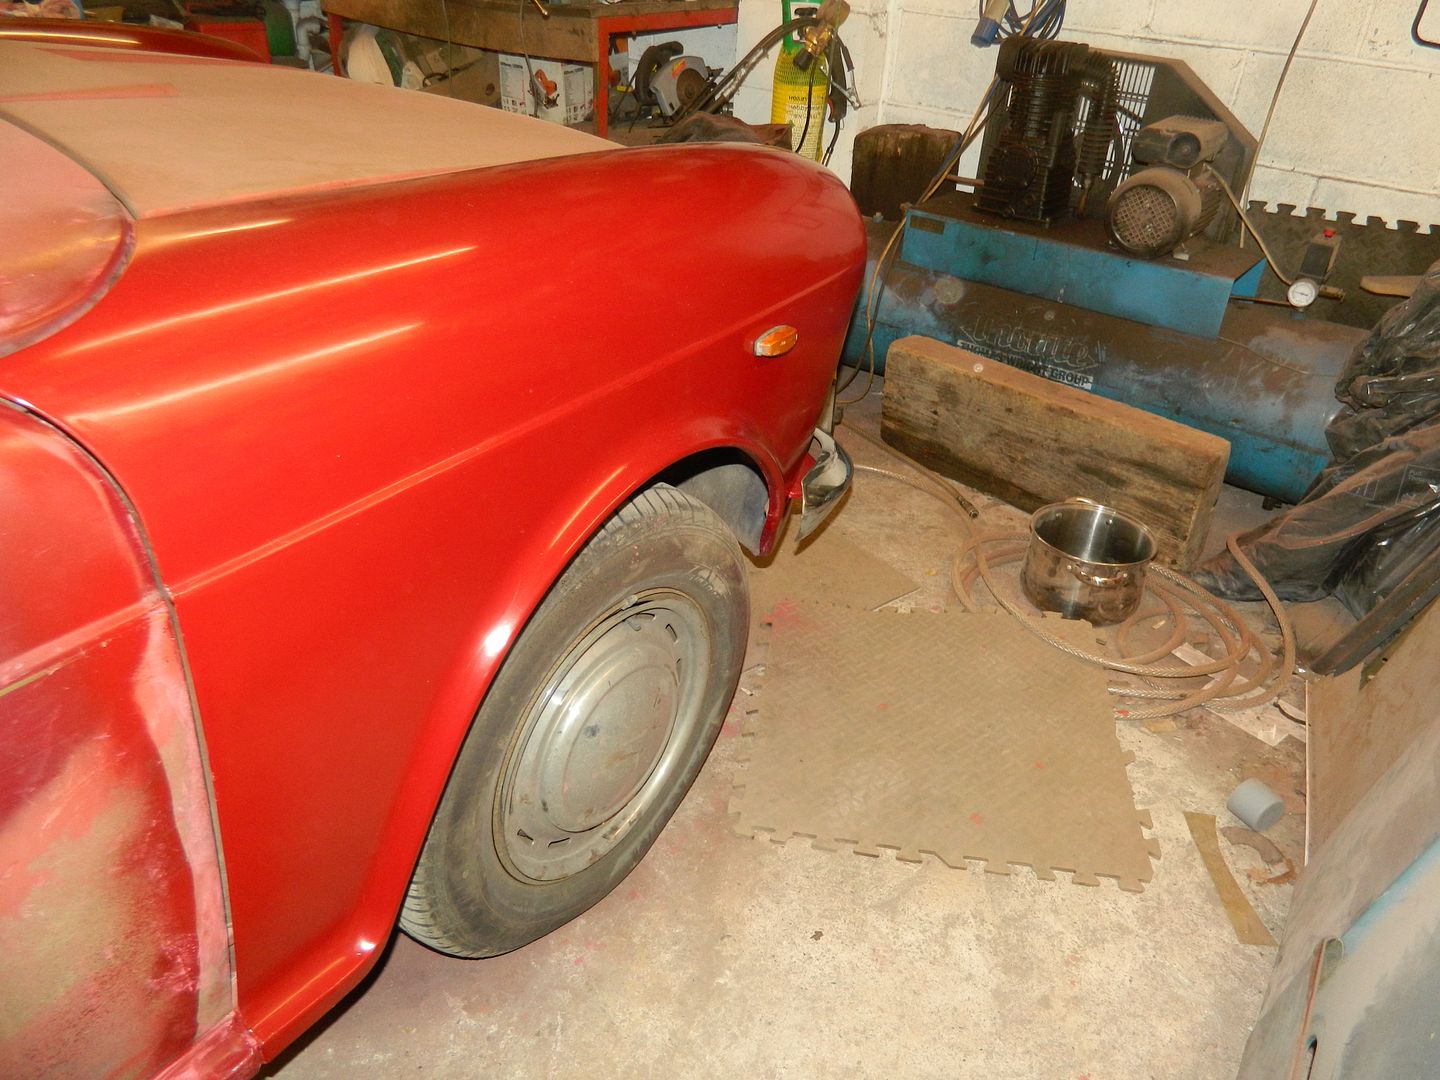 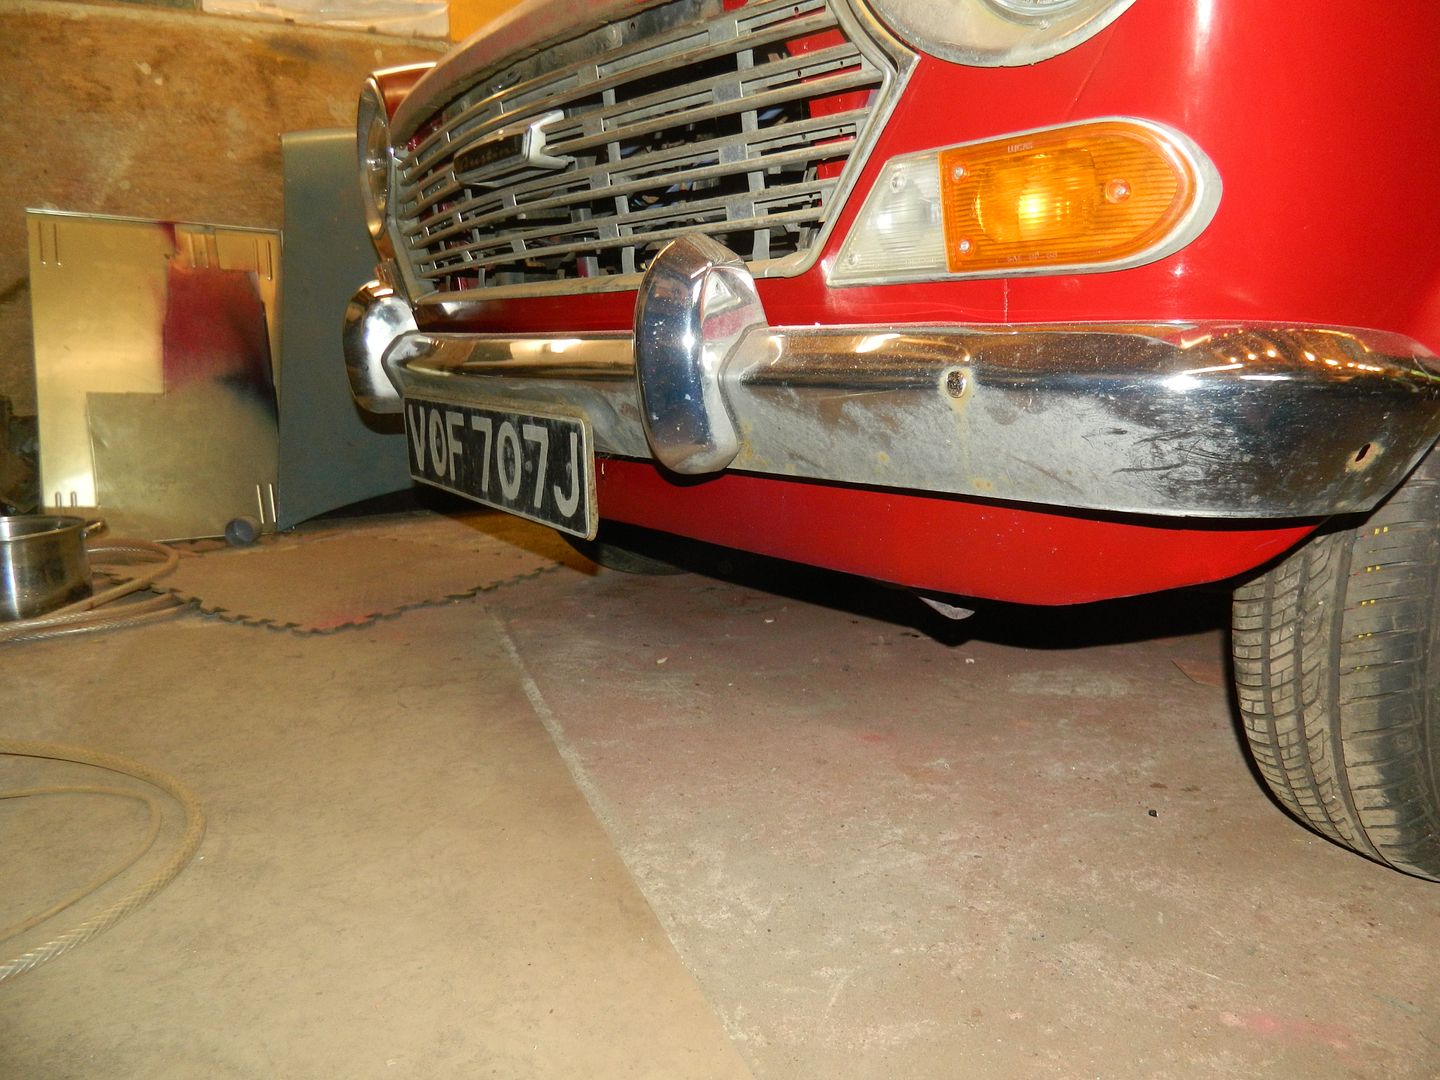 Quite pleased with that - certainly much better than it was. I'm going to do that blue bonnet next. P45. |
|
|
|
Post by penguin45 on Jun 17, 2017 17:50:02 GMT
The blue bonnet is now a red bonnet. I suspect that it's from a MkI car, as the holes for the badge do not align with the badge for the car. This actually a bit of a headache. Using the top pinhole gives this: 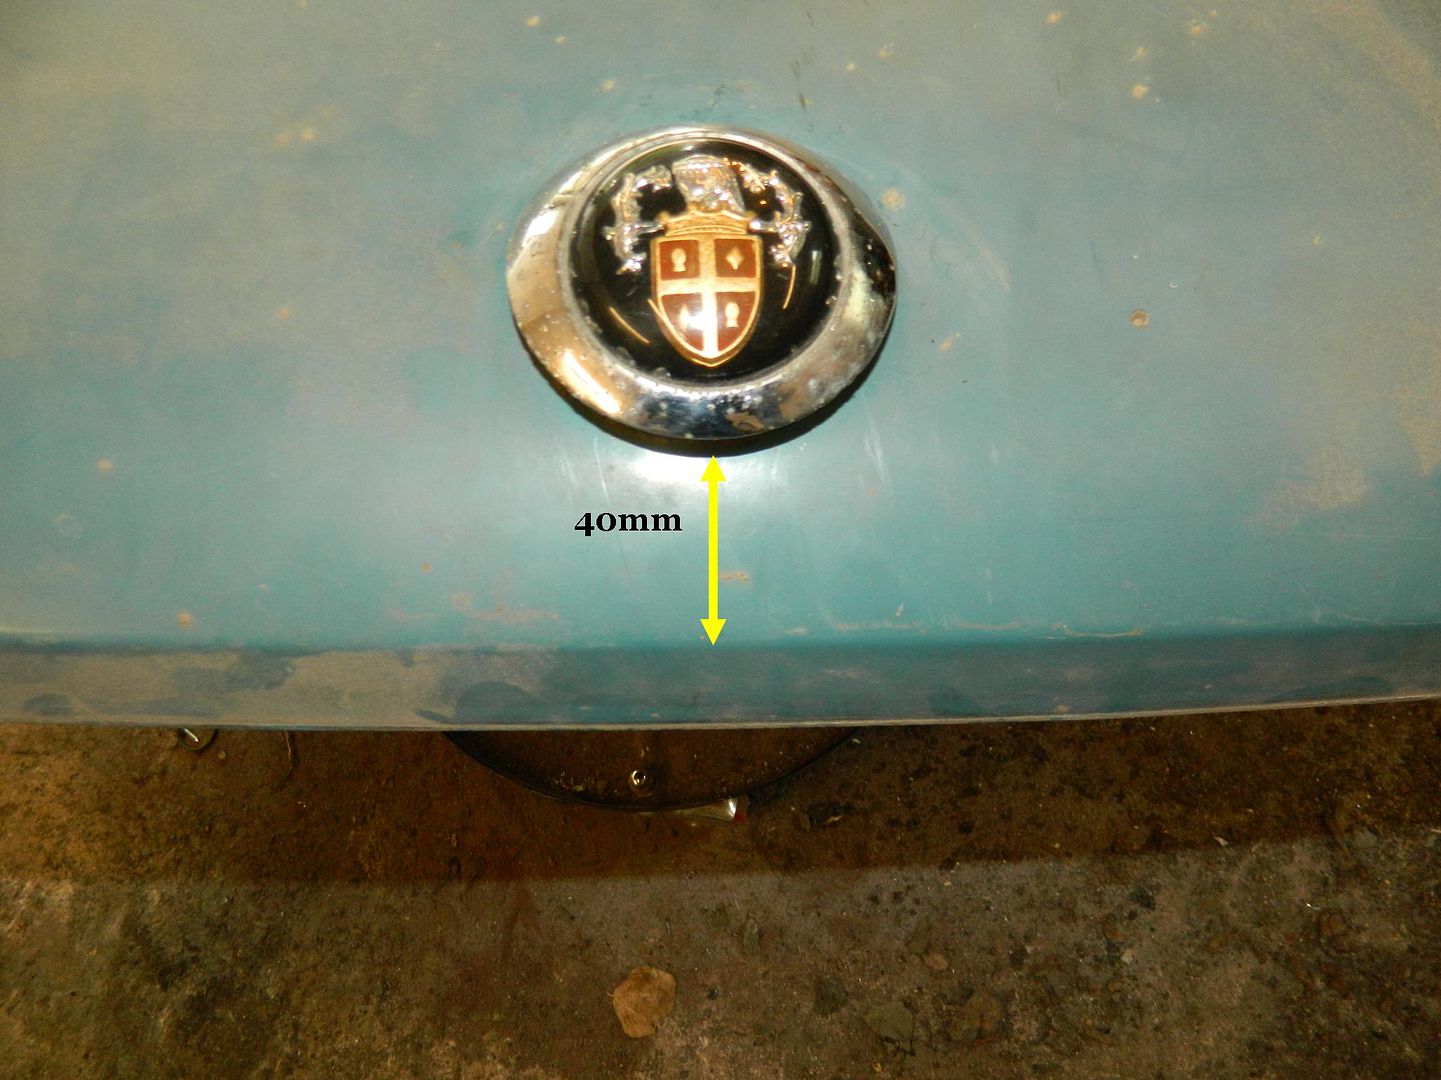 I think the gap should be larger, but have so far failed to find the answer. 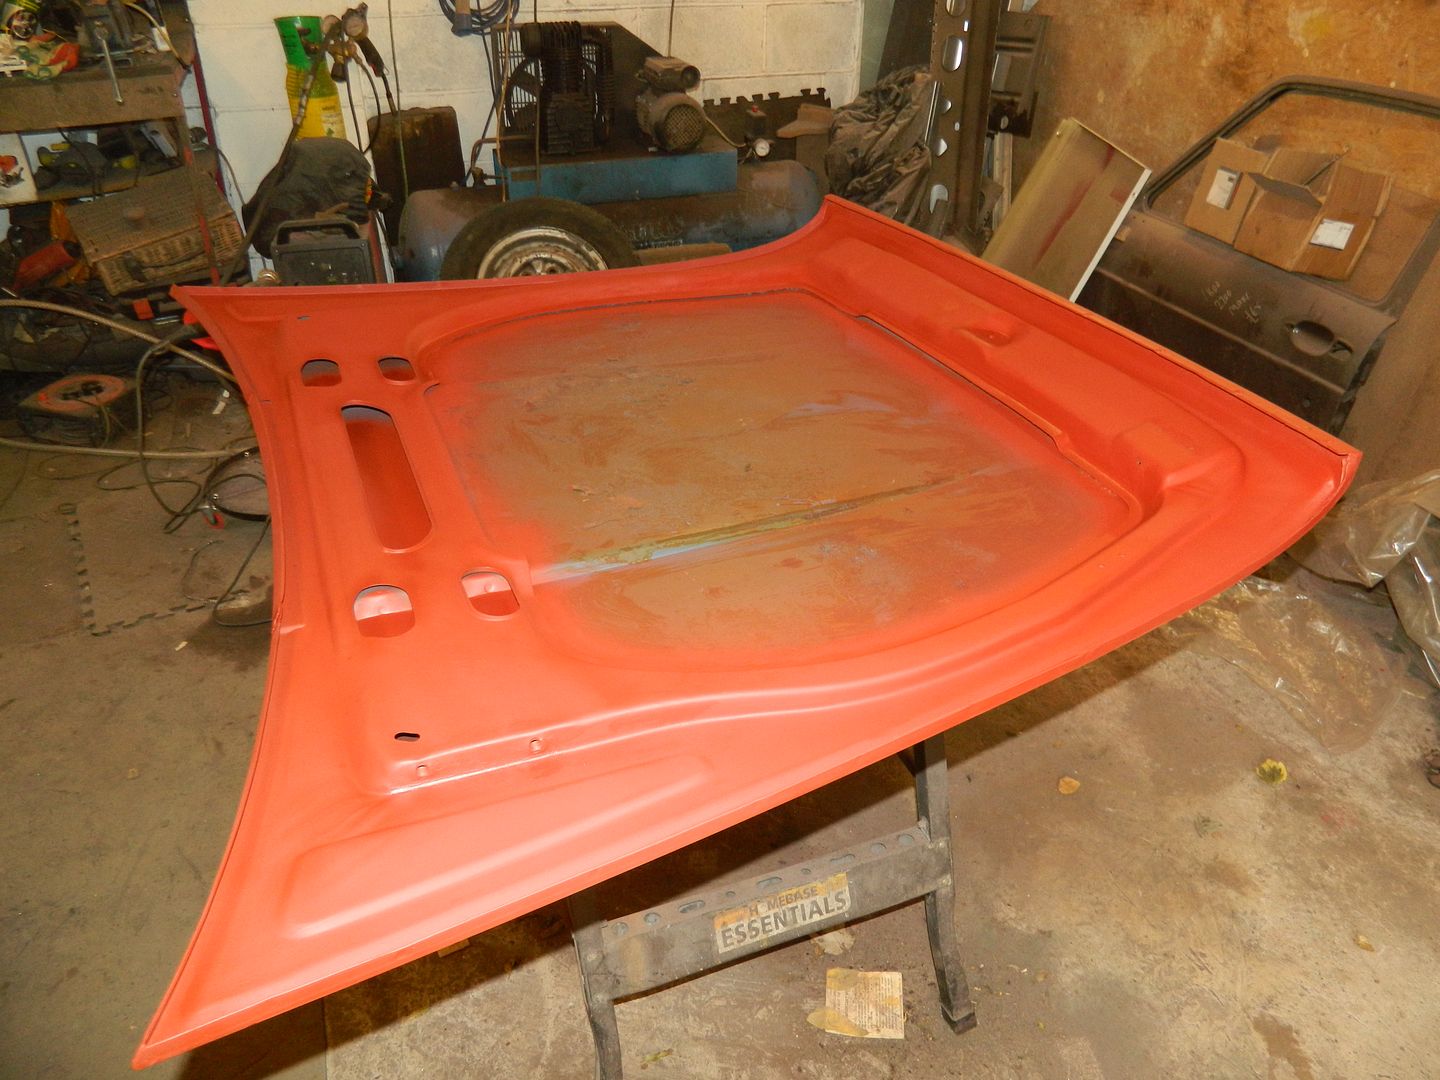 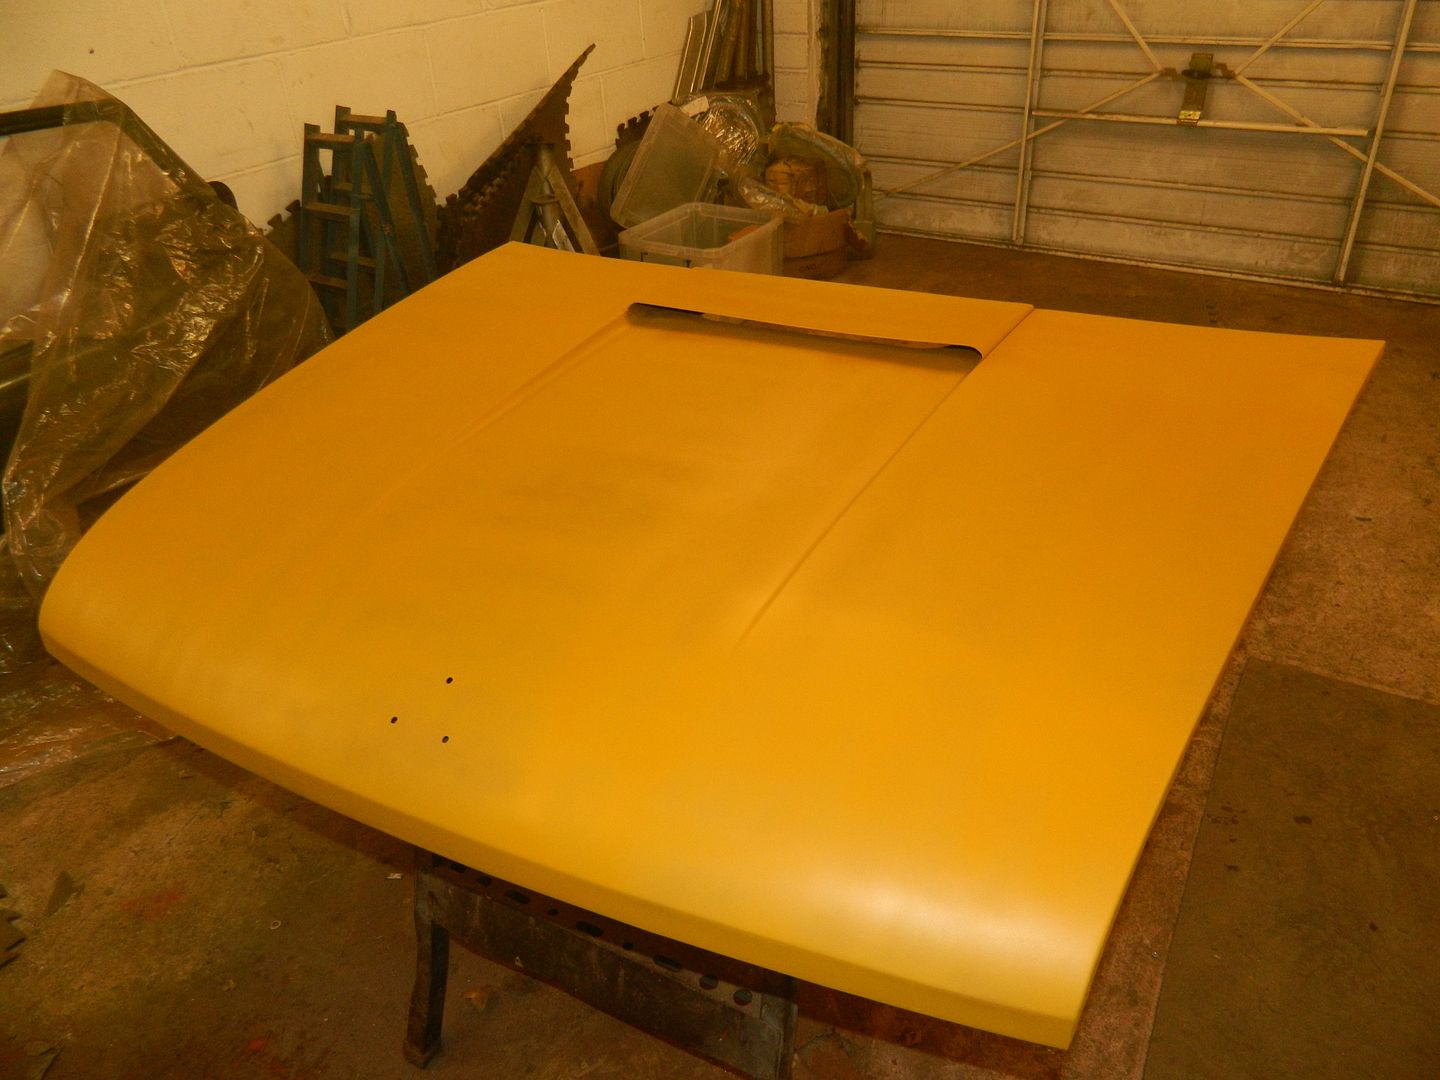 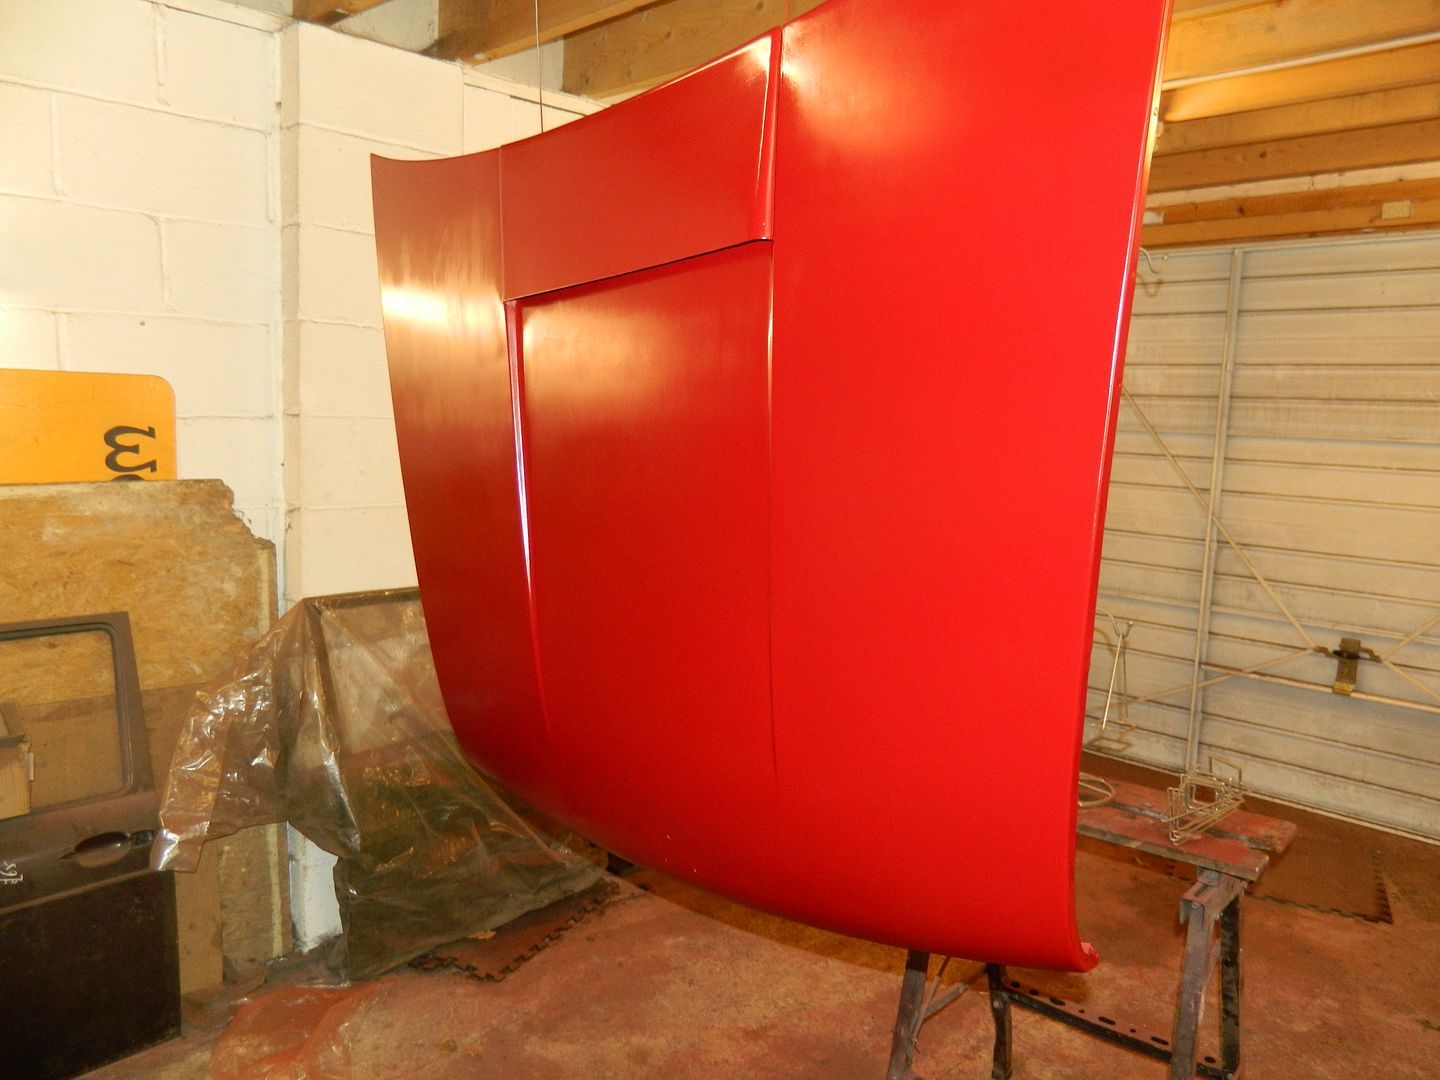 Hasn't stopped me painting it though. It's had another coat since then and looks quite decent. P45. |
|
|
|
Post by penguin45 on Jun 18, 2017 17:38:54 GMT
Seeing as today has been the hottest day of the year by far, I spent it flatting, compounding and polishing. I'm pretty sure I've sweated off a few pounds - perhaps no bad thing. 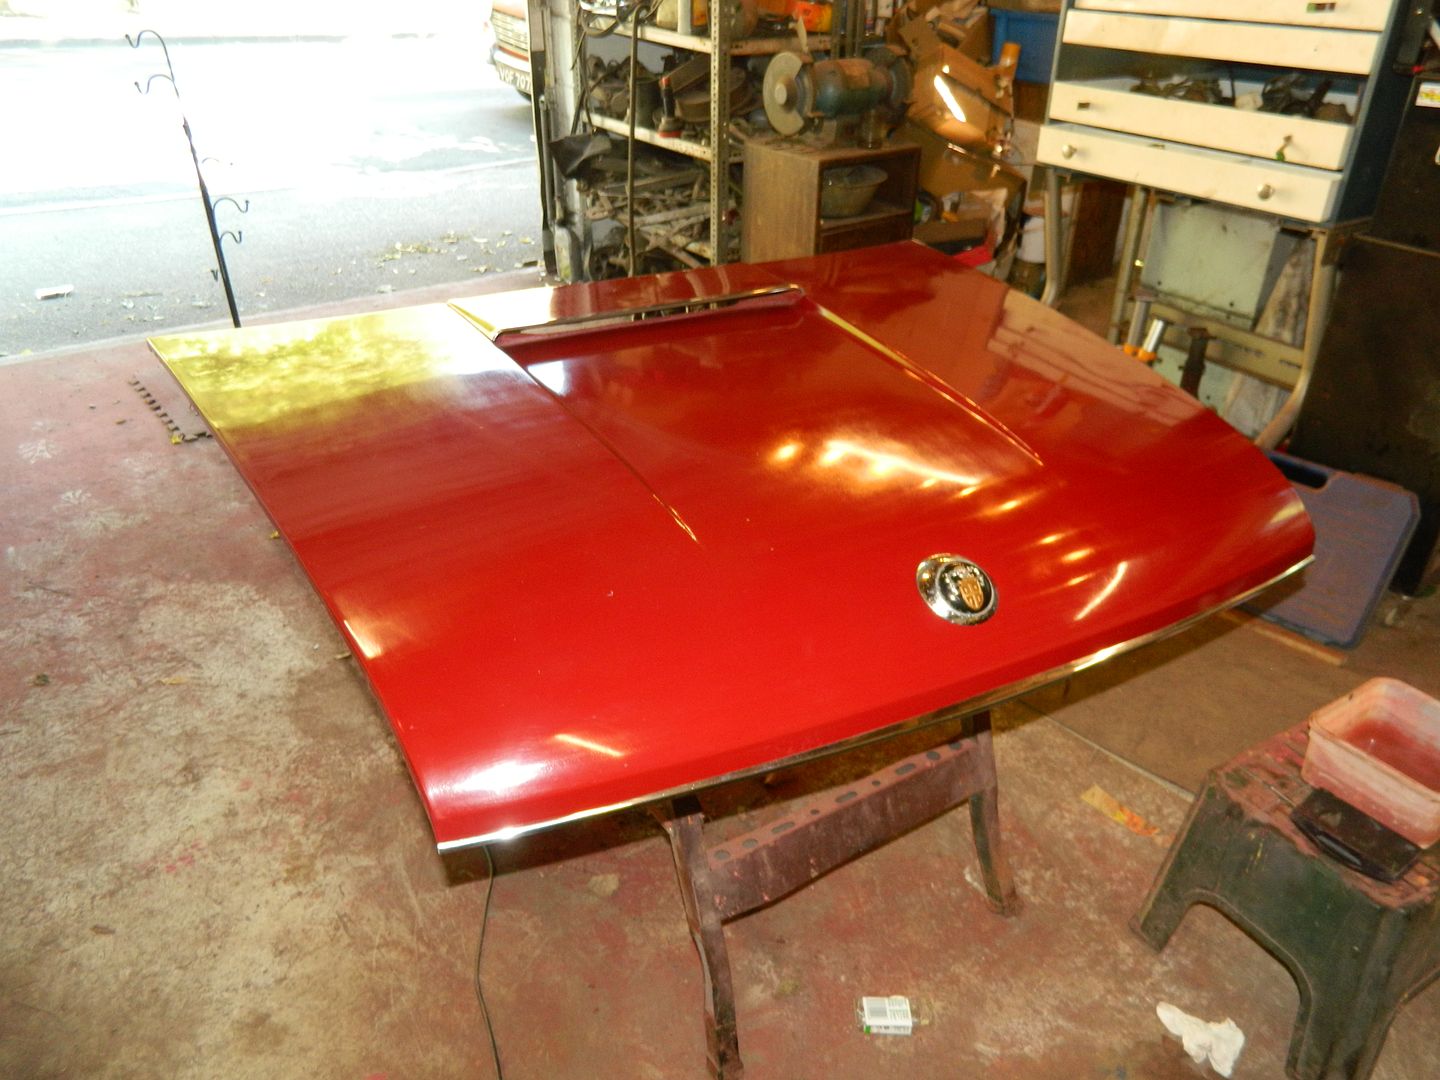 Anyway, pretty chuffed with that. Just the problem of fitting it to solve now. P45. |
|
|
|
Post by penguin45 on Jun 25, 2017 16:48:48 GMT
First problem was to fit the bonnet striker. 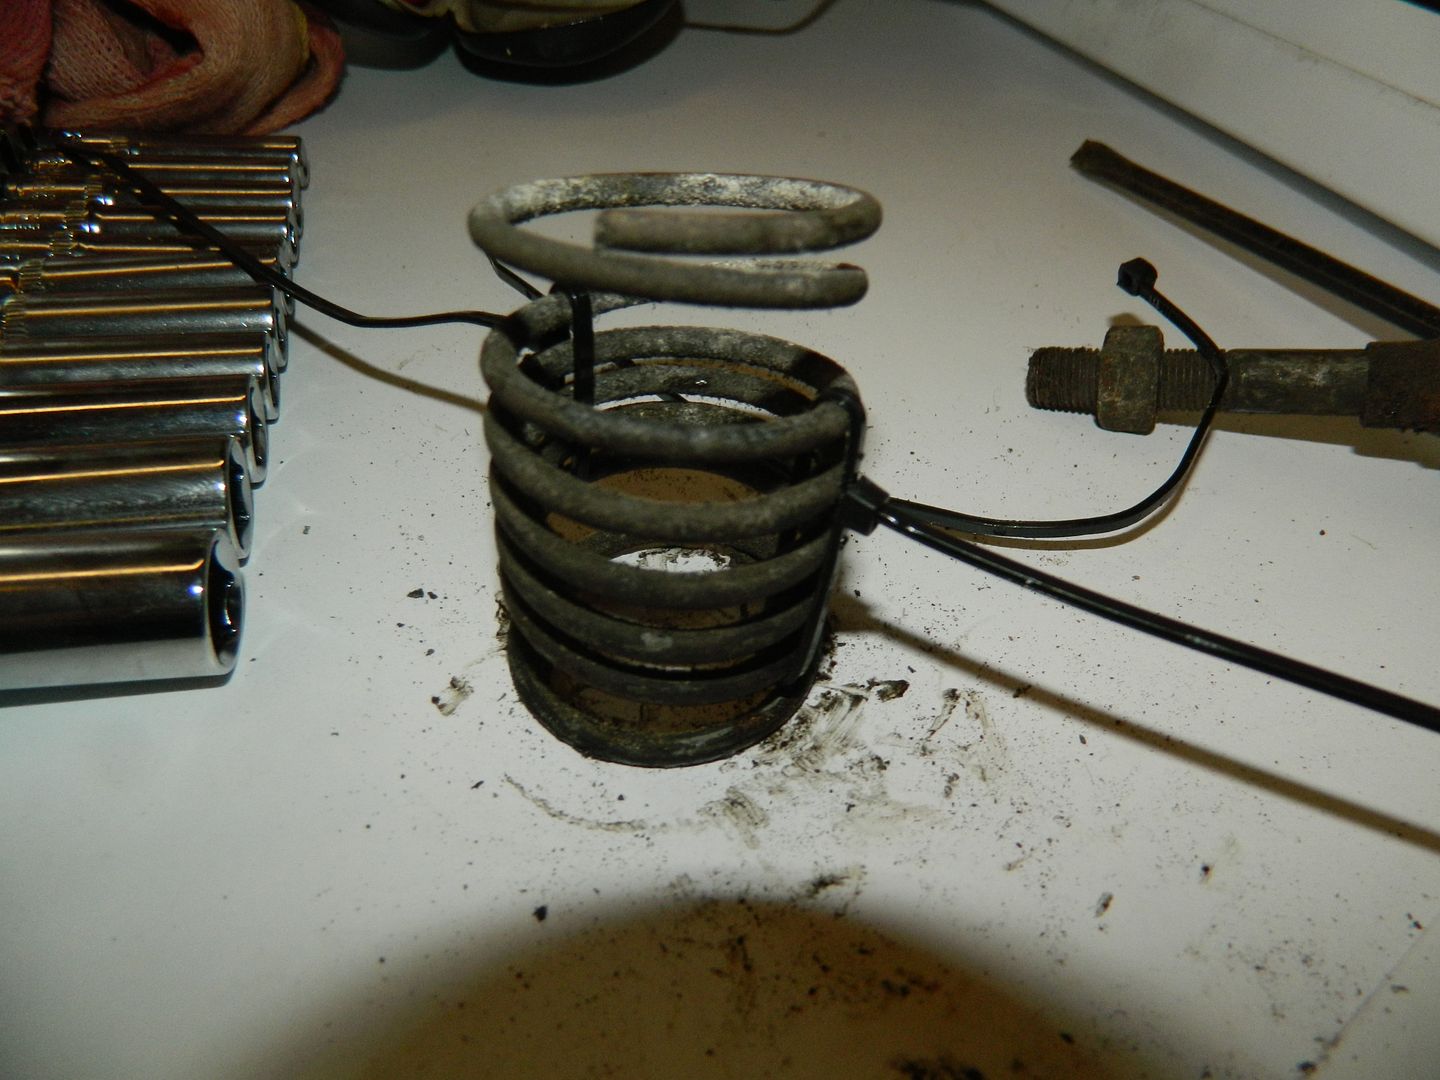 Couple of TyRaps - job done in moments. 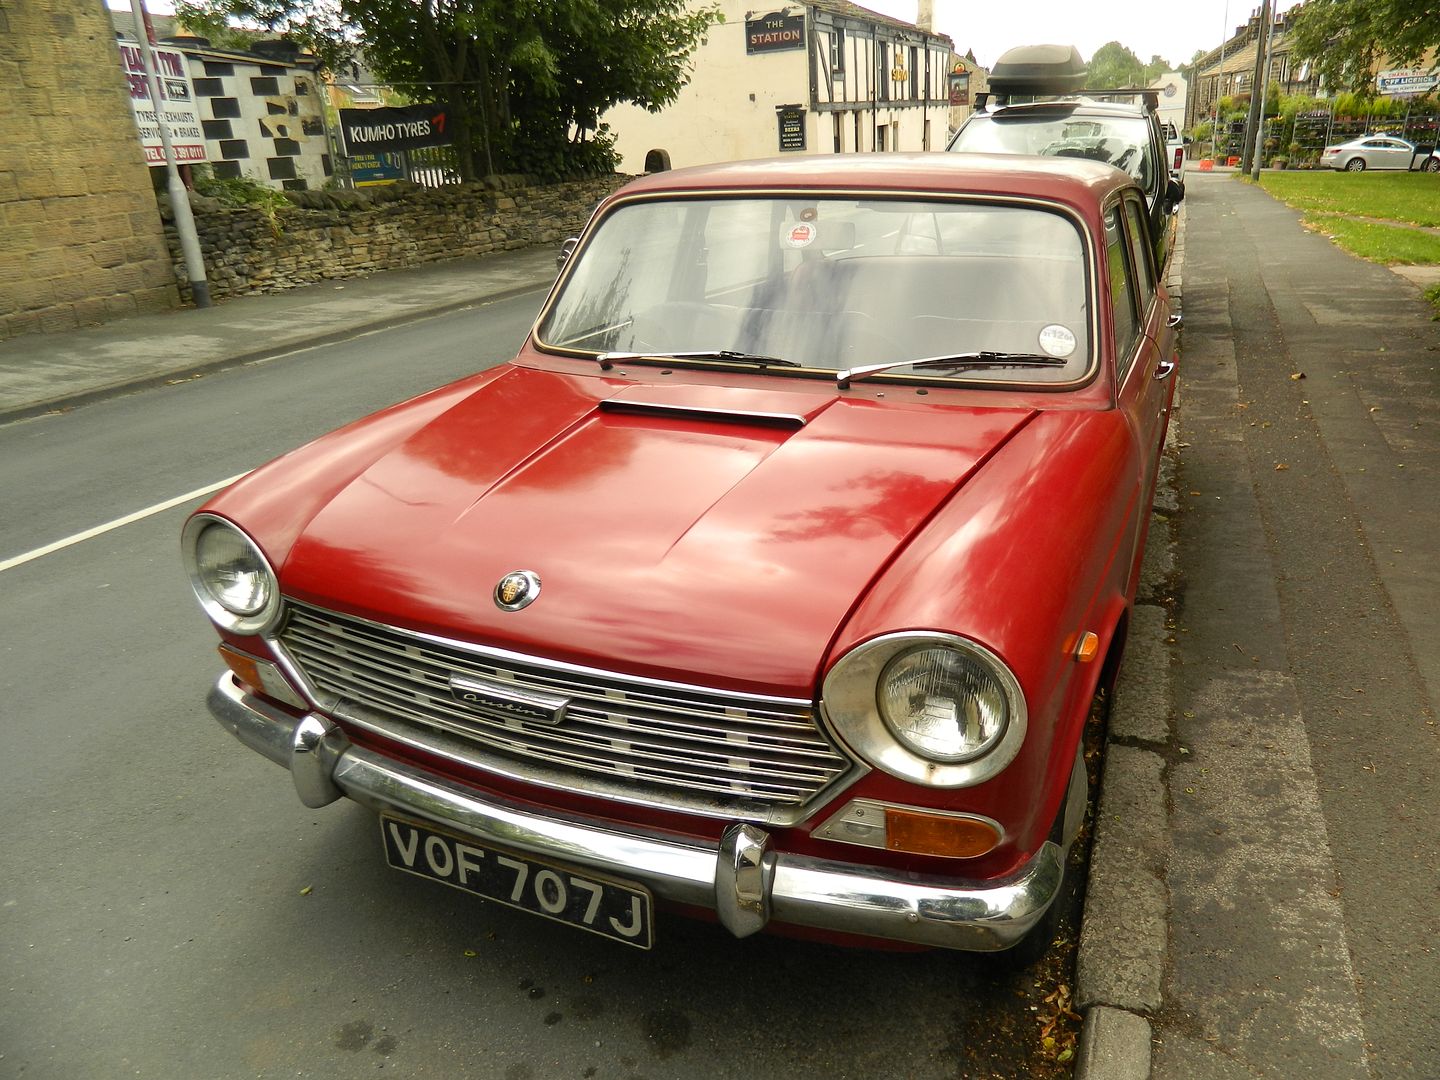 There. Doesn't look bad. P45. |
|