|
|
Post by penguin45 on Sept 9, 2017 0:06:12 GMT
This has been parked on grass for a good few years, with some of the inevitable consequences.  MX5 MX5 by Penguin 45, on Flickr  MX5 MX5 by Penguin 45, on Flickr Starting with the o/s chassis rail. Typical MoT stuff - plate slapped over rust and the whole lot's rusted out.  MX5 MX5 by Penguin 45, on Flickr Quite a bit to do to sort that out. Brake and fuel lines are in the way inboard as well. N/s inner wing needs major work and there's some weird corrosion under one of the headlights. And that's just what I've found so far. Deep and profound joy. P45. |
|
|
|
Post by penguin45 on Sept 9, 2017 19:24:27 GMT
Cleared out the rest of the grot from the chassis rail and made up several panels to repair it properly. 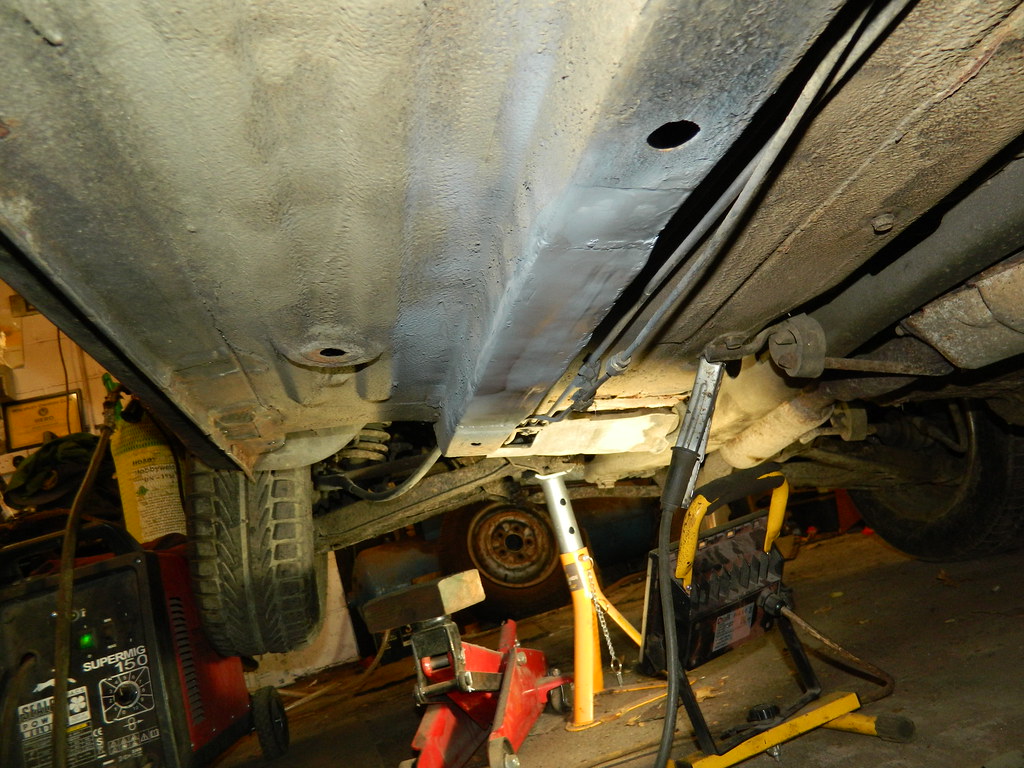 MX5 MX5 by Penguin 45, on Flickr In primer - now painted and undersealed. Inside of box section shot with cavity wax. Dotted in a few pin holes, wirebrushed off areas of loose underseal and re-did them. Onto the headlight... 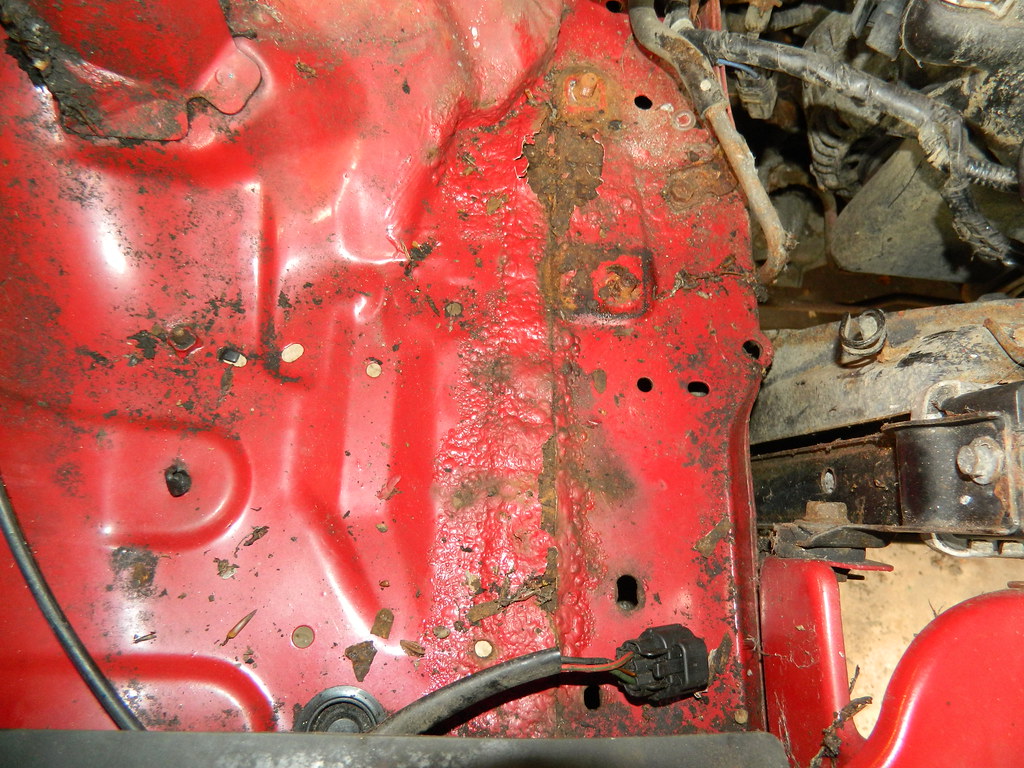 MX% MX% by Penguin 45, on Flickr Removing the entire pop-up assembly revealed the overlap seam running top to bottom in the photo. Water has worked its way under the edge and rotted the entire length from the inside out. 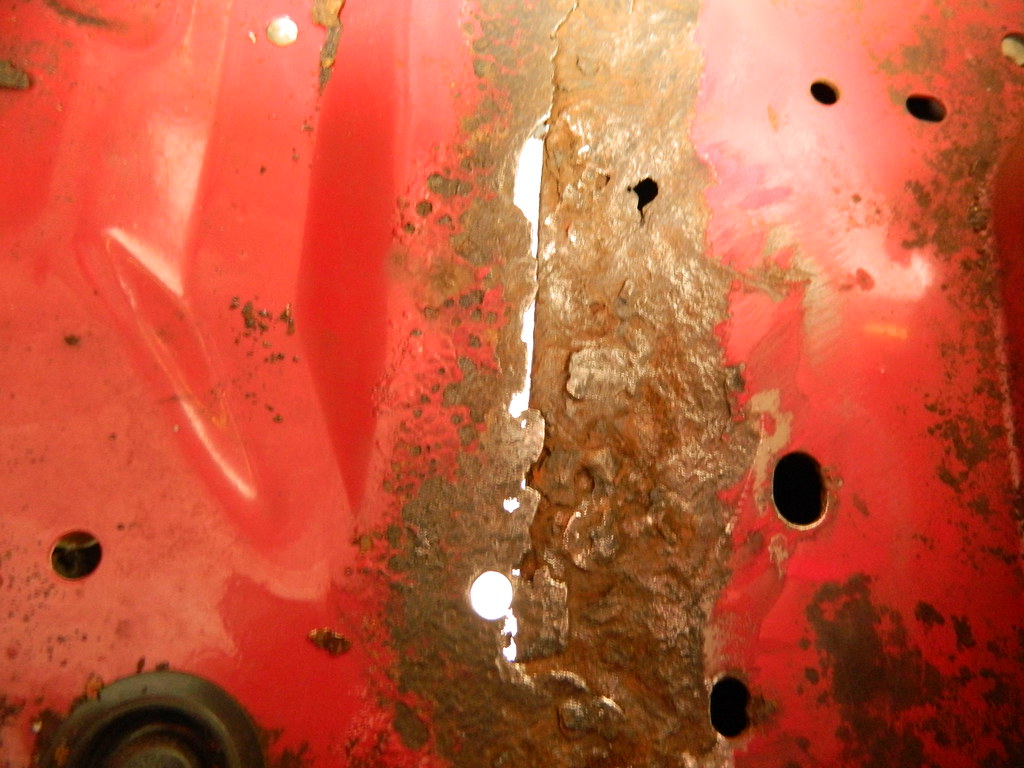 MX5 MX5 by Penguin 45, on Flickr After a pass with the wire wheel. Top flange has failed completely, areas of the panel beneath have also rotted away. 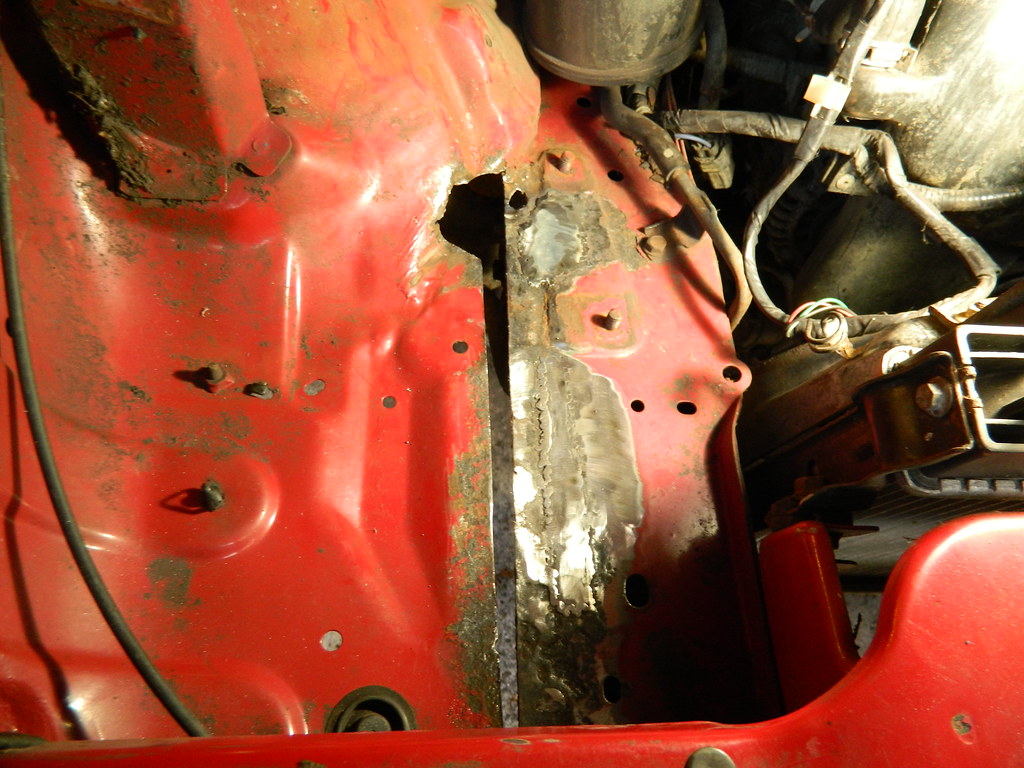 MX5 MX5 by Penguin 45, on Flickr Flange chopped away fully, first couple of panels let into top of chassis leg. 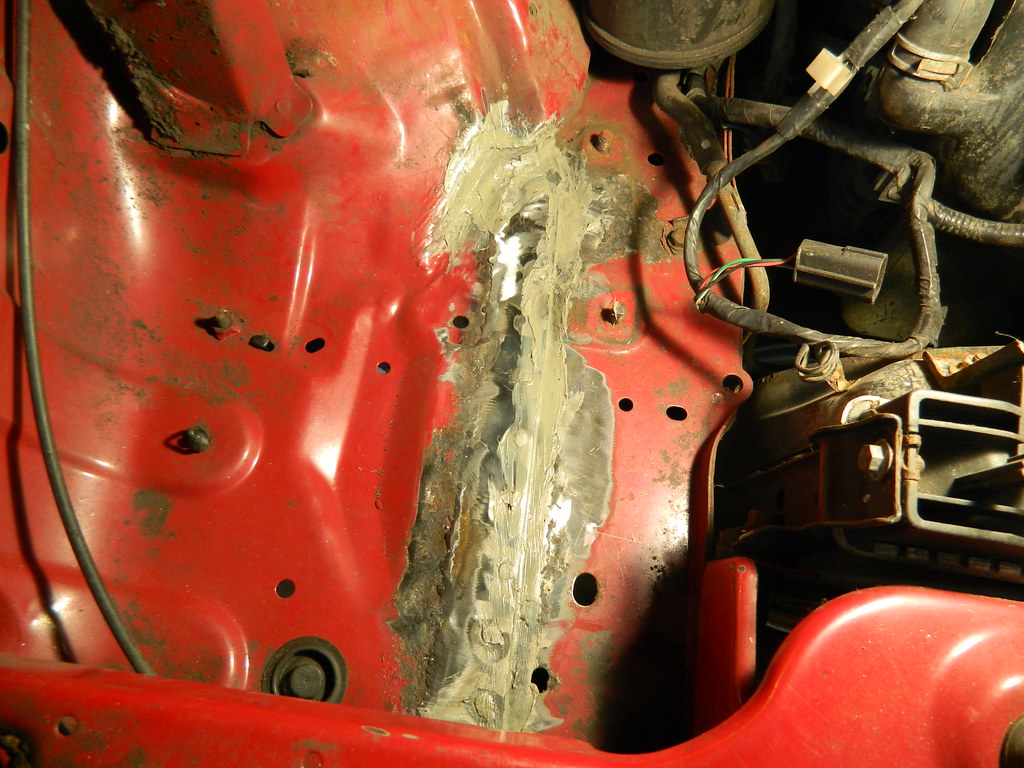 MX5 MX5 by Penguin 45, on Flickr And a new flange added. Butt and plug welded home; treated with seam sealer. I'll get that painted tomorrow. Small repair to do in the chassis leg below, then I can turn it round and do the really nasty repair. P45. |
|
|
|
Post by penguin45 on Sept 10, 2017 17:30:39 GMT
Shot some red paint over the repairs under the headlight unit. 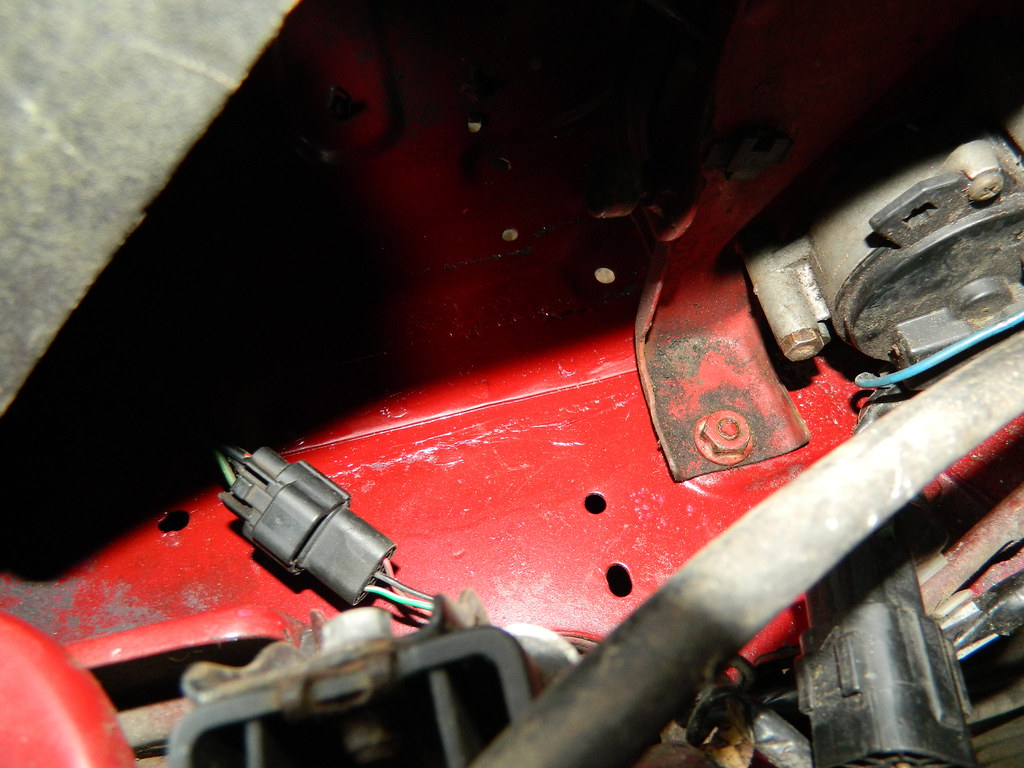 MX5 MX5 by Penguin 45, on Flickr Luvverley. 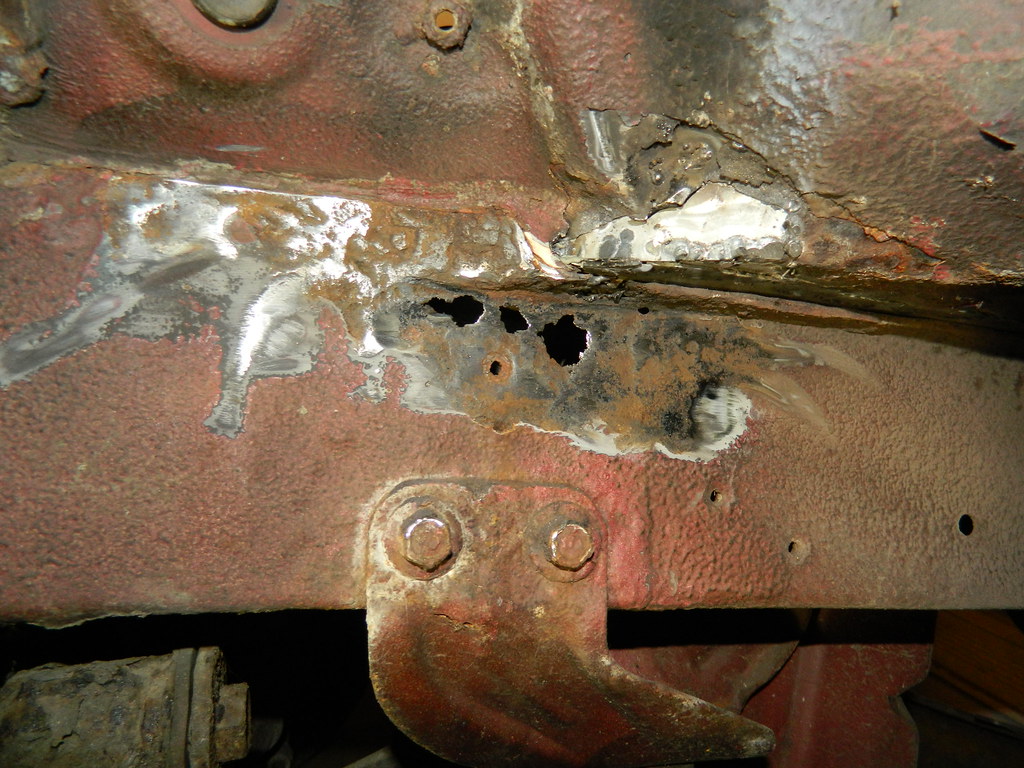 MX5 MX5 by Penguin 45, on Flickr Into the chassis rail. It was only a little swipe with the wire wheel, honest. 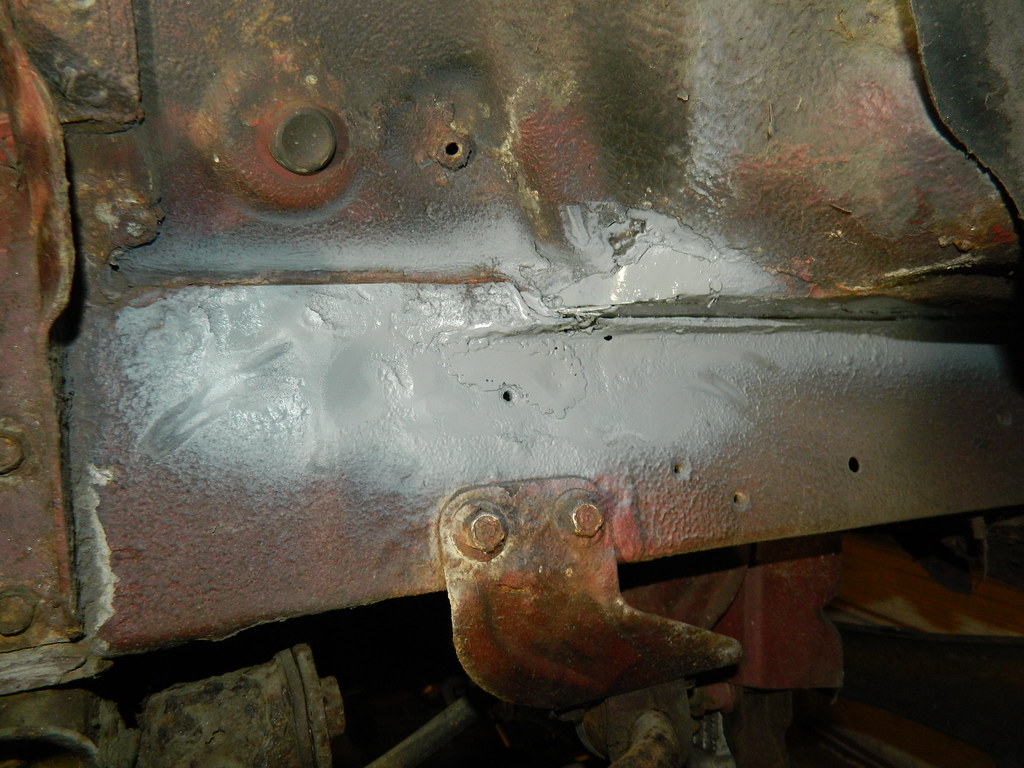 MX5 MX5 by Penguin 45, on Flickr Ground the rot away. Awkward little panel welded home, flatted and primed. 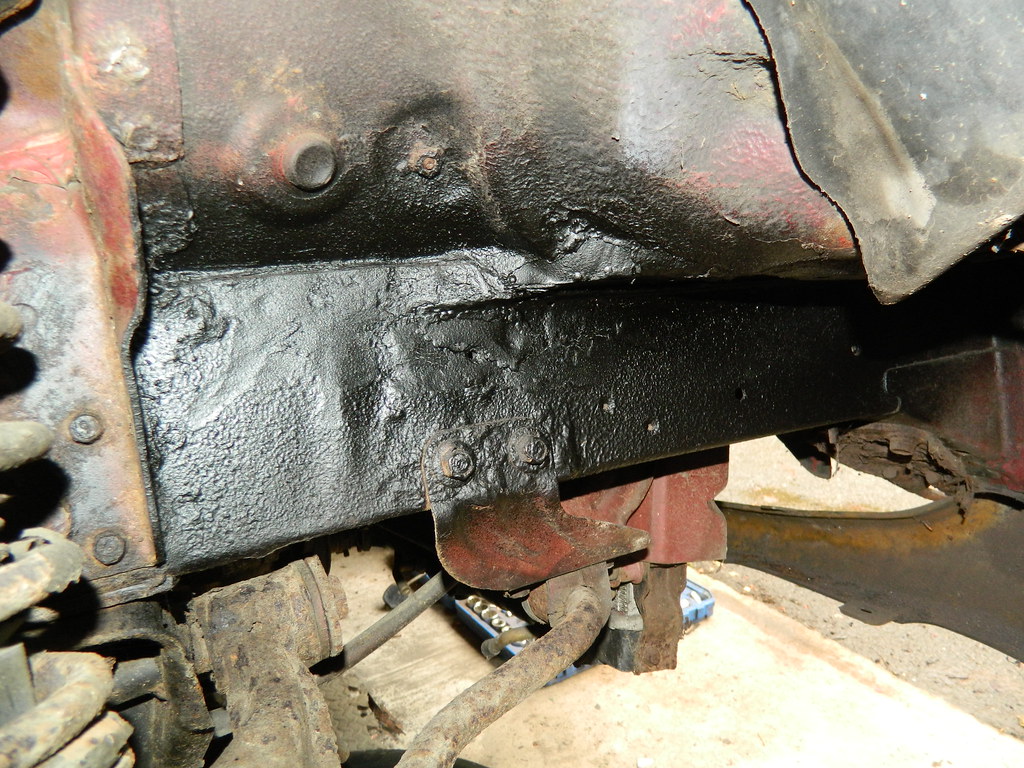 MX5 MX5 by Penguin 45, on Flickr All painted with VTP top coat then undersealed. This included the reverse side of repairs in the headlight area above. Lee, the owner, has popped round and seems happy enougnh with how things are going. He also brought round a large shiny chrome tip for the exhaust. I was going to turn the car round and get started on the inner wing repair, but I haven't had my steel delivery yet, which I will need for the large sections required. I welded the tip on instead.  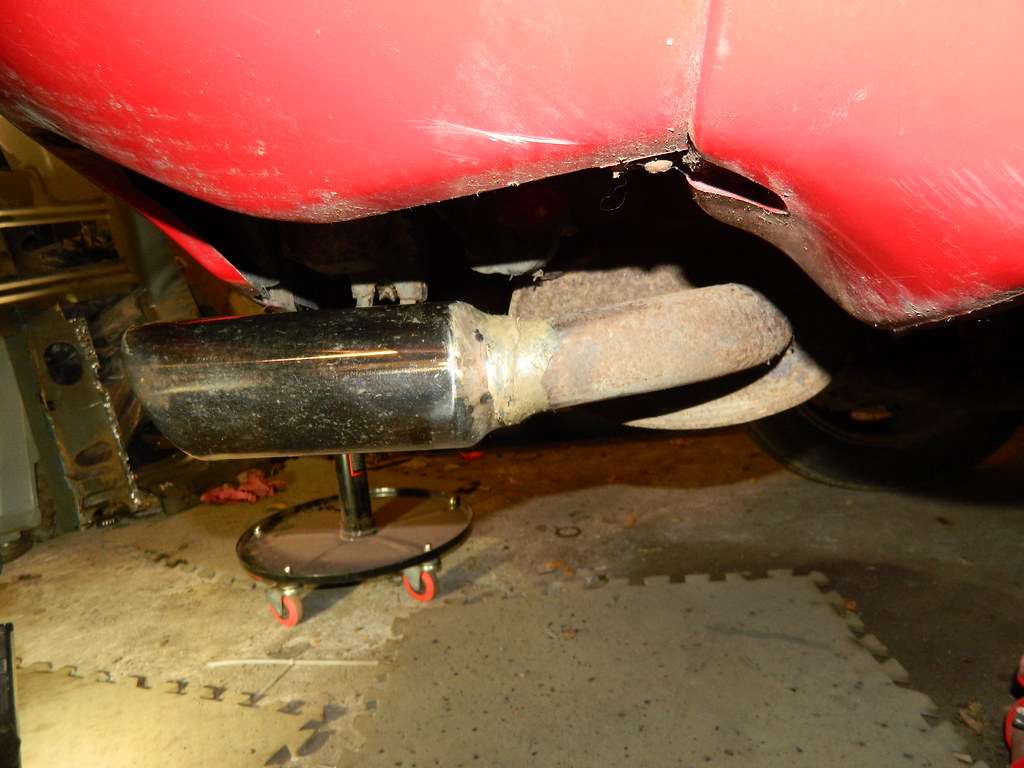 MX5 MX5 by Penguin 45, on Flickr Exhaust pulled down off its rubbers to allow access, but still b-awkward. A smear of GunGum has been used on the belt, braces and safety pins principle. We'll get started on the inner wing tomorrow. P45. |
|
|
|
Post by penguin45 on Sept 11, 2017 19:17:25 GMT
And on to the main event. Couple of hours to get the (battered) n/s wing off as the numerous M6 fittings stuck or broke in a random fashion, finlly revealing: 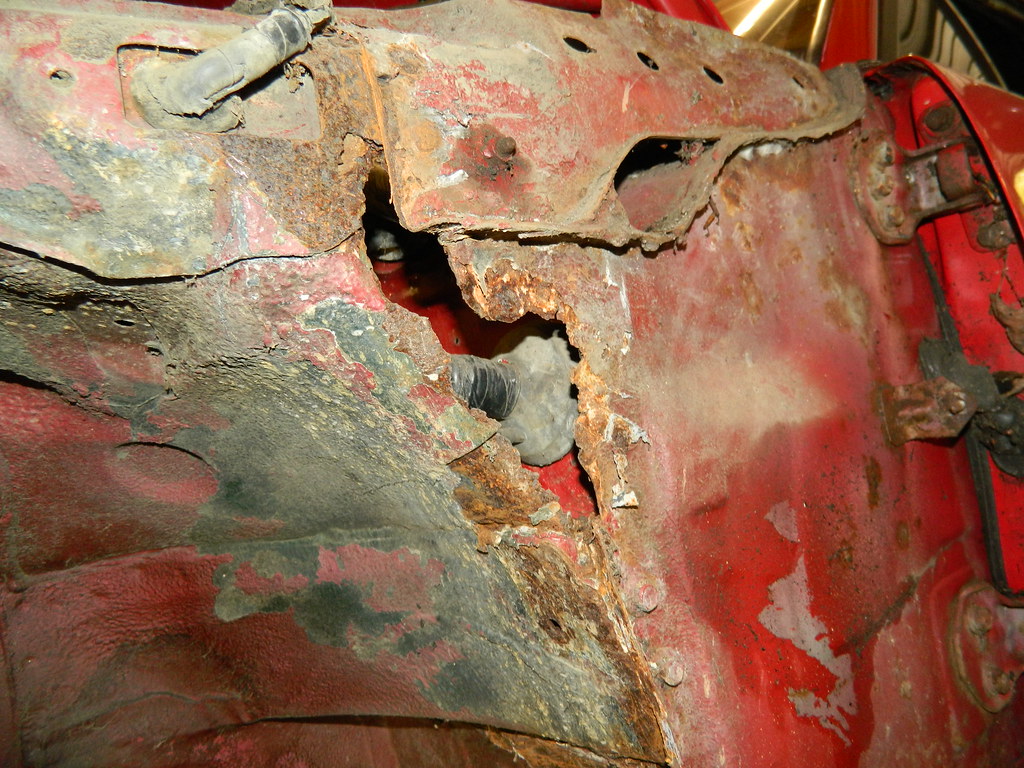 MX5 MX5 by Penguin 45, on Flickr Tadaa! That's horrible. 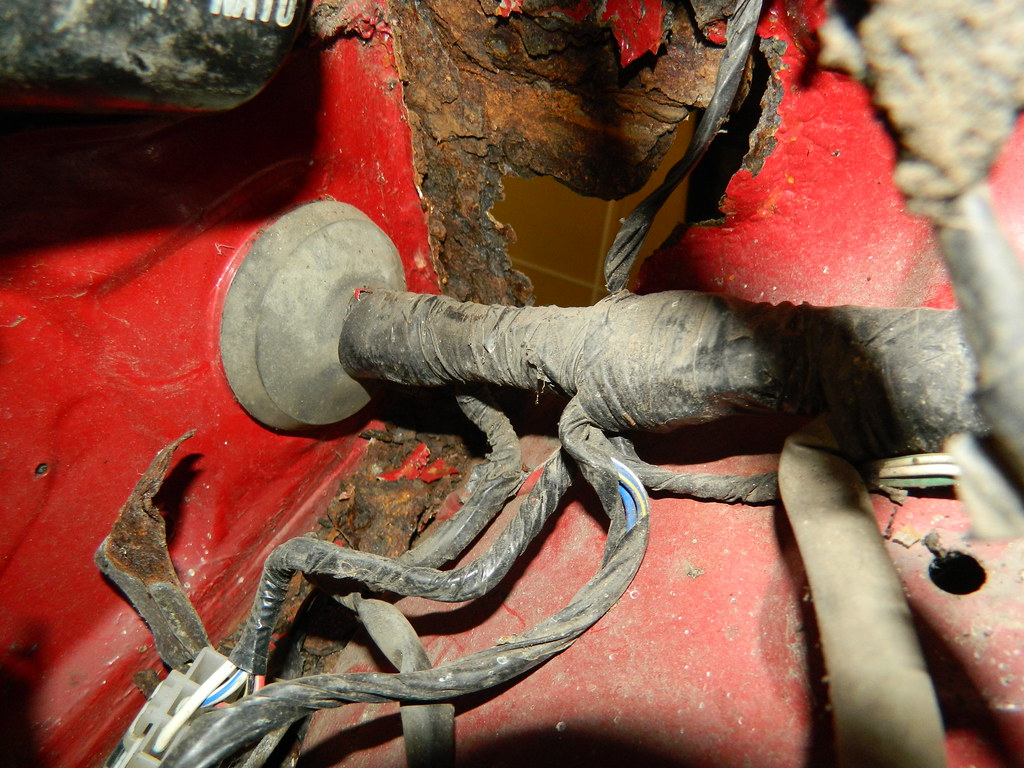 MX5 MX5 by Penguin 45, on Flickr And that big multi-core is right in the way, so I'm going to have to do all of it from the outside. What looks like rust at the bottom is just loose crud. 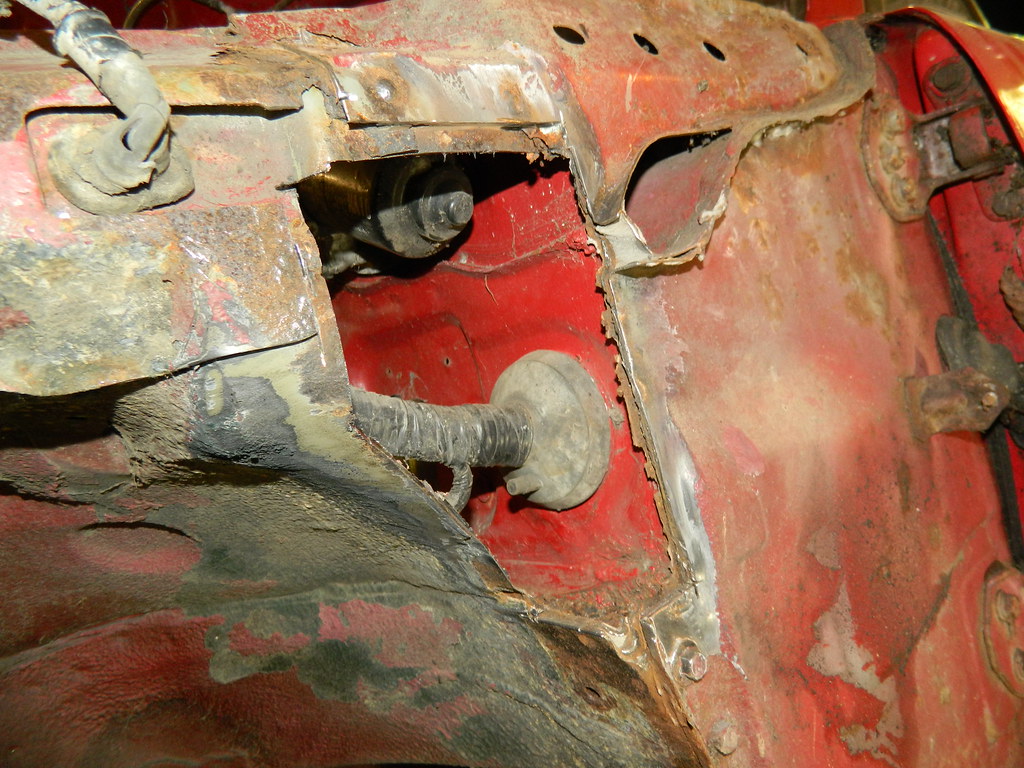 MX5 MX5 by Penguin 45, on Flickr That's better. Nice big clean hole. 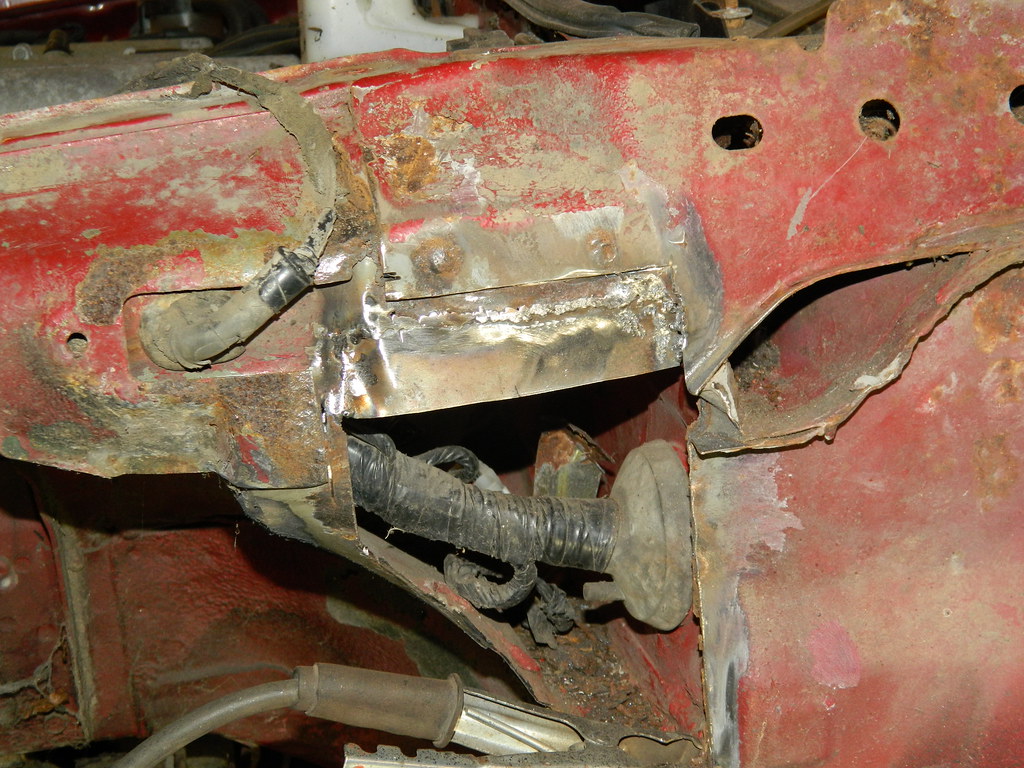 MX5 MX5 by Penguin 45, on Flickr Several layers to be built up, so this is the top inner panel. 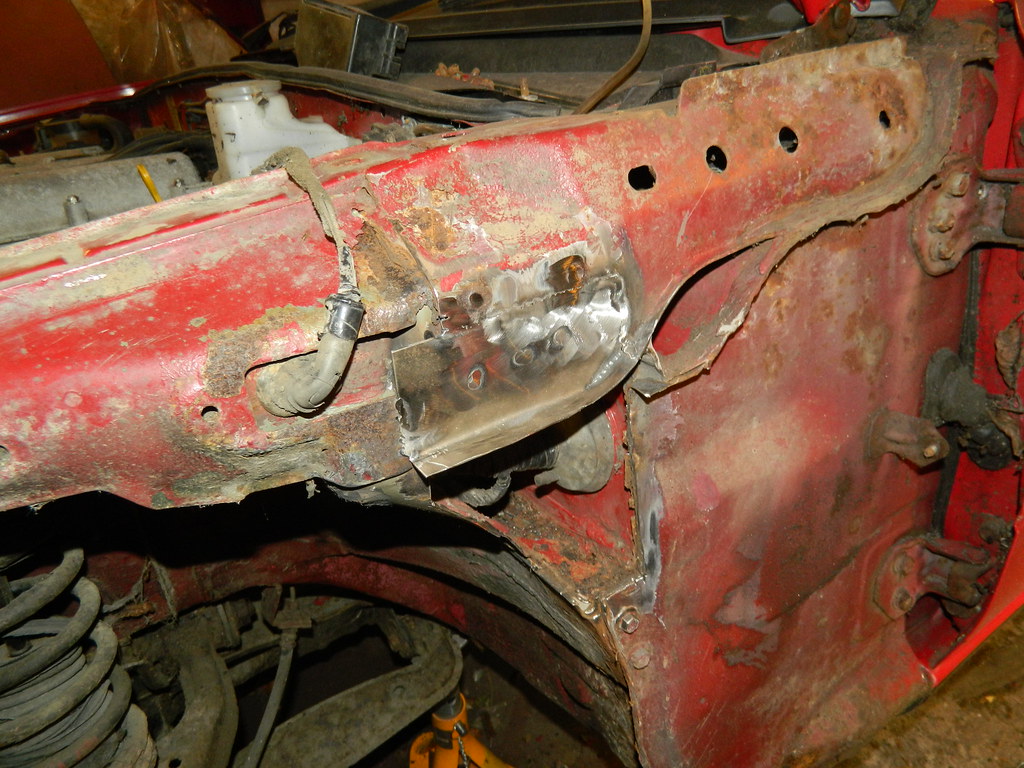 MX5 MX5 by Penguin 45, on Flickr And the top outer one. More to come.... P45. |
|
|
|
Post by Father Ted on Sept 12, 2017 20:58:35 GMT
Fantastic work there Mr Penguin.
I wish you lived near to me.
|
|
|
|
Post by genegenie on Sept 13, 2017 19:37:51 GMT
Some hard work there but amazing so far Mr P! Hadn't realised how badly they could rot now but over 20 years have passed for that car.
|
|
|
|
Post by penguin45 on Sept 13, 2017 20:19:35 GMT
Cheers chaps.  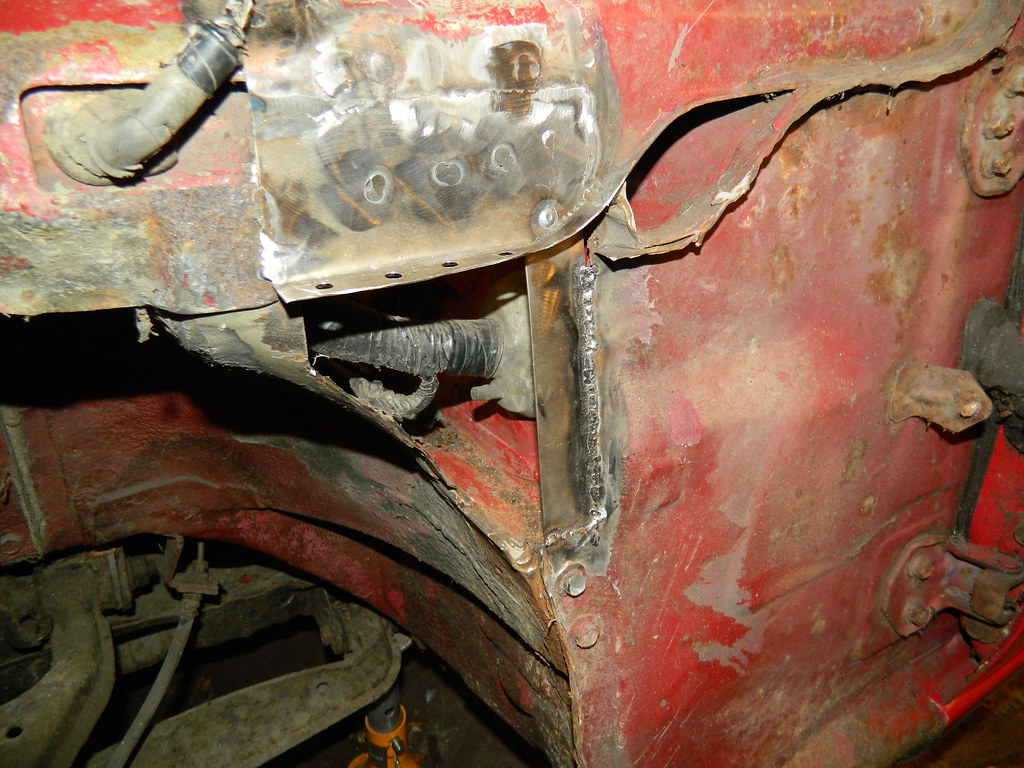 MX5 MX5 by Penguin 45, on Flickr Side doubler added. 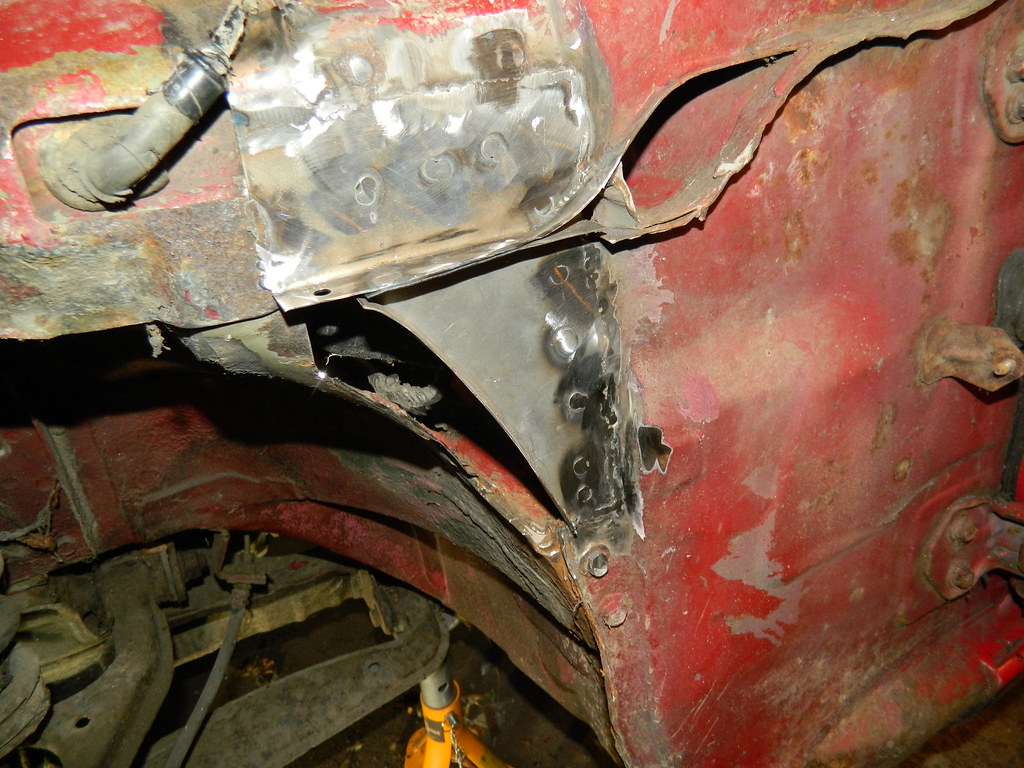 MX5 MX5 by Penguin 45, on Flickr Outer side panel. Flanges around two sides, plug and butt welded. I've made the front piece and tacked it home. Complex and difficult shape. I'll get it welded home and flatted back tomorrow. P45. |
|
|
|
Post by penguin45 on Sept 14, 2017 17:27:43 GMT
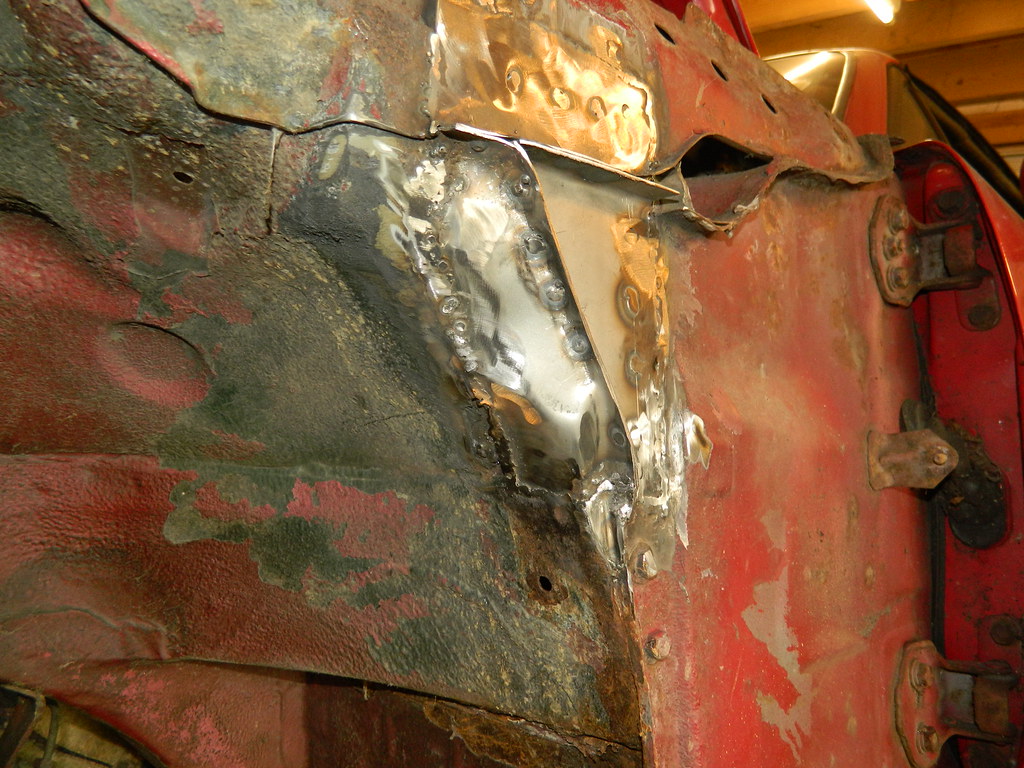 MX5 MX5 by Penguin 45, on Flickr  MX5 MX5 by Penguin 45, on Flickr Front closing panel done. All now primed, seam sealered, painted and undersealed. 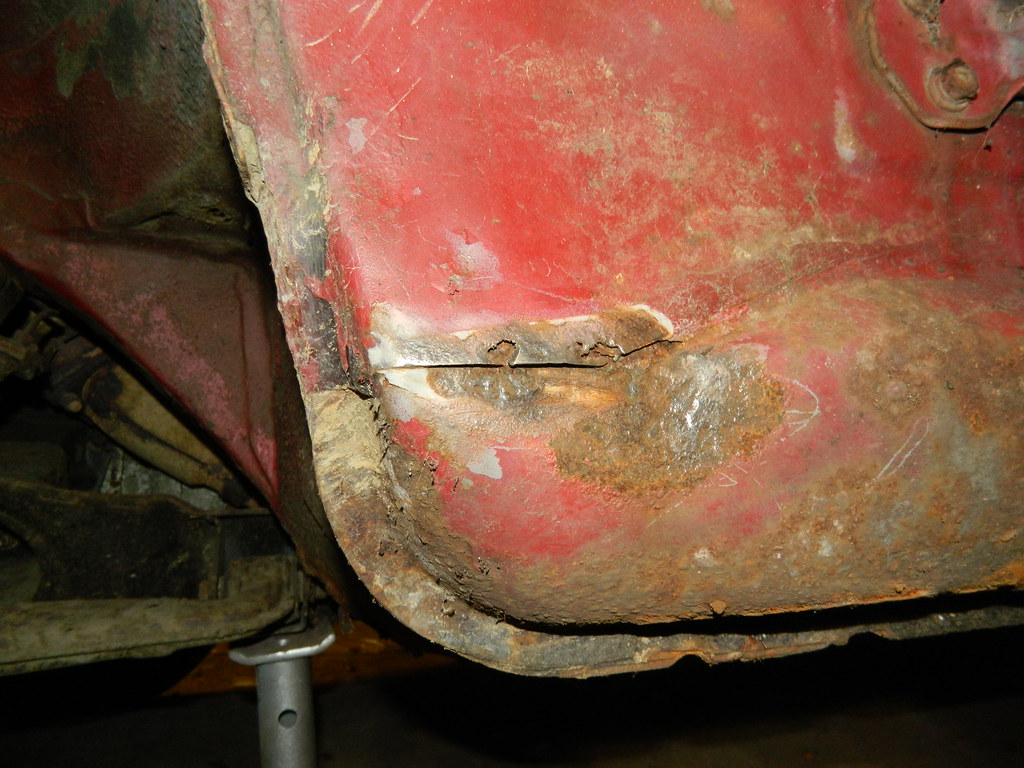 MX5 MX5 by Penguin 45, on Flickr Burst and rotten seam at the front of the sill. 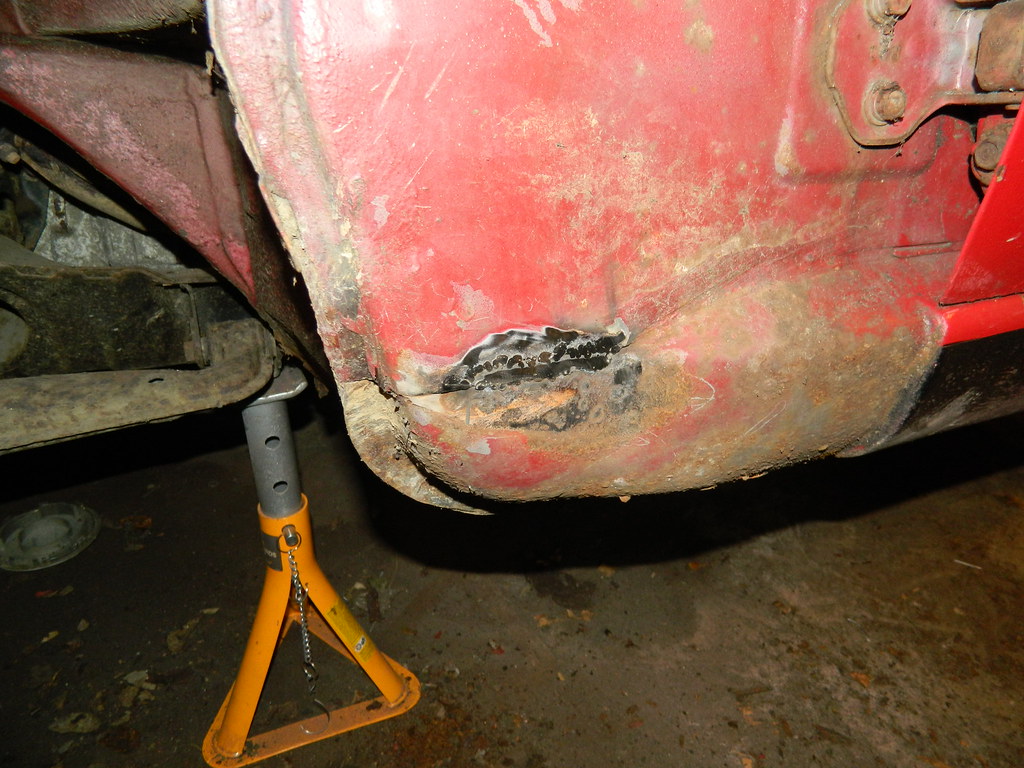 MX5 MX5 by Penguin 45, on Flickr Cut away and replaced.  MX5 MX5 by Penguin 45, on Flickr So just this bit at the front of the chassis rail to sort out and it's done. P45. |
|
|
|
Post by penguin45 on Sept 16, 2017 17:24:12 GMT
Got it finished today. First off the bumber stability bar. 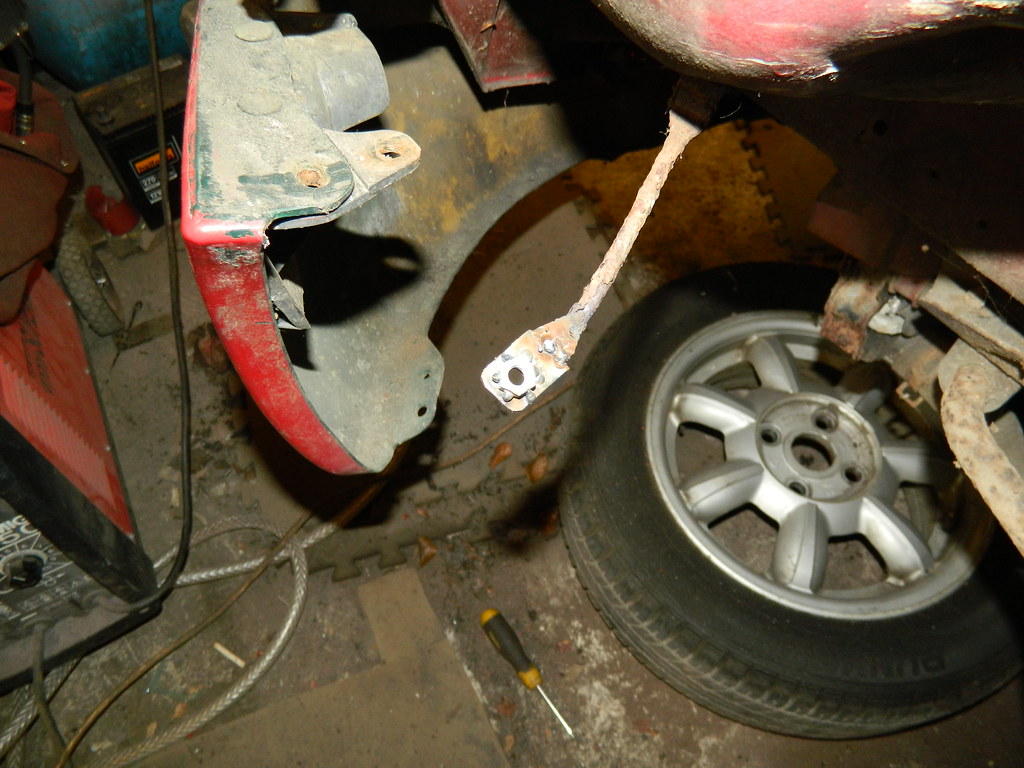 MX5 MX5 by Penguin 45, on Flickr M6 bolt sheared off upon removal. Quickest and simplest solution was to make a new endy-bit. 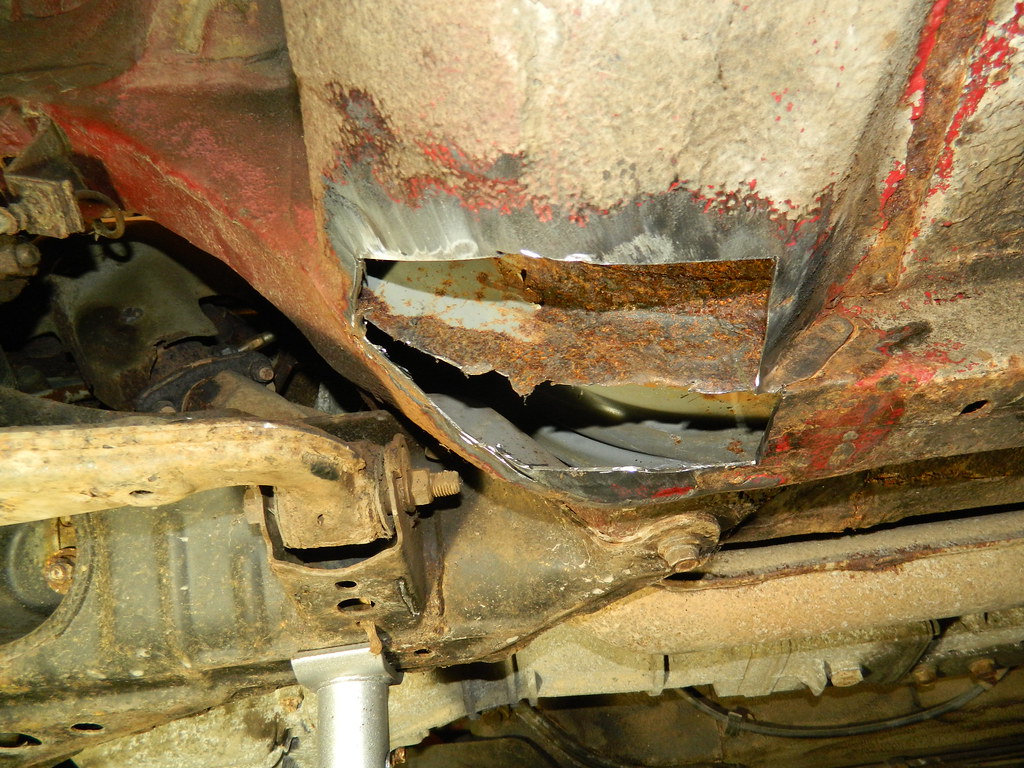 MX5 MX5 by Penguin 45, on Flickr Back to the chassis rail. Turned into a big hole when the rust was fully chased out. Centre drop down panel had to be trimmed back and the rest treated with rust killer. 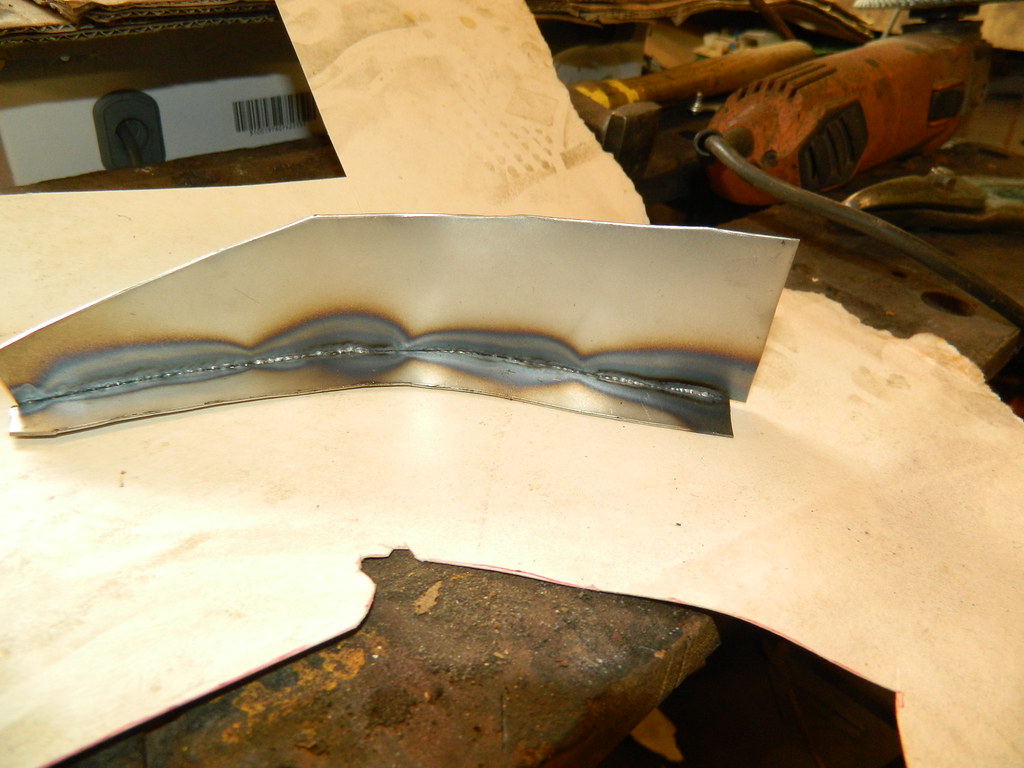 MX5 MX5 by Penguin 45, on Flickr First repair section. This one will make the chassis rail into a box again. 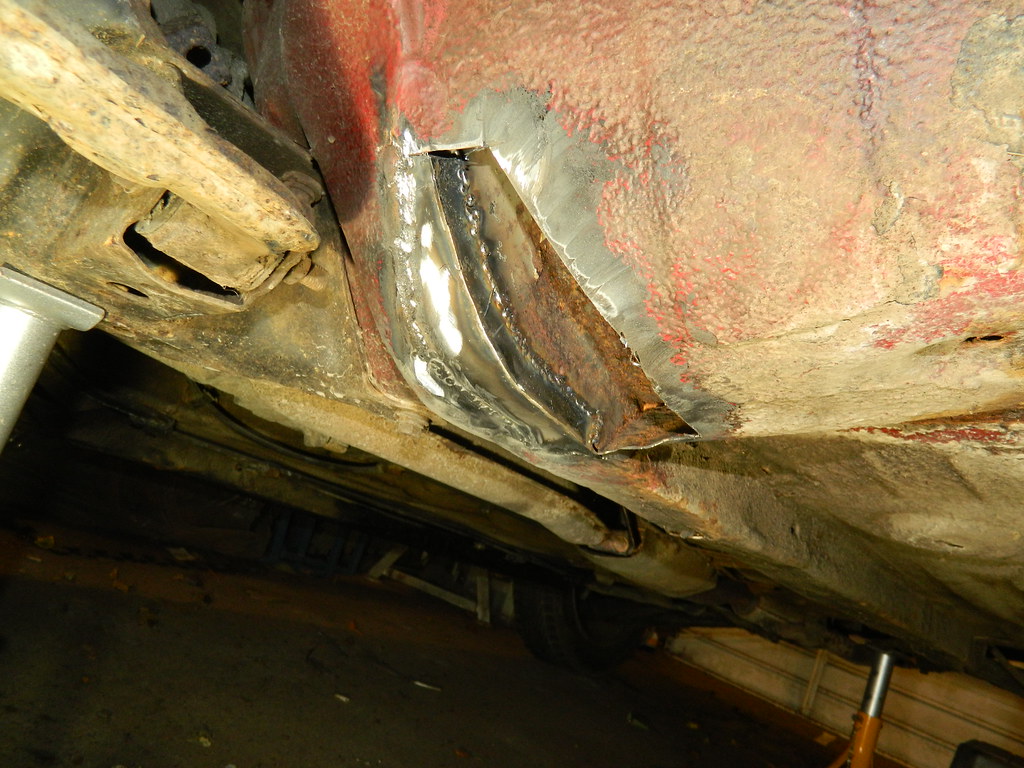 MX5 MX5 by Penguin 45, on Flickr Like that. 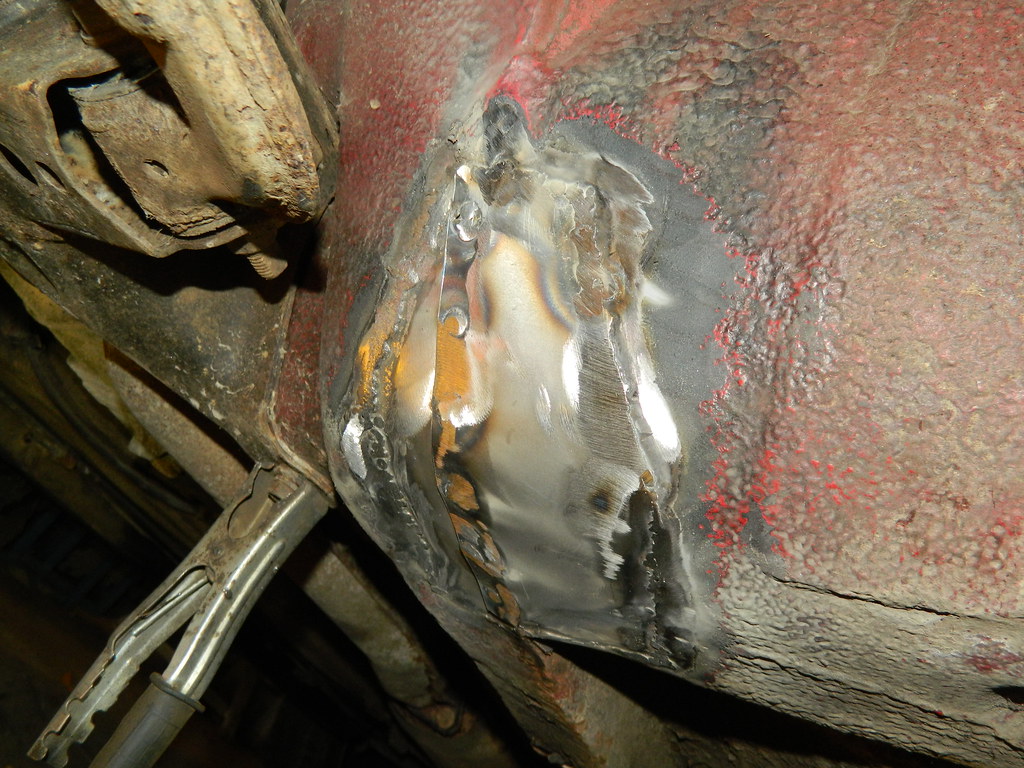 MX5 MX5 by Penguin 45, on Flickr Then this one completes the floor section and overlaps onto the chassis rail. All now primed, painted, seam sealed and undersealed. Managed to straighten out the battered wing a bit, but really it has to be replaced. Stuck it back on the car and that's about it. Lee's coming to get it tomorrow. P45. |
|
|
|
Post by genegenie on Sept 20, 2017 19:59:21 GMT
A lot of hard work there - as always!
|
|
|
|
Post by penguin45 on Nov 7, 2017 0:25:50 GMT
Got a text this evening to say that it's passed its MoT. Some suspension bushes replaced beforehand, and two new tyres replaced as required. Really pleased for Lee.
P45.
|
|