|
|
Post by Father Ted on Feb 20, 2017 17:48:49 GMT
I have copied what follows from the old forum, again mostly for my own benefit. It starts in December 2010.
I will regale you with my Triumph tribulations here.
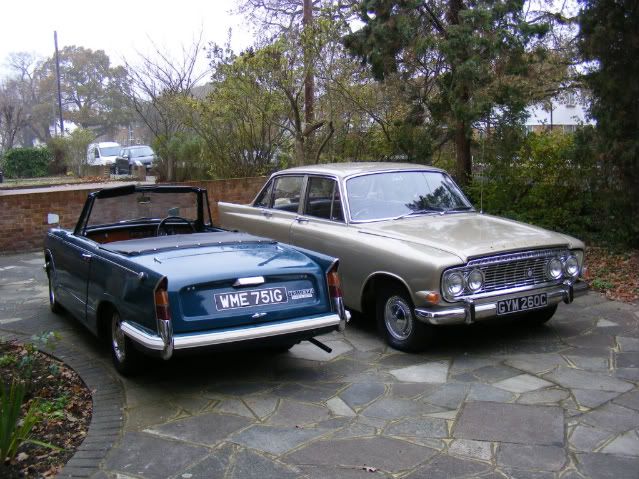
I had some spare time today, so decided to have a good look at the Herald. Although I have had it since June, I have really only attended to its more obvious faults, like collapsed seats and the small but persistent water leaks. Having replaced all the hoses and the broken heater pipe under the manifolds I thought I had cured them all but it was still leaking a little. Today I think I have found the last leak.
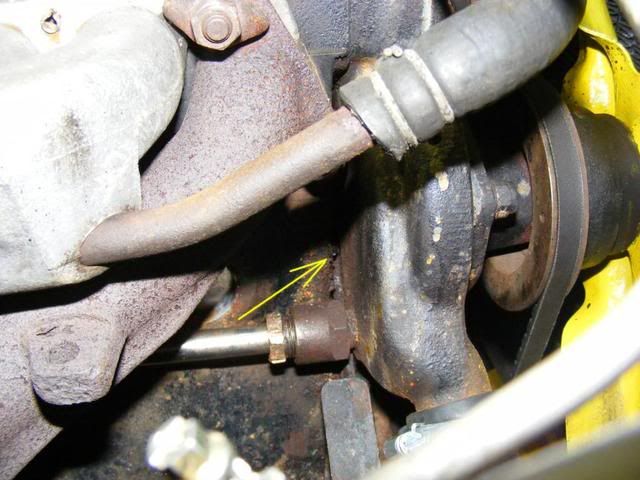
Water seems to be seeping from behind the water pump. Hopefully it is just the gasket between the pump and the head.
I also made a start on scraping away the underseal that some pillock has liberally applied under the bonnet. I intend to paint at least the bulkhead in the correct colour (Valencia Blue).
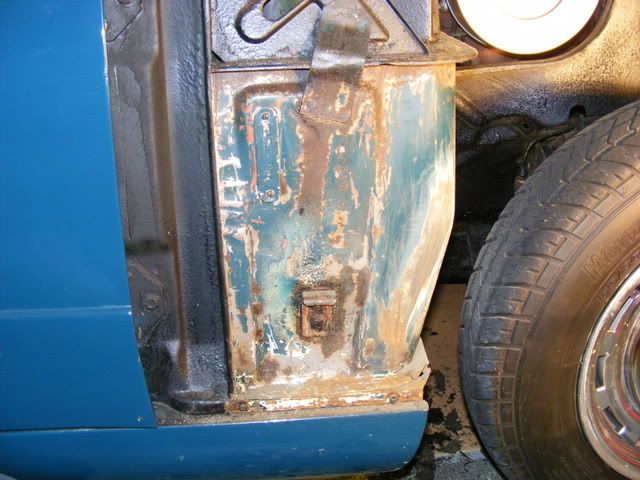
The underseal came off quite easily, and I have not discovered any horrors underneath, just surface rust so far...
I got the car up on axle stands and had a poke around underneath. I kinew that the chassis had been welded, as has the floor, but it all seems very solid.
So I spent the day on a cold garage floor, got covered in underseal and oil, and do you know what? I loved it.
|
|
|
|
Post by Father Ted on Feb 20, 2017 17:53:22 GMT
I have been at it again - stripping off underseal, that is. 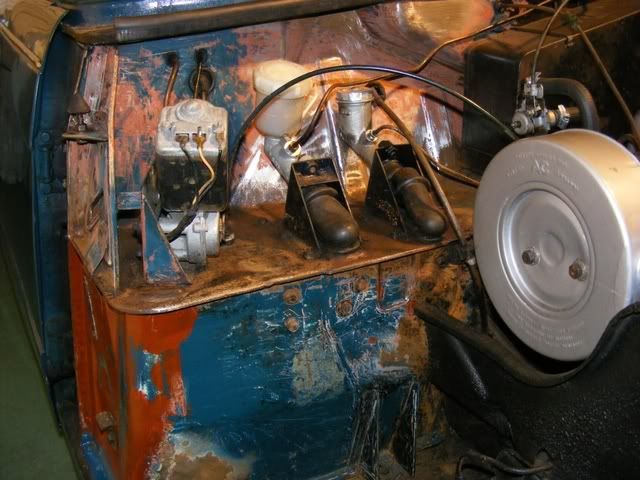 I have now done all I can on one side without taking the car off the road to remove the wiper motor & master cylinders etc. Will have to move the car to the other side of the garage now to do the other side. 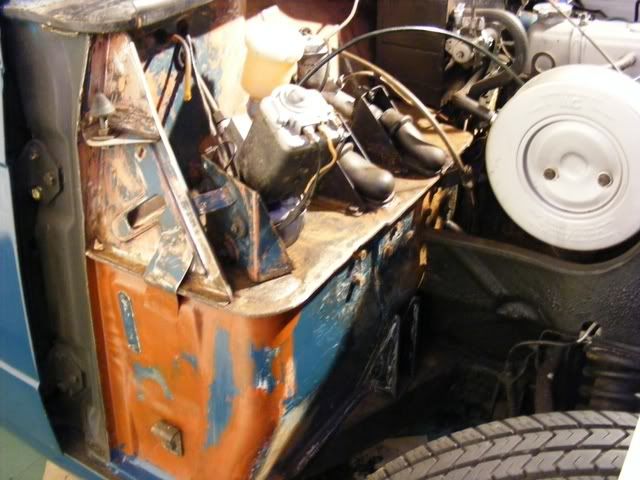 Good news is that I have not found any more rust holes and the metal underneath the underseal seems solid. Looks like at least one of the master cylinders has been leaking in the past, or someone was just careless topping them up. Once I have removed all the ancillaries that are in the way, I will strip off any loose paint and surface rust. My intention is then to treat the bare metal with Dinitrol or similar, then etch primer, filler primer and colour. I have found a place that still sells cellulose paint & thinners, which I have sprayed before with some success. I have also ordered the chassis outrigger that I need to replace. Can't make up my mind whether to have a go at welding it myself or pay someone to do it. A mate of mine has recommended a local bodyshop that resprayed his Stag, and did some welding on it, so I might take it there for an estimate before I make up my mind. Any advice would be gratefully received! I have definiteley developed a love/hate relationship with this car. I love the fact that it is so easy to work on, and parts are cheap and available. I hate the fact that the work needs doing and I didn't realise when I bought it. Can't really blame the car - my fault for not looking more carefully. |
|
|
|
Post by Father Ted on Feb 20, 2017 17:55:26 GMT
Started on the other side yesterday. Before - underseal everywhere. I don't now why this was done, it looks terrible and it wouldn't have been much more difficult to paint it. 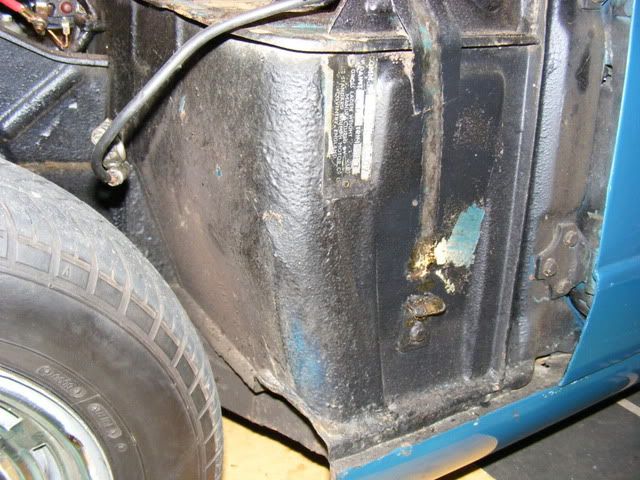 After a couple of hours work... 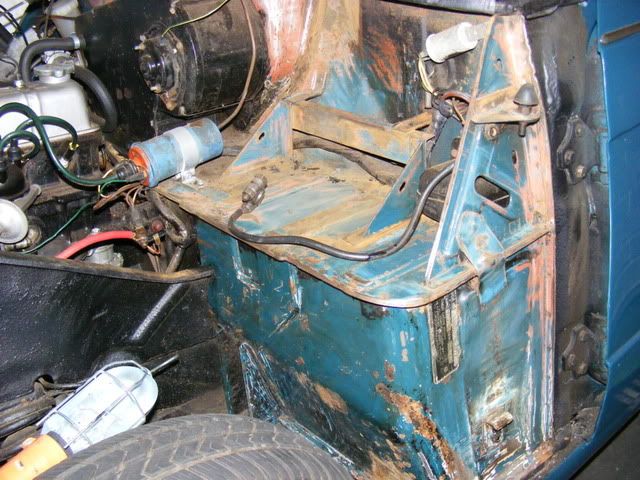 Doesn't look too bad. I was surprised that the area under the battery was completely solid, as on other cars this is often an area that suffers serious corrosion. I remember a 5 year old Mk3 Escort on which the battery fell through into the car! The only serious corrosion I have found so far. 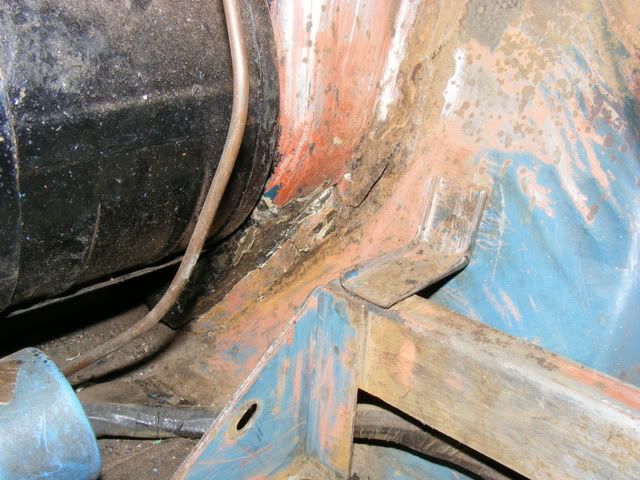 This is odd! Why has it rusted here? Maybe the heater leaked at some time. Anyhow it will need welding, but it will be mostly hidden by the battery so my lack of skill with the MIG won't show too much. I think I need a new solenoid. 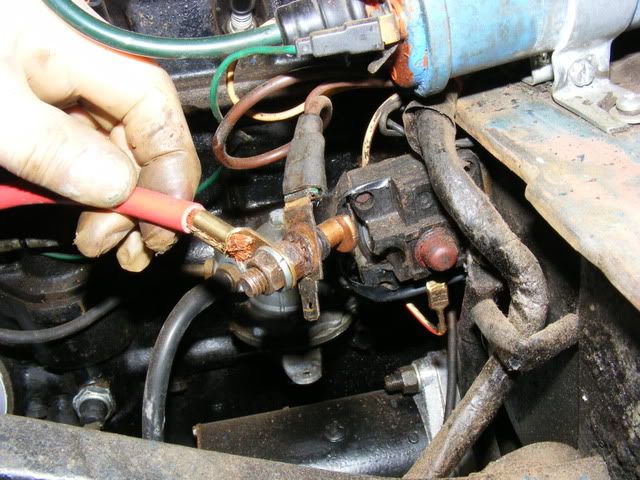 It was held together with insulating tape! Whoever did it must have had to take it off to do this, so why not replace it? A new one is under £10. I have ordered one, the original type with the rubber button so you can start the car from under the bonnet. Useful when working on the car, (or stealing it). Next I will need to take the car off the road and take the heater, master cylinders etc. off so that I can prepare and paint it. |
|
|
|
Post by Father Ted on Feb 20, 2017 17:58:38 GMT
Been taking everything off the bulkhead ready for painting. I am collecting the paint from the "Triumph International Spares Day" at Stoneleigh on Sunday.
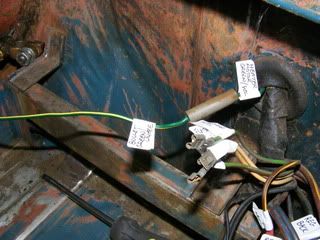 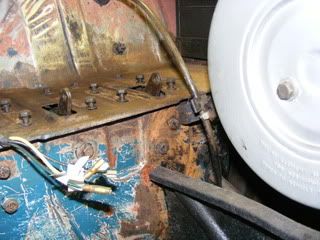
I have labelled all the wires, and photographed everything so hopefully I will be able to put it all back together!
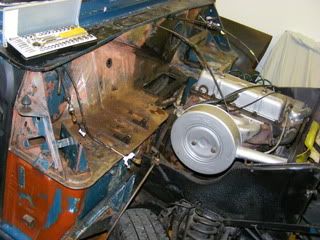
Last thing to be removed was the heater, which wasn't as difficult as I had been led to believe. These cars really are easy to work on!
I have mentioned before that the heater didn't work. I assumed it was the valve or controls, but they all seemed OK when I took it all apart. However, while the water from the radiator was fairly clear and anti-freeze blue coloured, the water in the heater matrix was VERY dark brown and sludgy, and it has taken me ages flushing it through to get all the corrosion and sludge out of it. Good news is that it is not leaking, as a new one is about £80 from Rimmers (other not so comically-named Triumph parts suppliers are available).
Being a convertible, I suspect that the car has only been used in summer for most of its life, and certainly since it was "restored" in 1993. So the heater has probably not been used and while water was circulating around the engine, it was just sitting in the heater matrix and getting clogged up with corrosion and sludge. Due to the design, when the heater valve was opened the water probably took the easiest route, through the 'header tank' of the heater matrix, and didn't make it all the way through the narrow core channels. So I am hoping that a good flush has cured it...*
*2017 edit: It didn't. 
|
|
|
|
Post by Father Ted on Feb 20, 2017 18:01:39 GMT
More tinkering today... 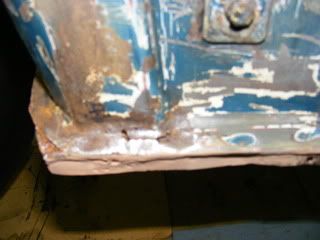 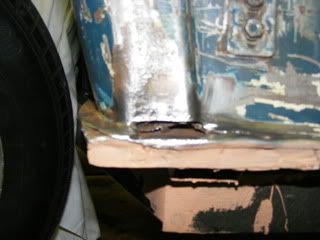 First of all I thought I would test my welding skills on this scabby bit at the bottom of the bulkhead. Cut out the rust with grinder and snips. Sorry about the blurry photos. 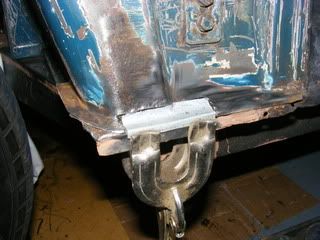 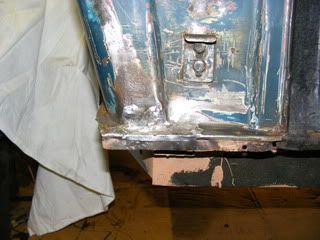 Made a new section with cardboard template, transferred to sheet metal, cut with snips and hammered/bent to shape in vice. There is another plate inside the car as well. I was quite pleased with my welding, but it all went horribly wrong when I ground down the welds, as I managed to grind right through the metal above the repair :oops: , leaving me with another hole to weld. 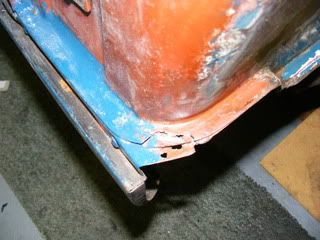 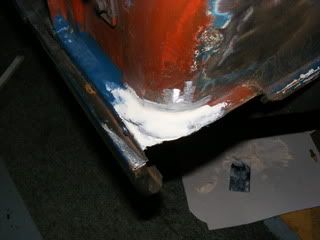 Also cut out and replaced the frilly bit on the other side as well. I managed not to make any more holes this side. Just made it to Halfords before they closed to buy some P38 for the compulsory "thin skim of filler", to smooth it out. Just need to sand and paint everything and the job's a good 'un. |
|
|
|
Post by Father Ted on Feb 20, 2017 18:03:31 GMT
I have got a bit carried away with stripping the underseal from the bulkhead... 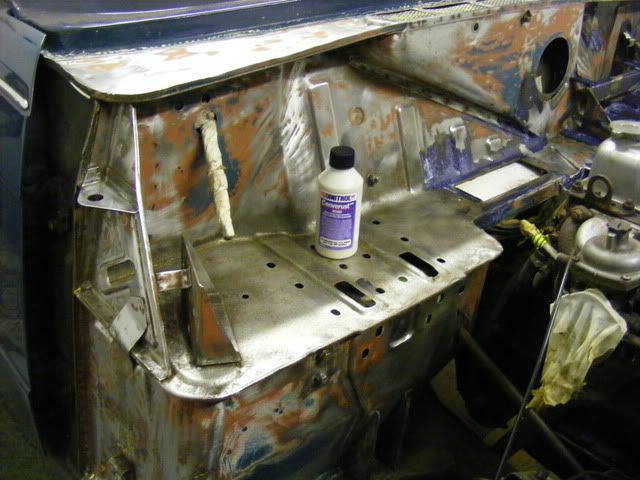 Still no more rust holes. All the bits that had surface rust are going to be treated with Dinitrol RC80 rust convertor (the plastic bottle in the photo). The bright blue/purple areas are where I had just painted some of it on. Apparently it dries to a solid black surface that you can paint on. I also now have the etch primer, filler primer and top coat. Hope my compressor still works, I haven't used it for ages... |
|
|
|
Post by Father Ted on Feb 20, 2017 18:05:07 GMT
A lovely Spring day, and all those lucky people with convertibles are out in the streets with the top down, enjoying the sun - except me, cos I've taken mine to bits! So, today's tinkering. I have painted the Dinitrol rust converter on all the metal that previously had surface rust, after taking it back to bare metal with an assortment of rotary wire brushes in a drill. 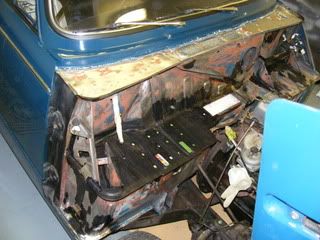 Hope to get the etch primer on next weekend. Just need to get some panel wipe and masking paper. Also did a job that I have been putting off - adjusting the bonnet. I have been told that this is a dark art best left to experts but decided to give it a try on the basis that I couldn't make it any worse than it already was. I think I have mentioned elsewhere that the gap between the bonnet and doors was akin to the Grand Canyon, but here it is after 30 minutes fettling. 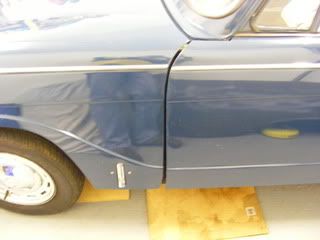 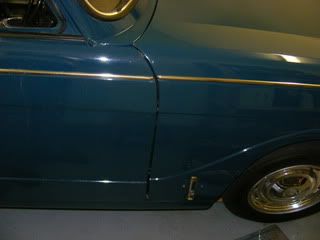 Unfortunately I forgot to take a "before" picture for comparison, but I am quite pleased with this. The bonnet could still do with being moved back a bit, but if I do that it will foul the doors, which obviously also need adjusting. This can wait until the car is back on the road. I don't think I will get them much better than this as I know that at least one of the doors came off a different car which I suspect was a 1200, and I know that panel fit was never good when the cars were new. Also did a bit more stripping of underseal and rust and painting of random parts... 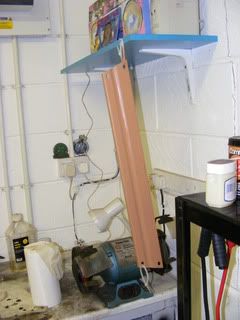 And yes, that is a jar of vaseline on the shelf, and a latex glove, and a roll of tissue... |
|
|
|
Post by Father Ted on Feb 20, 2017 18:07:12 GMT
Managed to get in the garage for an hour today and stripped the underseal off one of the engine side valances (I think that's what they are called). 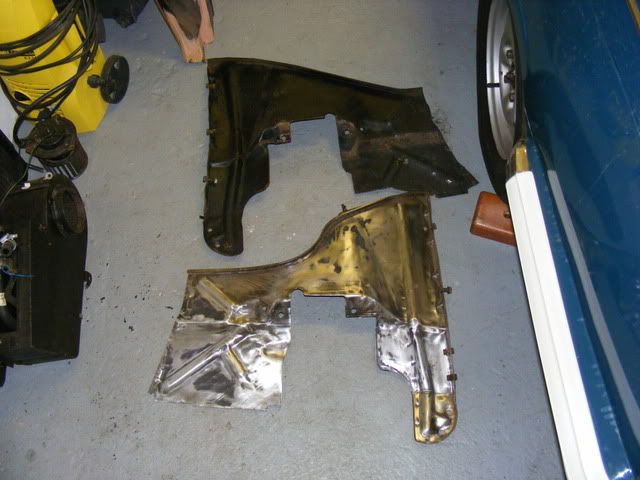 Before and after. |
|
|
|
Post by Father Ted on Feb 20, 2017 18:12:07 GMT
Today I have mostly been painting things black. Also, in preparation for painting the bulkhead I needed to get the wiring out of the way. Now, on the Ford there is a multiplug where the loom goes through the bulkhead, but not on a Herald, so I decided that the only option was to disconnect everything and pull the loom through into the interior. So, I cleaned up all the wires (yes, even they had been undersealed!) and was re-assured that the colours matched the wiring diagram in my Dad's old Haynes manual. 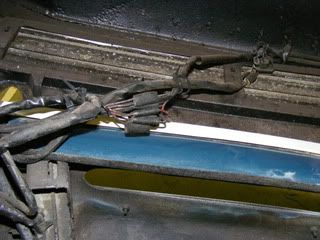 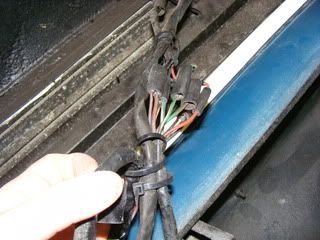 Then, just to make sure I made myself an idiot guide to putting it all back together. 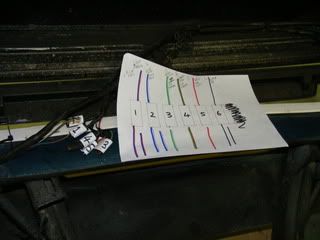 Last thing was to disconnect the horns. The Herald has two and on mine they look quite different. 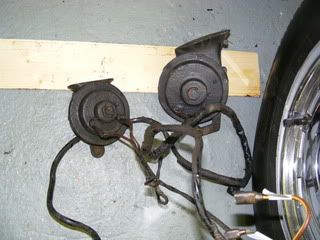 The wires on the right-hand one were soldered, whereas the left-hand one has spade connectors. I suspect that one of them comes from a different car - but which one? |
|
|
|
Post by Father Ted on Feb 20, 2017 18:13:47 GMT
Things I have been painting black... 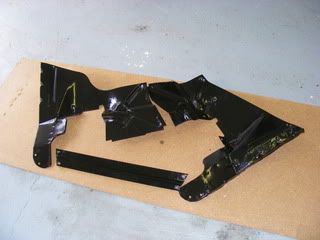 I have also been stripping again... 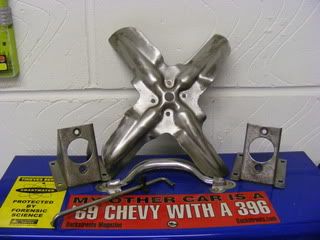 |
|
|
|
Post by Father Ted on Feb 20, 2017 18:15:16 GMT
More things I have been painting black... 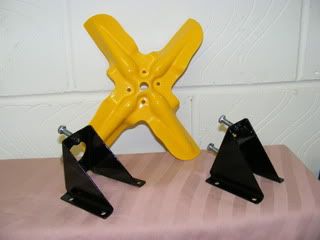 I got bored with painting things black so decided to paint something yellow aswell. Then I masked up the car ready for painting the bulkhead area. I had forgotten how long this takes. 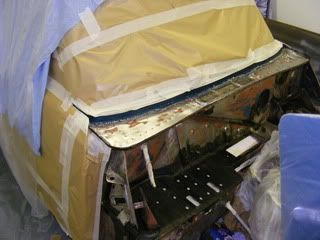 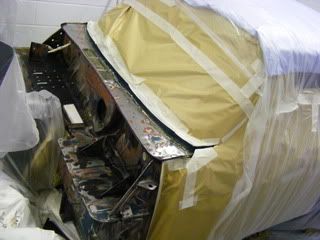 Barney beige etch primer went on OK, but seemed to react with the rust converter or something in a couple of places so I had to clean it back to bare metal and touch in those bits. 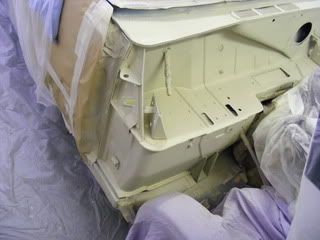 Filler primer went on OK... 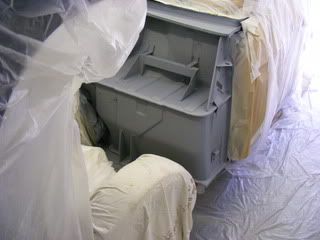 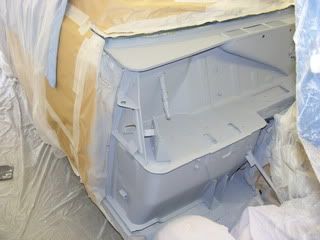 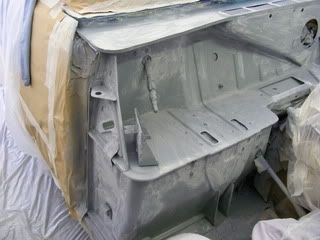 Flatted with 800 grade wet & dry, almost ready for the colour. I had some difficulty spraying as the wheels got in the way and I couldn't easily get the gun in so I have now taken the wheels off ready for the colour coats. Hopefully I will be able to do this next weekend. |
|
|
|
Post by Father Ted on Feb 20, 2017 18:17:37 GMT
Anyhoo, back on topic I did the colour coats today... 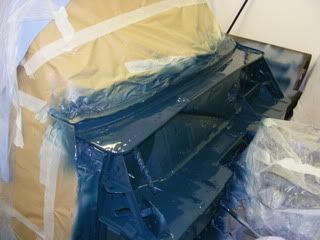 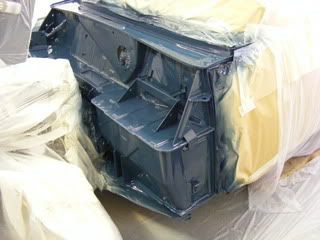 Doesn't it look nice when it's all wet & shiny? 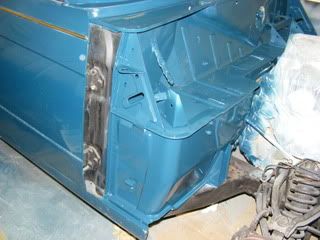 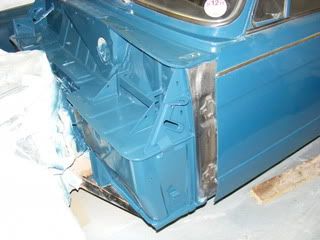 Colour match isn't bad either. I will leave it until is has gone hard before flatting and polishing. |
|
|
|
Post by Father Ted on Feb 20, 2017 18:18:45 GMT
So now that most of the painting is done, I can start putting it all back together. All these bits need to go back on (and I am sure I had some wheels somewhere...) 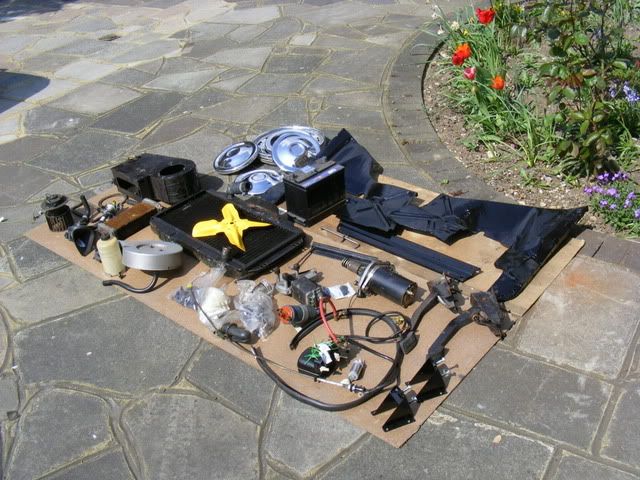 And I have got all these nice shiny new bits to go on too, and I have bought shiny new nuts & bolts to fit them. 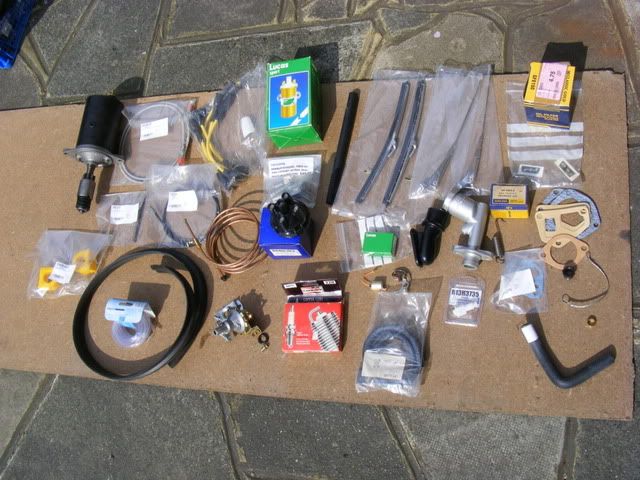 First of the new parts to fit were steering rack bushes, which apparently were the only advisory on the new MoT that came with the car. Best to do it now with the radiator off the car as there is more room to work. So took off the first one, and here it is alongside the new yellow polyurethane one... 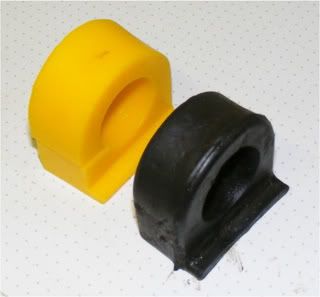 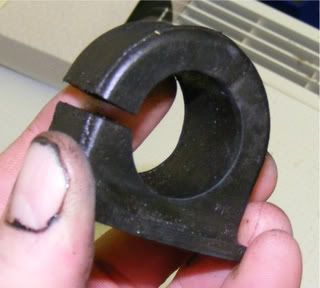 Doesn't seem to be much wrong with this :? Why was it an MoT advisory? This got me worried that I was mistaken and I should be changing the anti-roll bar bushes, which look worse so I checked on the VOSA website for the last MoT and it definitely says steering rack. So I changed that one, and took out the other. 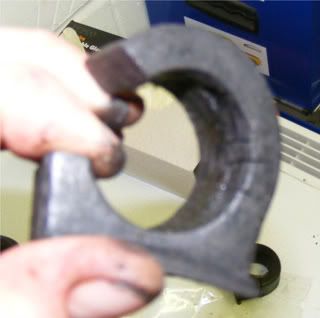 Sorry about the blurry photo. This one is perished and the two are obviously not a pair, which means that some assh0le has changed just one of them. Why would anyone do that?!! Anyway I have changed them now, and the earth straps that were fitted to the clamps which were on their last legs. I think I will order new anti-roll bar bushes as well. |
|
|
|
Post by Father Ted on Feb 20, 2017 18:20:12 GMT
After yesterday's fun in the sun at Wheels Day, (where I bought some nice stainless steel bolts for the re-fit) I stripped the heater box today. 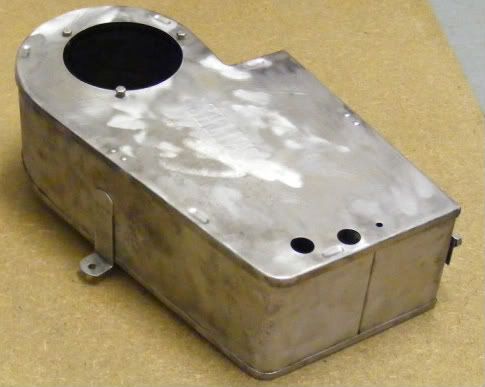 Then started painting it. I noticed that Halford's red oxide primer can be sprayed "when mixed with the appropriate amount of cellulose thinners". They don't say what the "appropiate" amount is, but it seems to work OK at a ratio of 50/50. 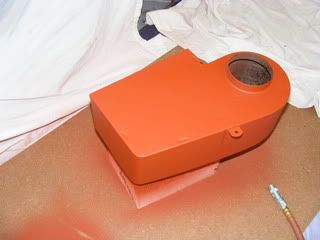 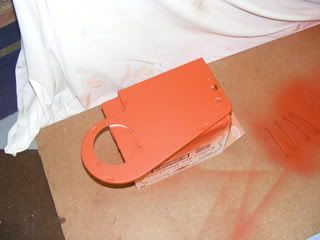 |
|
|
|
Post by Father Ted on Feb 20, 2017 18:22:03 GMT
Now done a couple of coats of grey filler primer on the heater box. 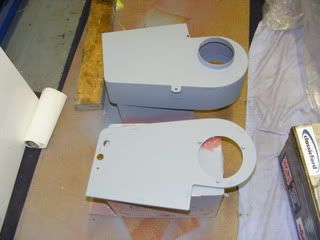 Didn't get round to painting it black as I decided to do a bit of spannering today. I took the water pump off to see if I could find that last water leak, and I think I know what it was. There was no gasket between the water pump housing and the cylinder head that it bolts on to! The gasket costs less than £1 so why leave it off? The pump was bolted to the housing with an assortment of odd nuts and washers so I cleaned everything up, fitted new gaskets and put it all back together with new nuts & washers. 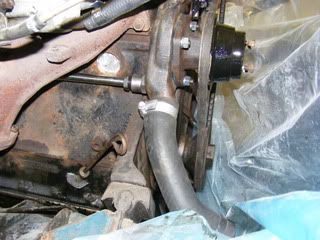 I have now replaced every bit of the cooling system except the radiator and heater matrix, both of which I have flushed. Bet they both leak now. |
|