|
|
Post by Father Ted on Feb 25, 2017 17:59:45 GMT
Regular readers will remember that some time ago I was asking for advice on my non-functioning heater. The general consensus was that the matrix must still be clogged up despite me having given it some serious flushing and shaking. Had a day off today and decided to have another go at it. Warmed up the engine and established that water was getting up to the heater, but by taking off the outlet pipe confirmed that only a trickle was actually getting through it. Took the matrix out of the heater box, which seems to be impossible to do without damaging the newly painted box. 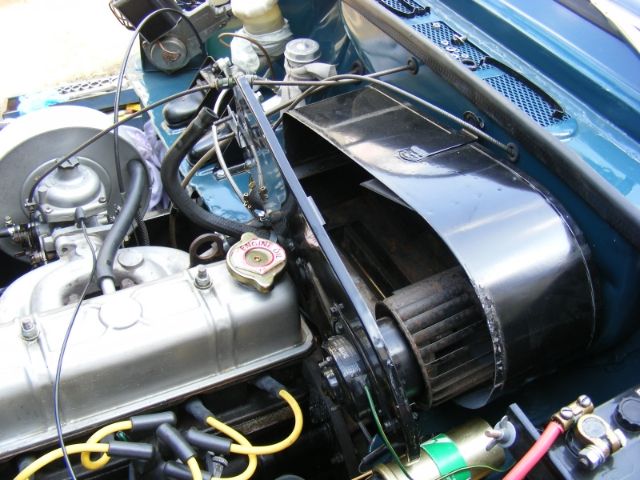 Mrs Ted is at work so I was able to continue in the kitchen. Put hot water in the pipe end and left it but the other end did not get hot so I deduced that there is some blockage. 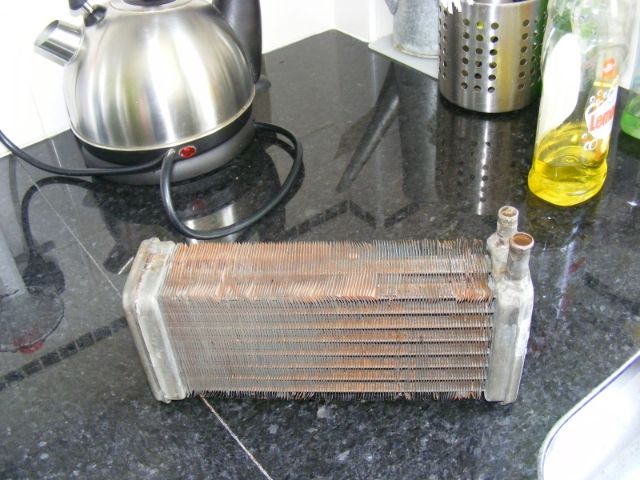 So I decided to try limescale remover, as we had some in the cupboard. Used a slightly stronger solution than is recommended for kettles - well, I'm not going to be making drinks in it am I? 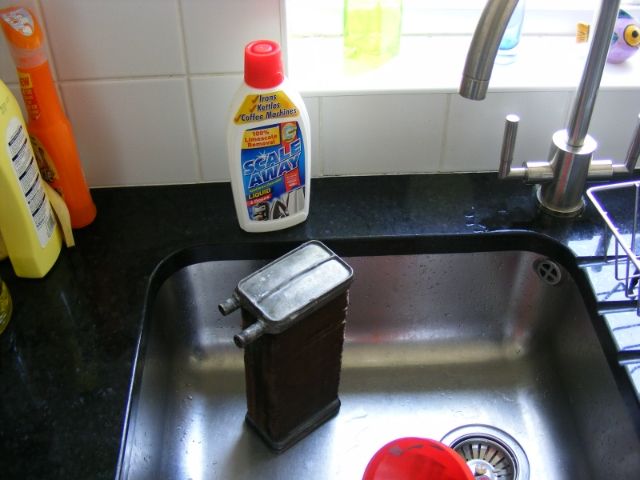 Flushed it out after about an hour and some crud came out but not much, so I have filled it again and am waiting for a while before giving it a damn good shaking. |
|
|
|
Post by Father Ted on Feb 25, 2017 18:01:38 GMT
Spent the afternoon shaking and flushing the heater matrix, but not much crud came out even after 2 overdoses of limescale remover. Water was definitely getting to both ends of the matrix, so I re-fitted everything, and refilled with coolant through the top of the heater, in a vain attempt to avoid air locks. 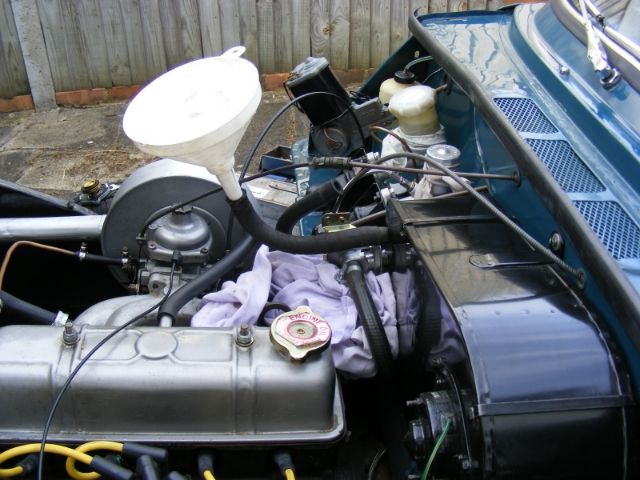 Started engine, warmed up to normal operating temperature - and... The fecking thing still doesn't work!!!! I thought maybe it had an airlock, so I took off the top (outlet?) hose, and... 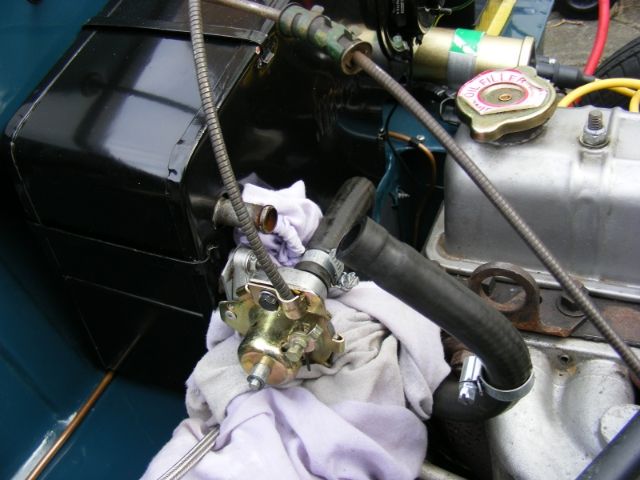 No water coming through! The above photo was taken with the engine running and warmed up. I am assuming that this is the outlet and the valve is on the inlet hose, in which case this would suggest that the NEW valve is not opening, although it appears to be from the outside. If the top heater hose is the inlet, then something very weird is happening. I suppose the next thing to try is removing and by-passing the valve altogether so the heater is permanently on. (Mytocon knows where I got that  ). Does anyone know for certain which heater hose is the inlet and which the outlet? 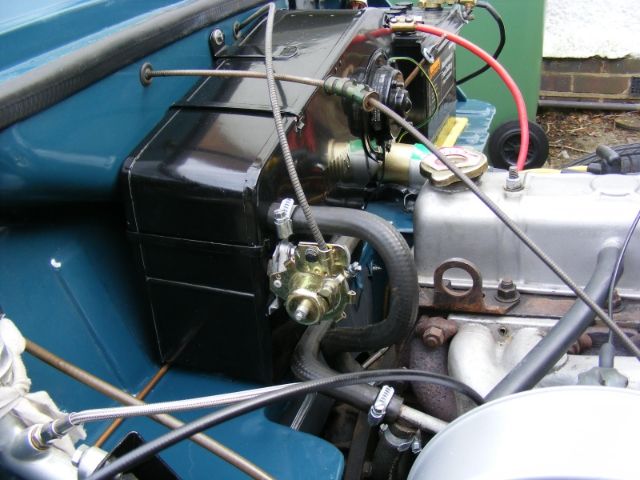 Please help! All advice welcome. |
|
|
|
Post by Father Ted on Feb 25, 2017 18:03:09 GMT
With the matrix out of the car, water was DEFINITELY flowing through it.
Yes - when I filled the system as in the photo, the water ran through the heater, and heater valve and the level of water in the radiator went up.
It will only fit that way.
That is my next move. If it still doesn't work there must be a blockage somewhere. ALL the pipes and hoses are new so the only place I can think of where a blockage could be is the water pipe that is part of the inlet manifold.
|
|
|
|
Post by Father Ted on Feb 25, 2017 18:05:12 GMT
That's what I am thinking. It is either that pipe (which is integral with the inlet manifold) or the new valve. The return metal pipe is a new stainless one that I fitted myself less than 2000 miles ago.
|
|
|
|
Post by Father Ted on Feb 25, 2017 18:06:50 GMT
So I got my a**e into gear and have another go at getting the heater working. Aided by Rimmer Bros website I confirmed that the valve is on the inlet to the heater. With the engine running and warmed up I took off the inlet pipe to the valve... 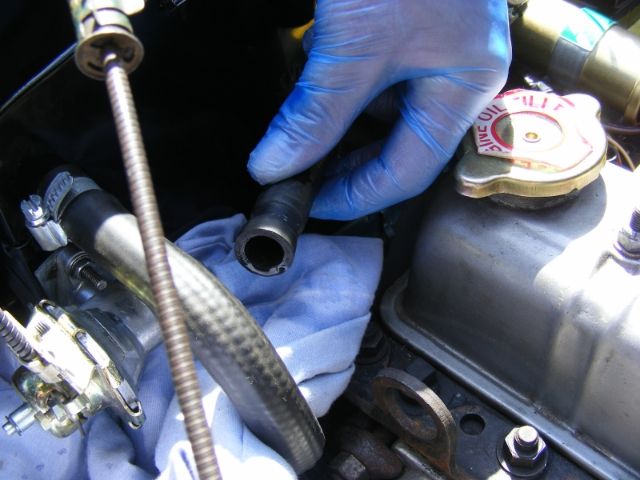 No water getting to the heater at all! :shock: As all the other pipes and hoses are new it had to be the metal pipe through the inlet manifold, as I was beginning to suspect and Matt had suggested. So I poked inside it with assorted implements, and flushed out loads of crud. Both ends were seriously corroded so I cut about 1cm off each end, as the connecting rubber hoses would still cover enough of pipe to seal. I then "flossed" the pipe with a curtain wire and loosened more crud, and flushed it lots more. 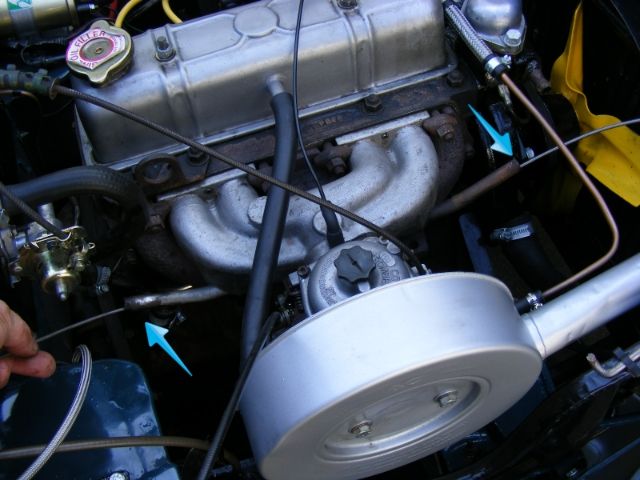 Put it all back together and.... . . . The heater WORKS! Thanks for all your suggestions and advice. I posted this same problem on the TSSC forum last year, and not one of those Triumph experts suggested the pipe could be blocked They all said it must be the heater matrix, although I was sure I had cleaned it out. |
|
|
|
Post by Father Ted on Feb 25, 2017 18:08:02 GMT
After my success with the heater I have been doing more tinkering. I bought and fitted a new bootlid rubber, nice easy job and very satisfying. Next was the very small but very annoying water leak which appeared soon after I bought the car and has proved very difficult to trace. I eventually worked out that it must be a core plug weeping in the front of the engine block. To replace the core plug I would have to remove: radiator water pump and housing engine front plates, which fit to the engine mounts and support the block timing chain cover timing chain sprocket I would have to replace all the gaskets and risk c0cking up the timing just to replace a core plug which costs a few pence, so I haven't bothered, just top up the coolant every so often. I mentioned this to the guy who tuned my engine at the TSSC meet last Sunday, and he recommended this stuff: 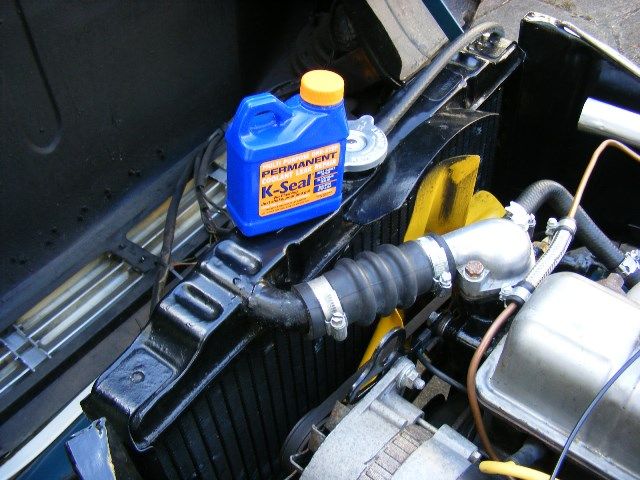 It is amazing! Just shake it up, pour it in and run the engine up to temperature and the leak has stopped! The mechanic who recommended it, and the guy behind the counter at the motor factors both said that it is used a lot in the trade and the repair is permanent. We will see but so far I am impressed. So, now I have the heater working I decided to fit the missing mill board under the dash. I bought this a year ago but did not want to fit it until the heater was sorted. 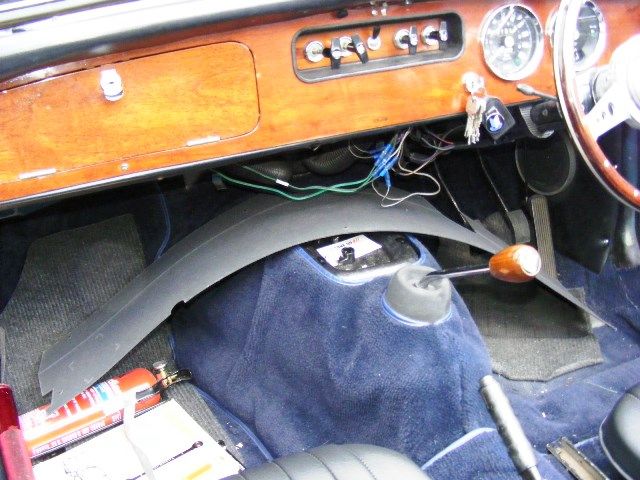 I had to remove the nasty modern stereo, and disconnect a lot of the wiring to get the board in. This revealed more shocking bodgery by the "professional" who charged the previous owner £120 to fit the stereo. (True! I have the invoice). Anyway, a nasty fiddly job, made worse because the supplied clips were too big for some of the holes they were supposed to fit. In the end I used some self tappers and spire nuts. 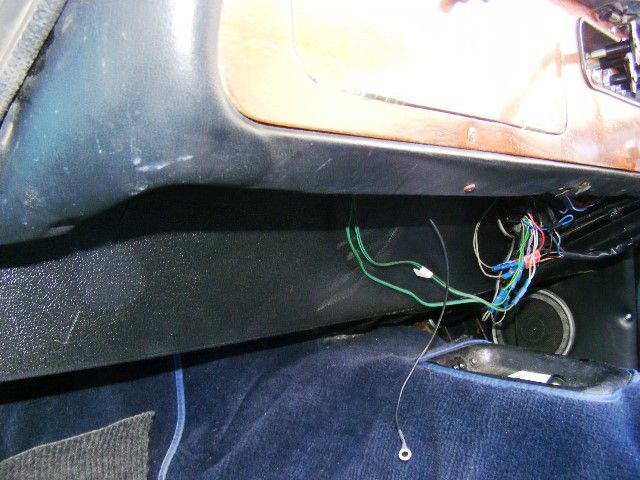 Looking much neater. I will re-do those dodgy electrical connections before I re-fit the nasty modern stereo. |
|
|
|
Post by Father Ted on Feb 25, 2017 18:10:39 GMT
Regular readers of TWTT may remember that it had an MoT advisory last year - "slight noise from both front wheel bearings". As MoT time is looming I thought I had better change them. 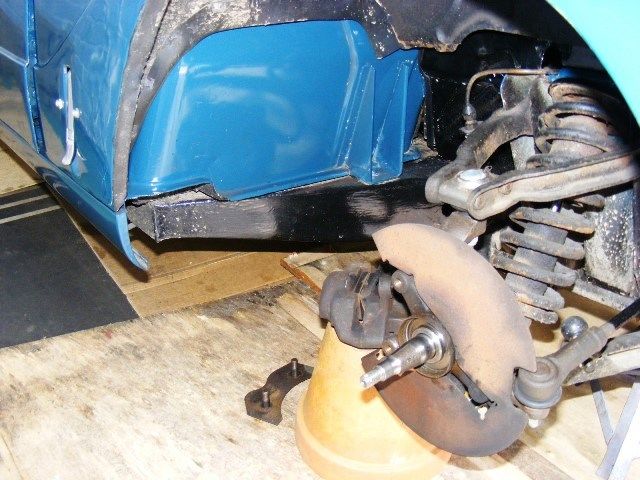 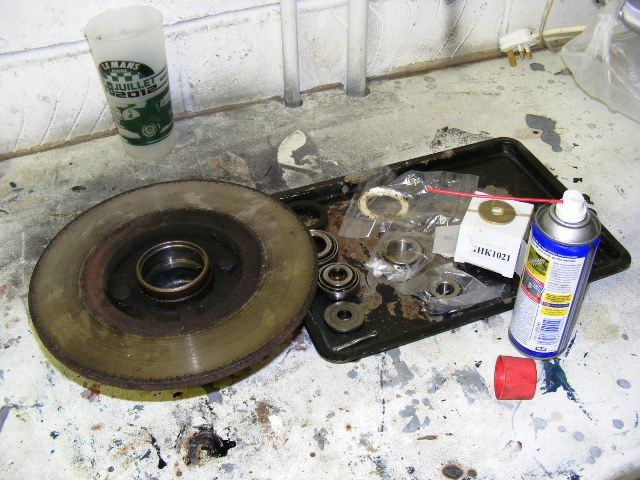 Did one side, all went very well, but there didn't seem to be anything wrong with the old bearing. Will see what the other one is like. It wouldn't be the first time that I have found things on this car have been replaced on one side only. |
|
|
|
Post by Father Ted on Feb 25, 2017 18:12:02 GMT
Did the nearside, which was a bit rumbly and obviously a lot older than the offside bearings so some f*ckwit bodger in the past had just changed one side. And the felt seal was missing from the nearside.
Anyway, all sorted and back together now so will book it in for MoT next week.
|
|
|
|
Post by Father Ted on Feb 25, 2017 18:12:50 GMT
MoT today.
Passed with no advisories!
|
|
|
|
Post by Father Ted on Feb 25, 2017 18:13:49 GMT
Not done much tinkering lately, but I have always been mildly peeved that my nice wooden dashboard has a hole where a hole don't belong. 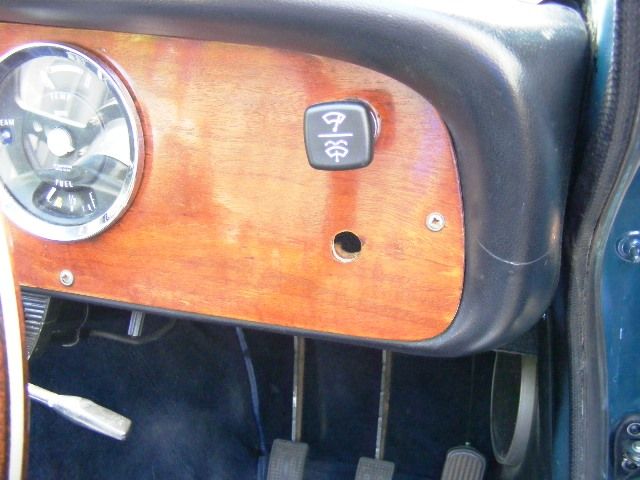 It did have a rubber blanking grommet in it, but at the autojumble at Bromley I found this warning light that I thought would fill the hole. 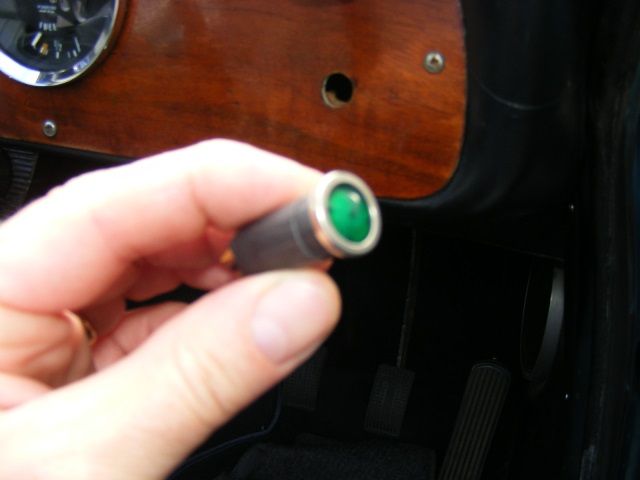 Actually it was slightly too small, but a couple of layers of heat shrink wrap made it fit perfectly. Then it occurred to me that the tiny indicator warning light on the gauge is practically invisible in daylight, so a small wiring job would make the new light functional as well as cosmetic. So made up some new connections, a good way of practising soldering before tackling the Zodiac loom. This is one of them. 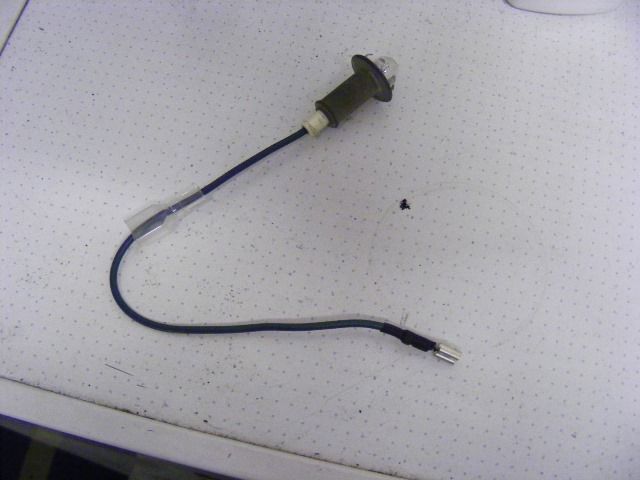 Job done. 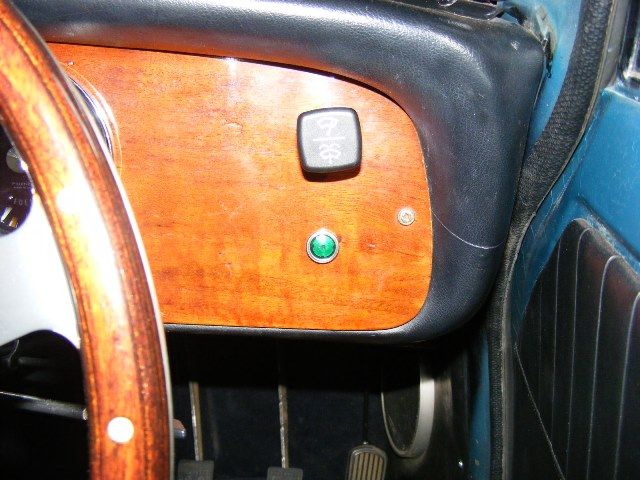 I think it looks a bit too modern, but better than the hole or blanking grommet that was there before, AND I can now actually see the indicator warning light. |
|
|
|
Post by Father Ted on Feb 25, 2017 18:15:48 GMT
Some time ago I bought a Herald gearbox from eBay, because it was only £20 and only a couple of miles from home and I thought it might come in useful one day. When I got it home I noticed it had a reverse light switch, which was odd because Heralds never had reversing lights. Anyway, I mentioned this on the TSSC forum and some one offered to buy the reversing light switch from me. It was no use to me so I sold it to him - for £20, which meant that I had a free gearbox! So I decided to play with it. Took it apart and the innards all looked to be in good condition, with no serious wear or excessive play. 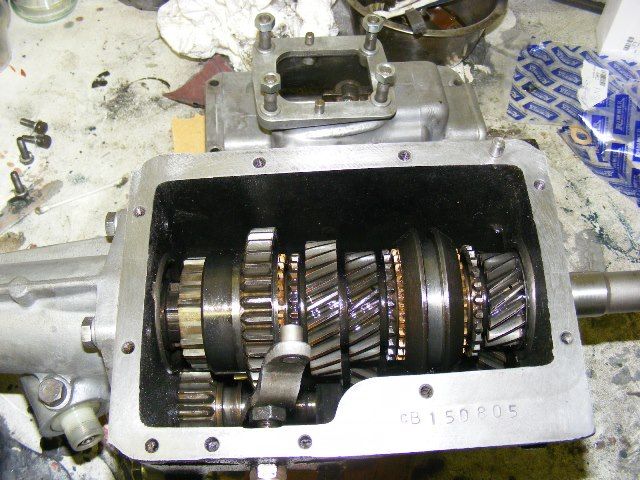 Cleaned everything up, and bought a new kit of bushes etc for the remote and gear lever (which also came with the gear box, along with the bell housing). Now where do all these bits go...? :? 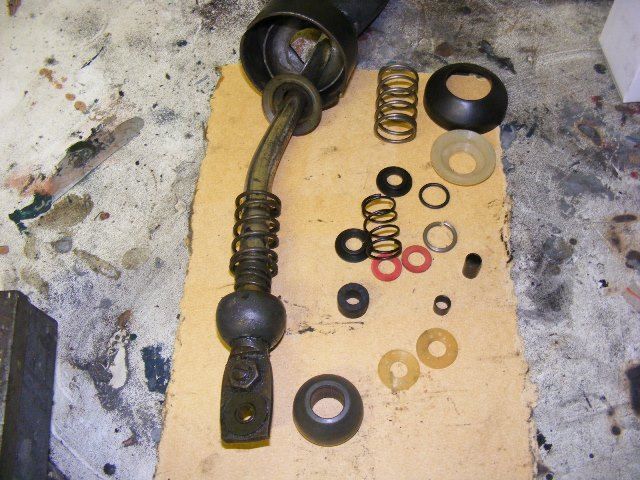 Isn't wifi wonderful? I can get the parts diagrams on my laptop in the garage. 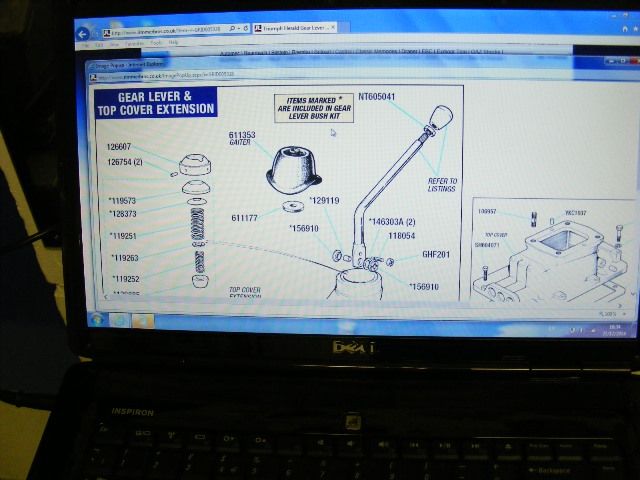 All cleaned up, and re-assembled with new seals, gaskets, bushes, nuts and bolts. 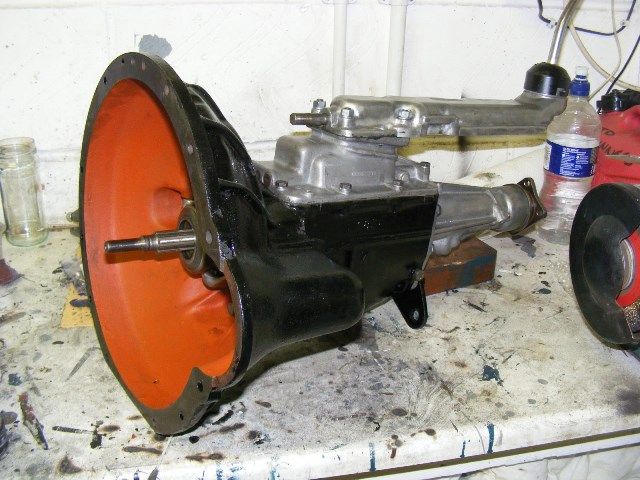 |
|
|
|
Post by Father Ted on Feb 25, 2017 18:16:45 GMT
Planning - yes.
Actually fitting it ? 
2017 Edit: That was the last bit of tinkering in 2014.  |
|
|
|
Post by Father Ted on Feb 25, 2017 18:19:54 GMT
2017 Edit: Posts below started in March 2015.
While the Zodiac body is away being enviro-stripped I have been doing some Triumph tinkering.
Last year when I had to replace a bulb I noticed that the rear light fittings did not have shiny reflectors.
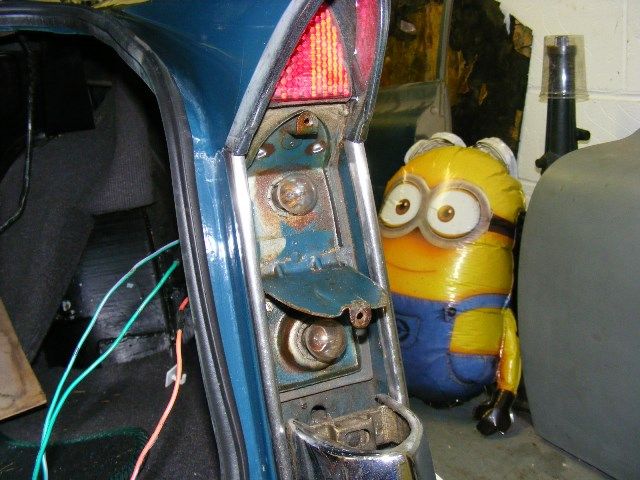
This can't be right so I bought some brand new second-hand ones from eBay. Offside one is a doddle to fit...
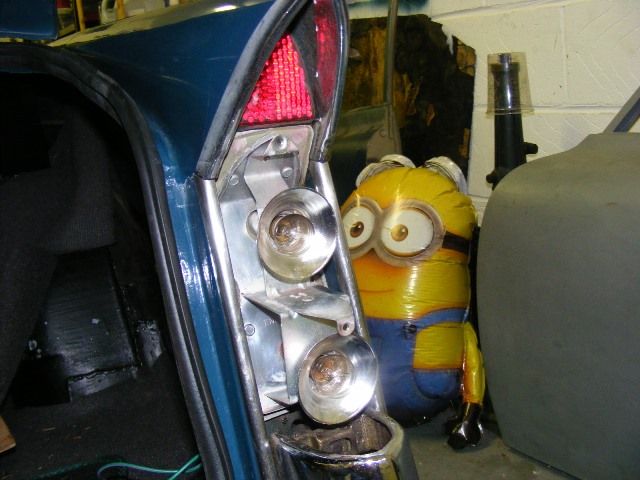
But you have to take the fuel tank out to get to the nuts at the back of the nearside one, and this was a nightmare of a job.
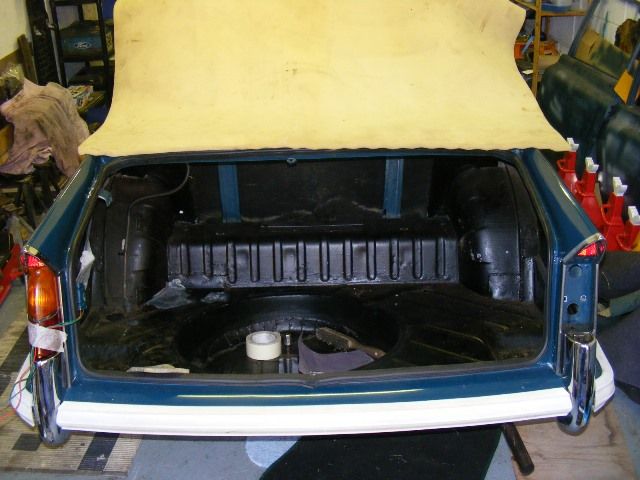
Anyway I got it out in the end and while I am about it I am tidying the boot area, sorting out the dodgy wiring and re-painting the tank.
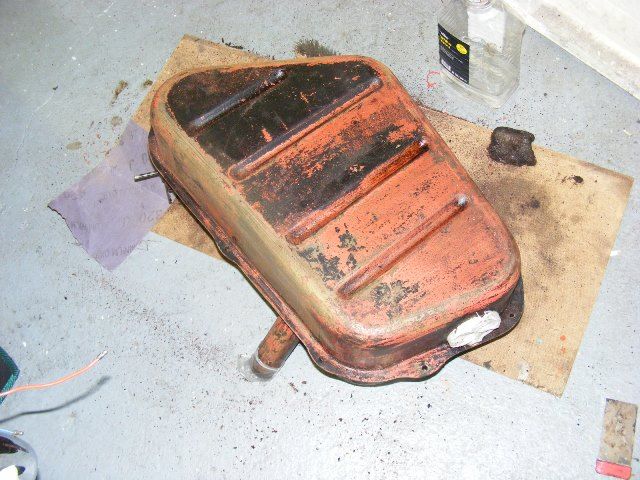
Tank had been painted with orangey Hammerite and then undersealed so I am having fun getting that off. Don't want to use any power tools for obvious reasons so plenty of elbow grease required. |
|
|
|
Post by Father Ted on Feb 25, 2017 18:22:18 GMT
This week I have been mostly painting the petrol tank. 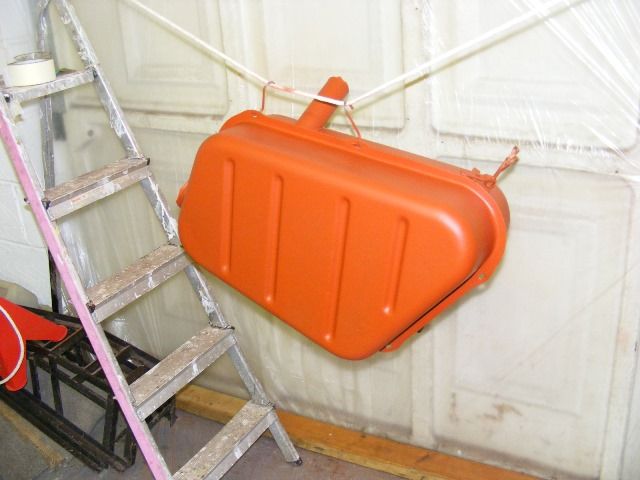 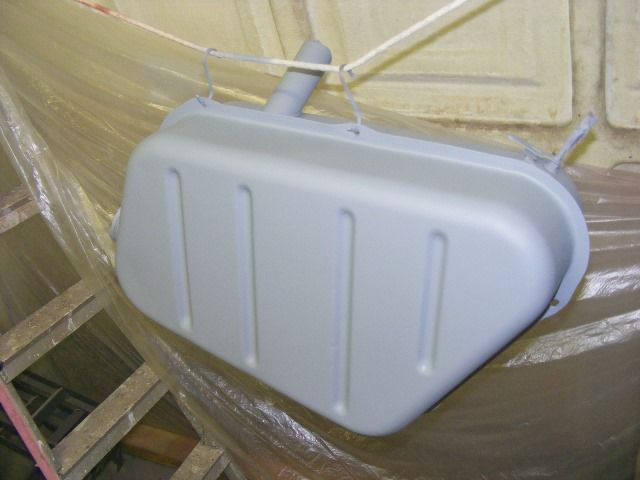 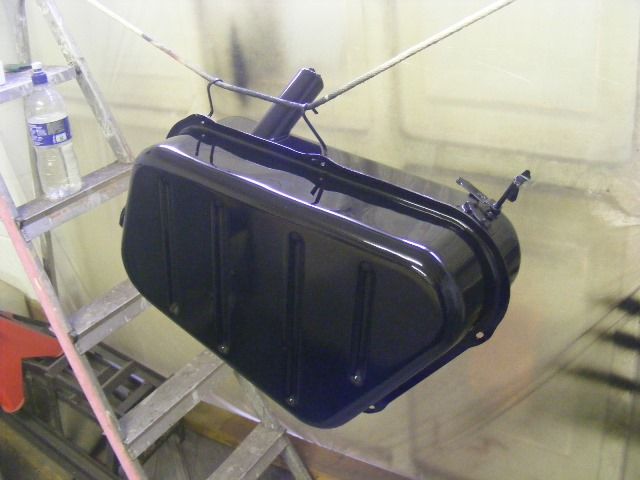 Funny thing this classic car hobby. This started with replacing a light bulb.... |
|
|
|
Post by Father Ted on Feb 25, 2017 18:24:40 GMT
With the wiring and fuel tank out of the way it seemed like a good time to fit the missing board between the boot and hood stowage area. My car just had a piece of plywood leaning against the body and flapping around making a noise. Rimmer Bros sell the proper part for £59.00 but I am too mean to pay that so decided to make my own. I bought some millboard from East Kent Vintage Trim for £12.00 (and then saw it for £6.00 at the NEC Resto Show last week). This is enough to make 3 panels! I thought it was just a rectangular piece of millboard but the top is curved so first I made a template out of cardboard. 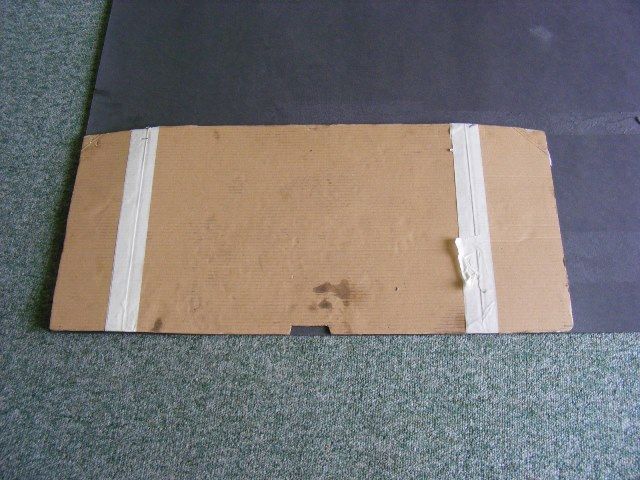 And then used this to cut the millboard to the correct shape. 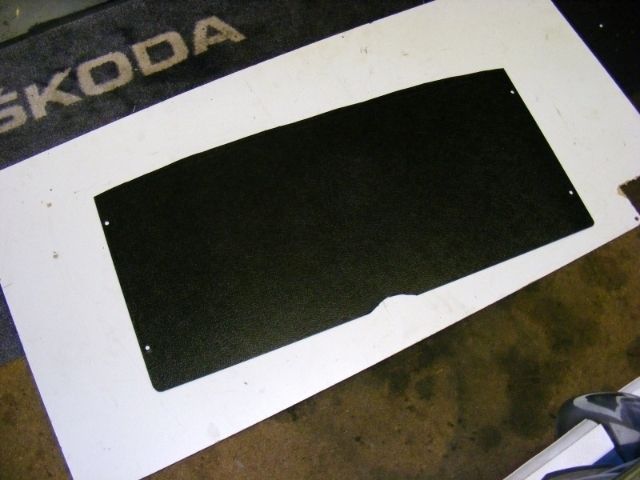 Now fitted and it looks like new. I spent some time sorting out the wiring as there were several extra wires which didn't seem to do anything - I think somebody must have fitted extra lights or a tow bar at some time. Isolated all the superfluous wiring, traced all the correct wires and replaced dodgy connectors with soldered ones, and sorted all the earths. While the tank was out I took the opportunity to fit some sound deadening material to the panel behind it. 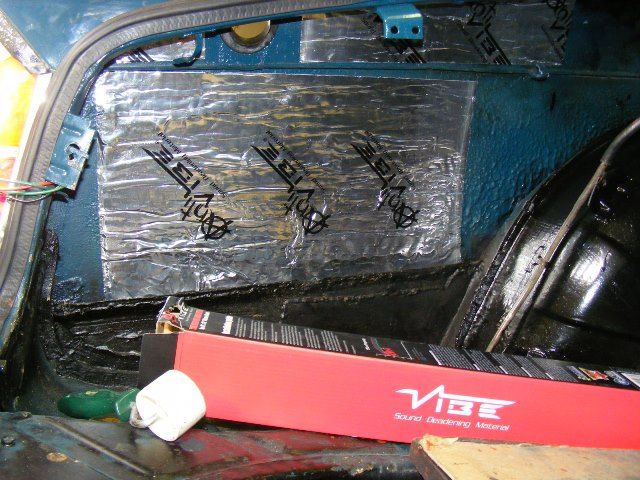 Then it was time to re-fit the tank. As mentioned above, removing it was a nightmare so I was not looking forward to re-fitting it, but it just popped back in with no problems! And it now has all 4 fixings that it should have, instead of just the one that it did have. I had to make a missing bracket but it was just a flat plate with 3 holes drilled in it. 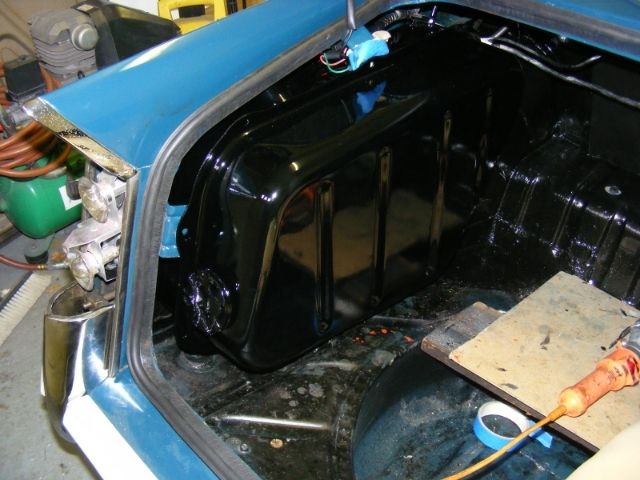 Oh yes, and I replaced the light unit, which is why I started this in the first place! 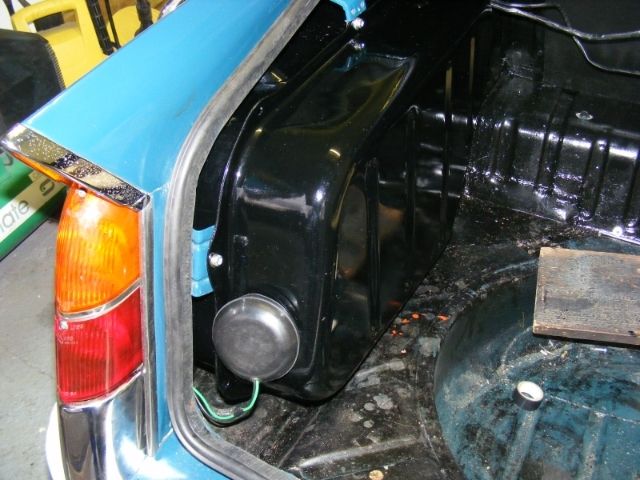 Now all I have to do is re-fit the boot lid without scratching the body work. |
|