Post by penguin45 on Mar 2, 2017 17:47:18 GMT
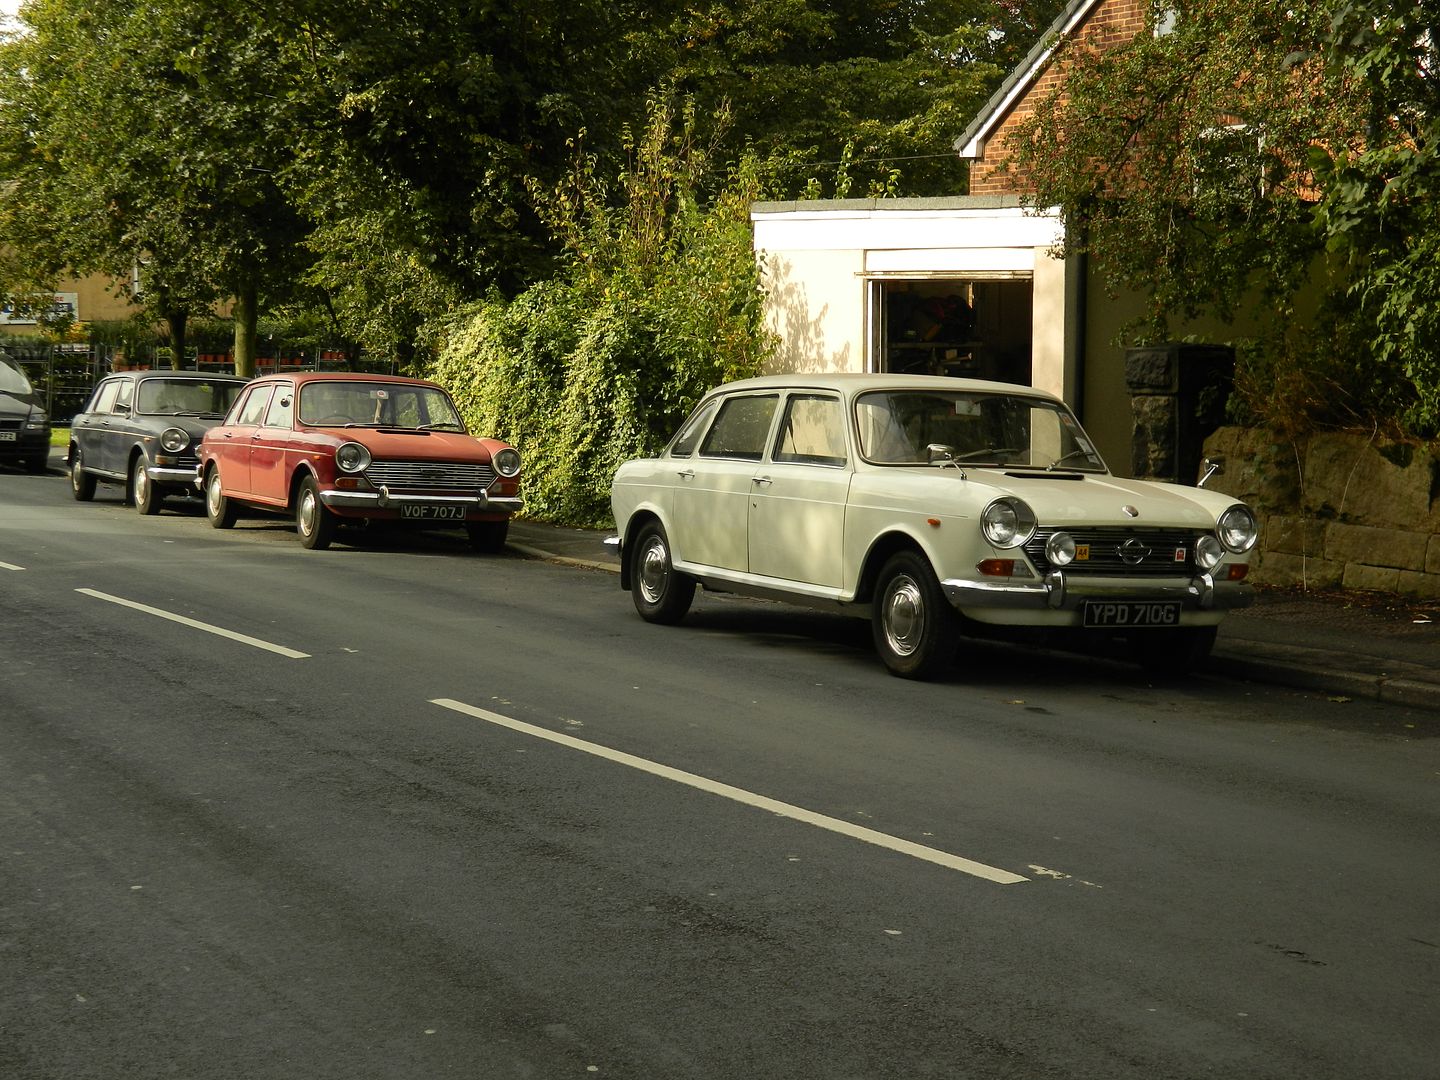
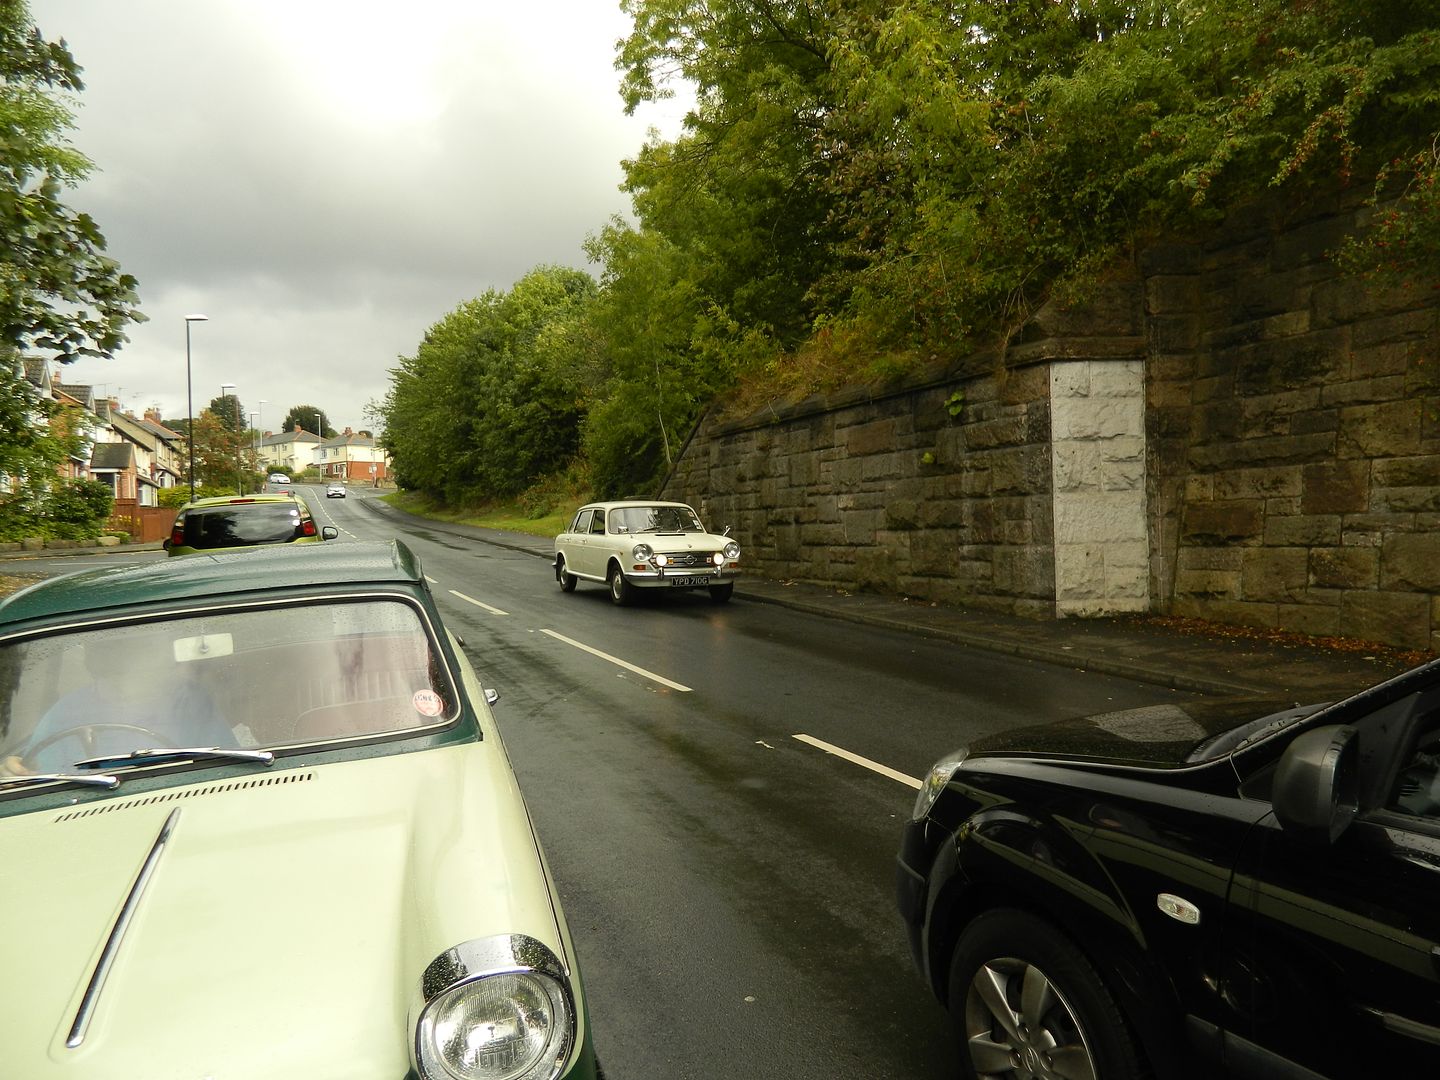
You're starting to see a pattern here, no doubt... I seem to have become the "go to guy" for 'Crab welding. This is the one that meant the grey one was done in two stages. At first glance this was a tidy car, but the sills had some very obvious lumps of filler and the owner was aware of several bodged repairs. He had obtained new BMC outer sills and two r/h centre membranes - no such things as a l/h one any more. The job was compounded by a former owner from 20 years ago following the blog on the Landcrab Forum. Had to get this one dead right!
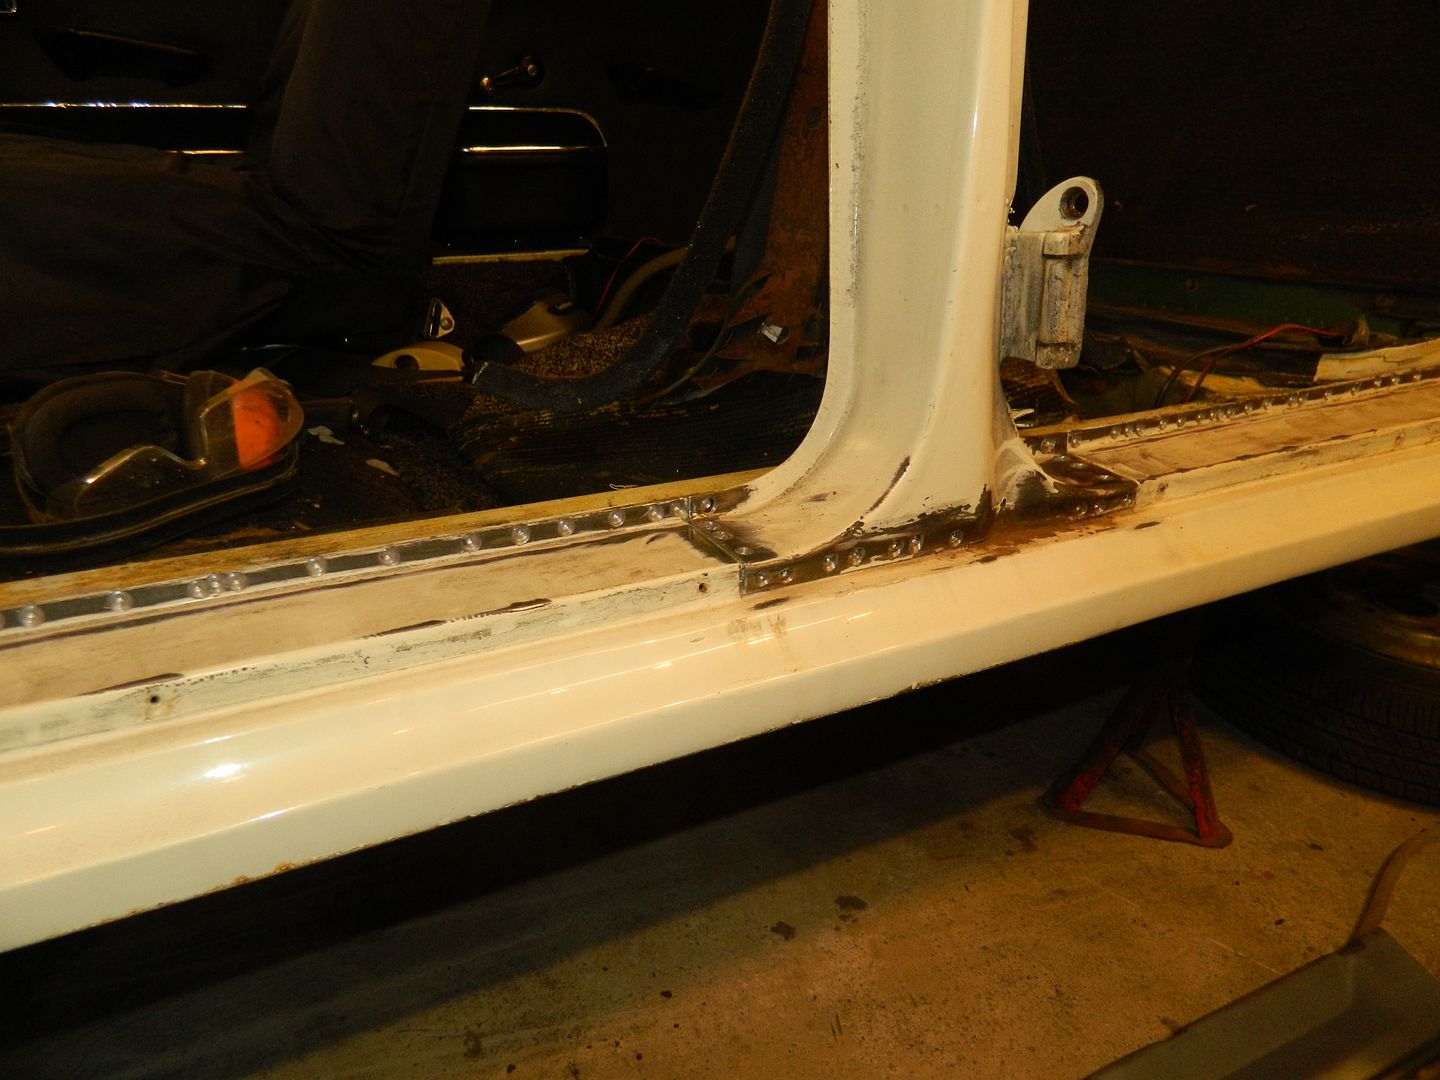
Usual start - n/s first and drilling out myriad spot welds.
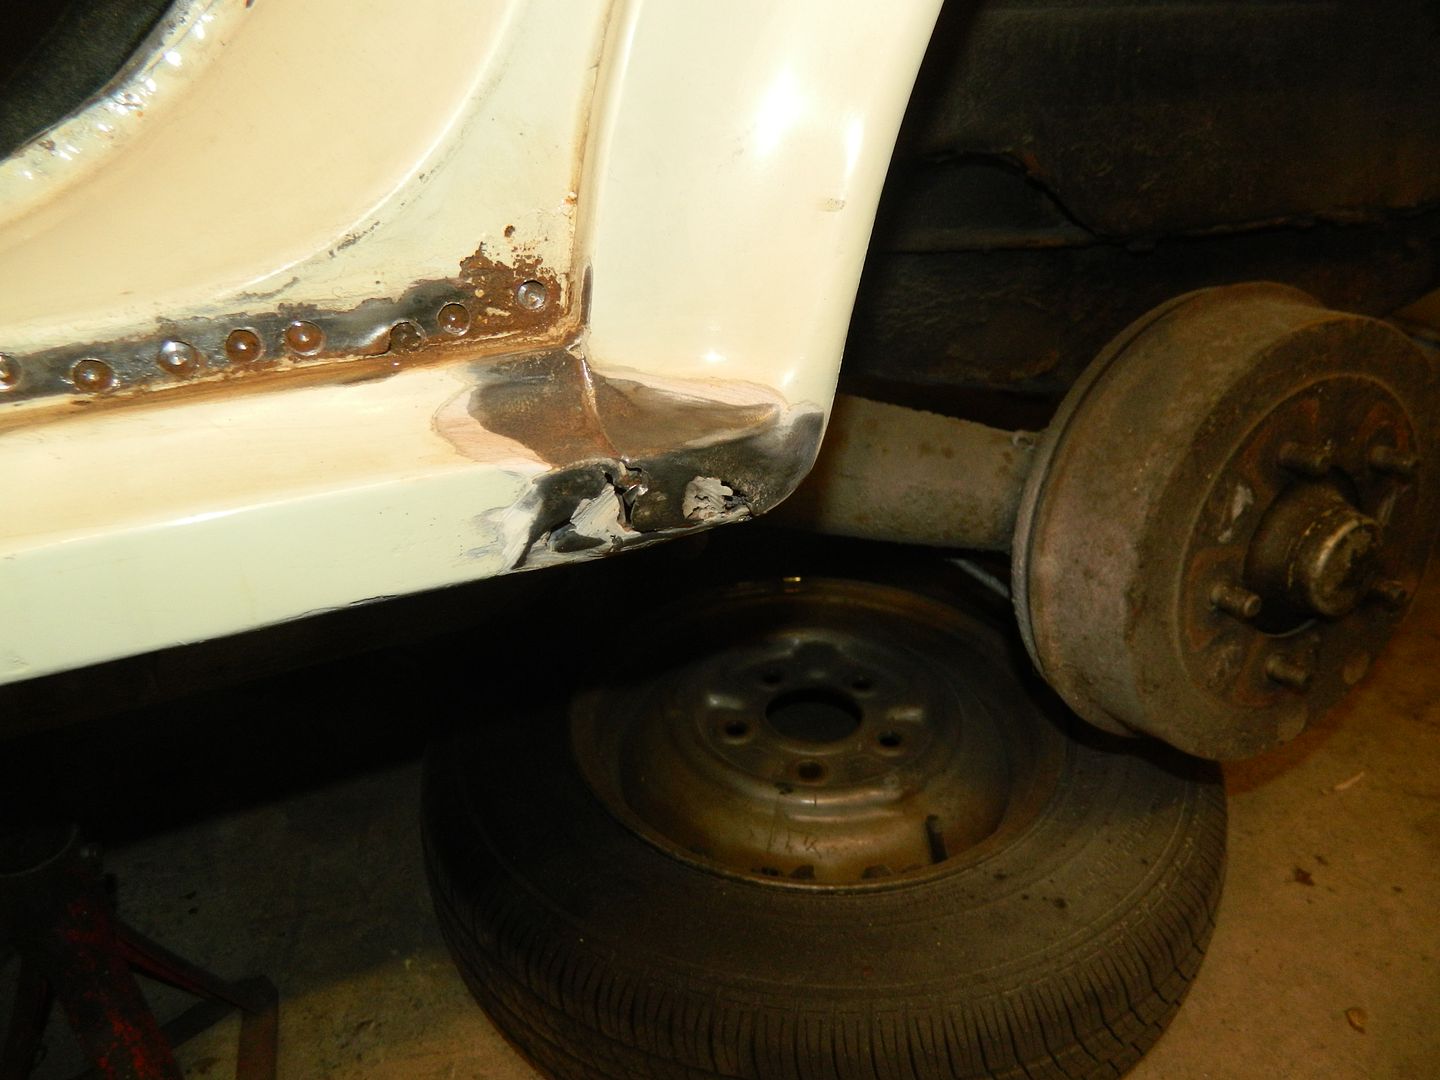
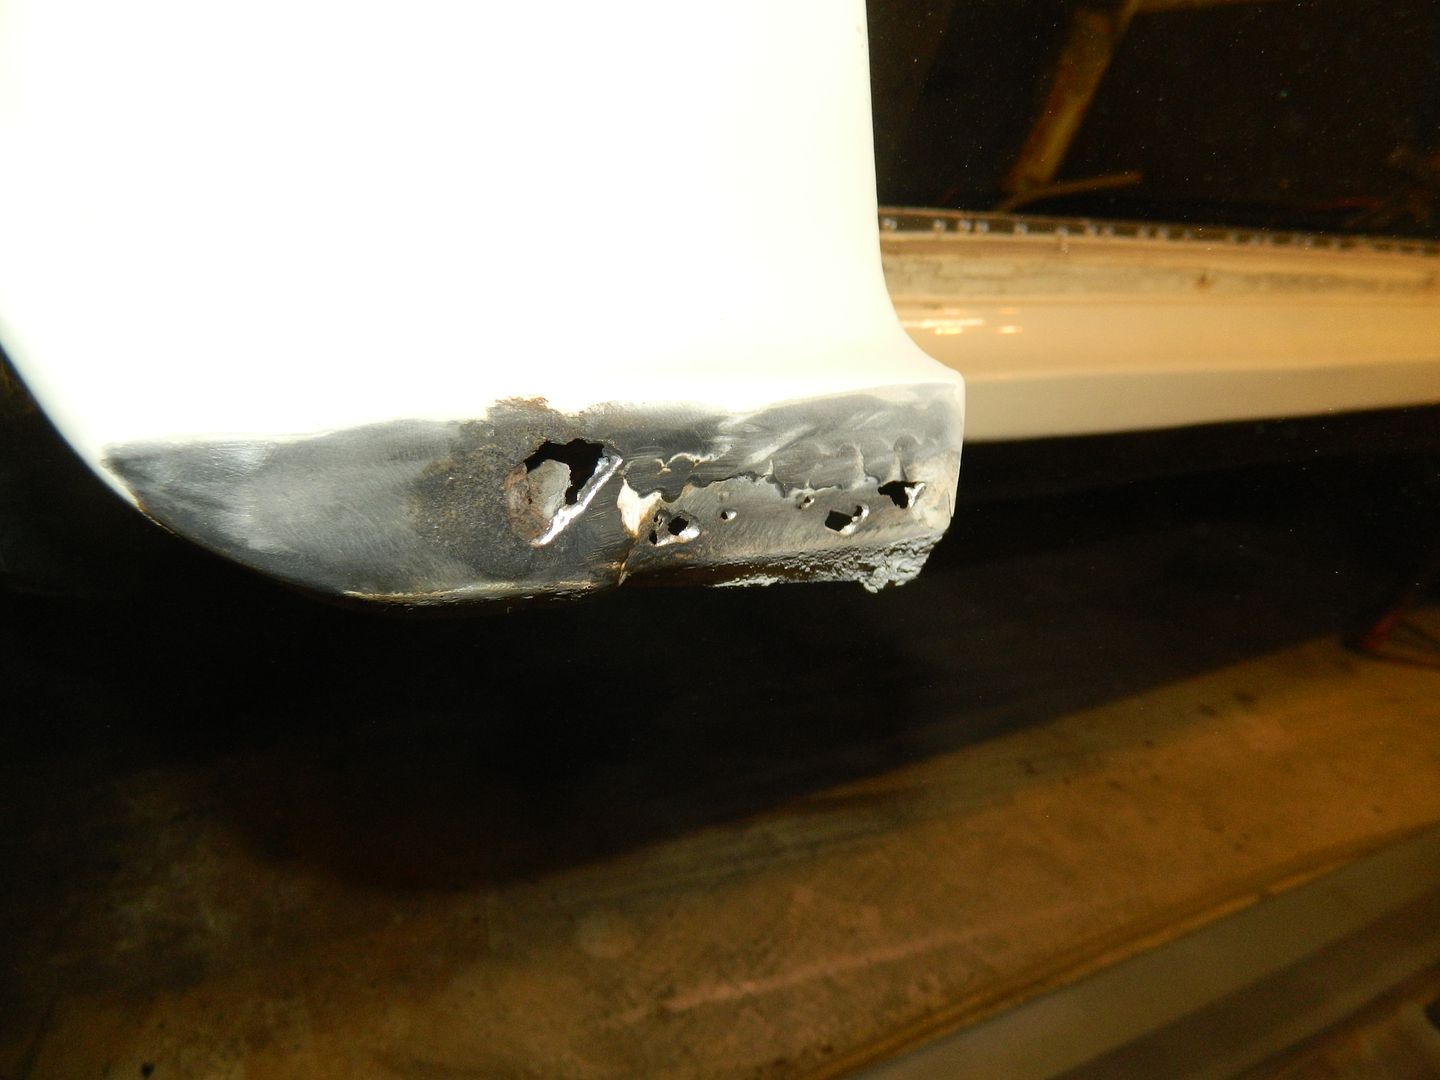
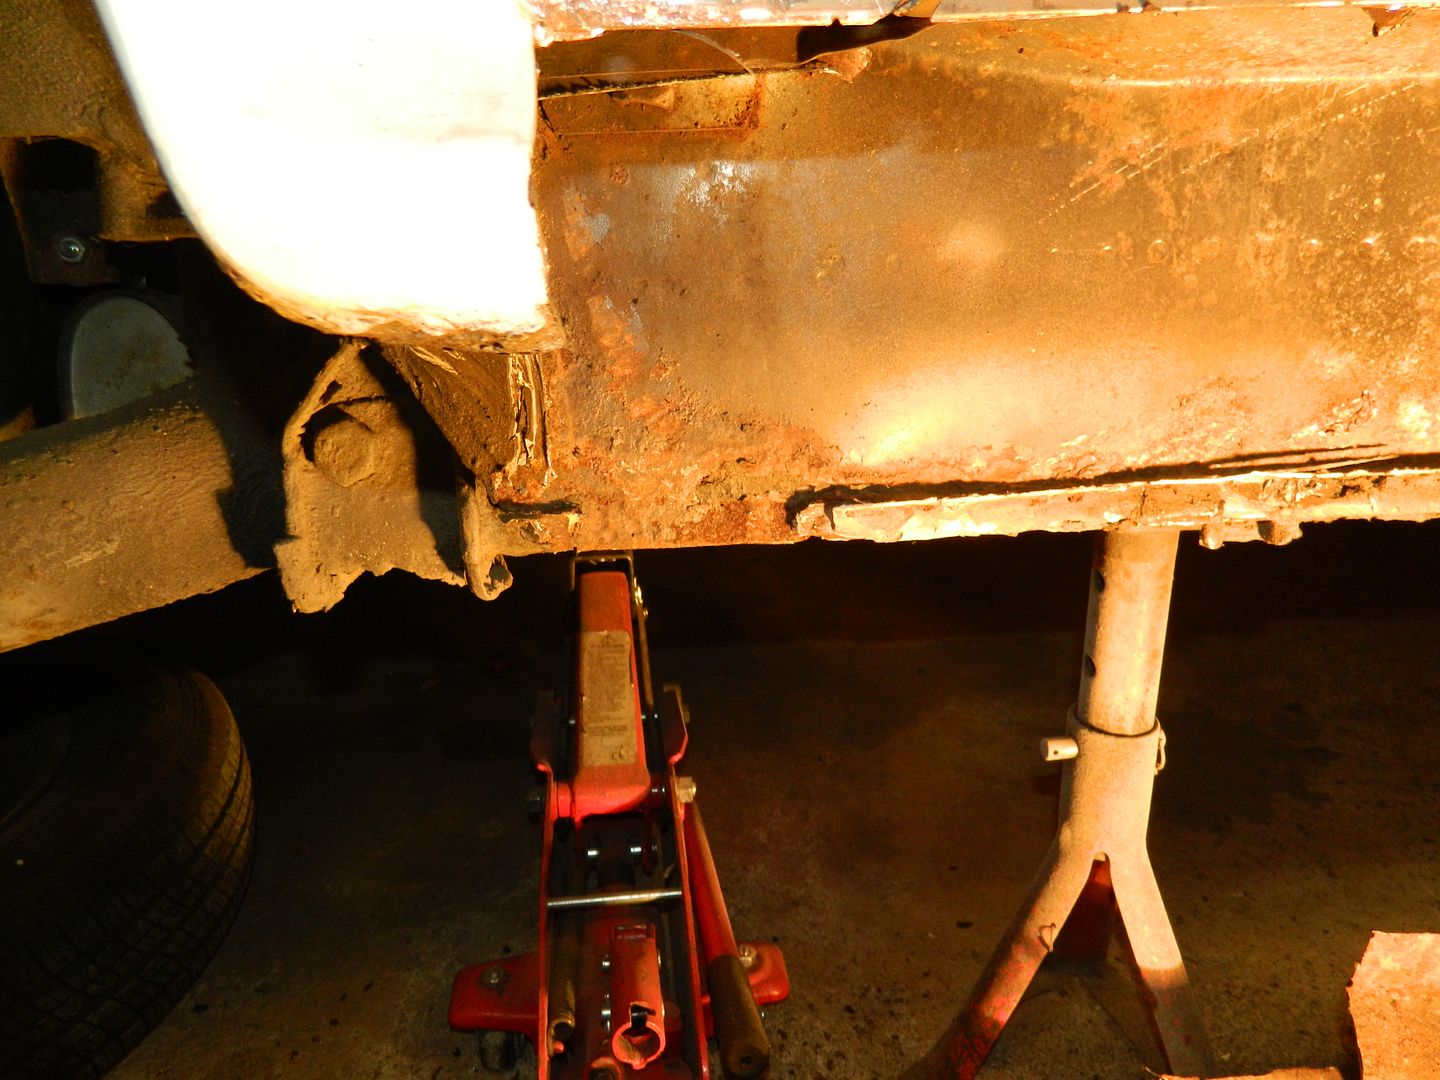
Frilly arch bottoms.
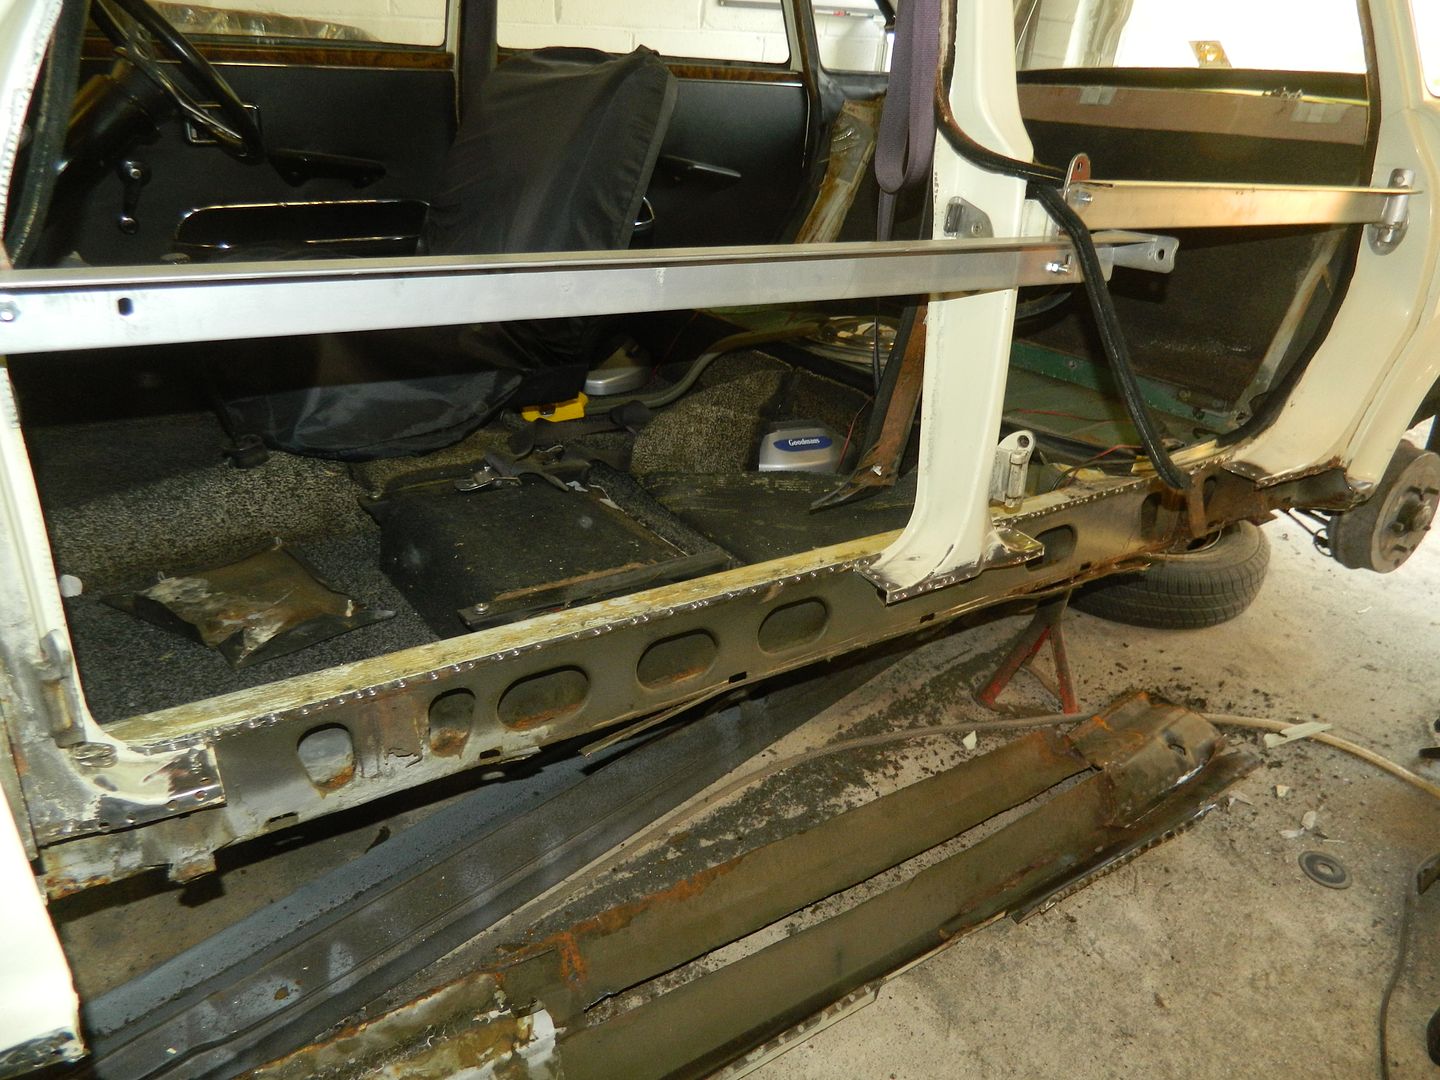
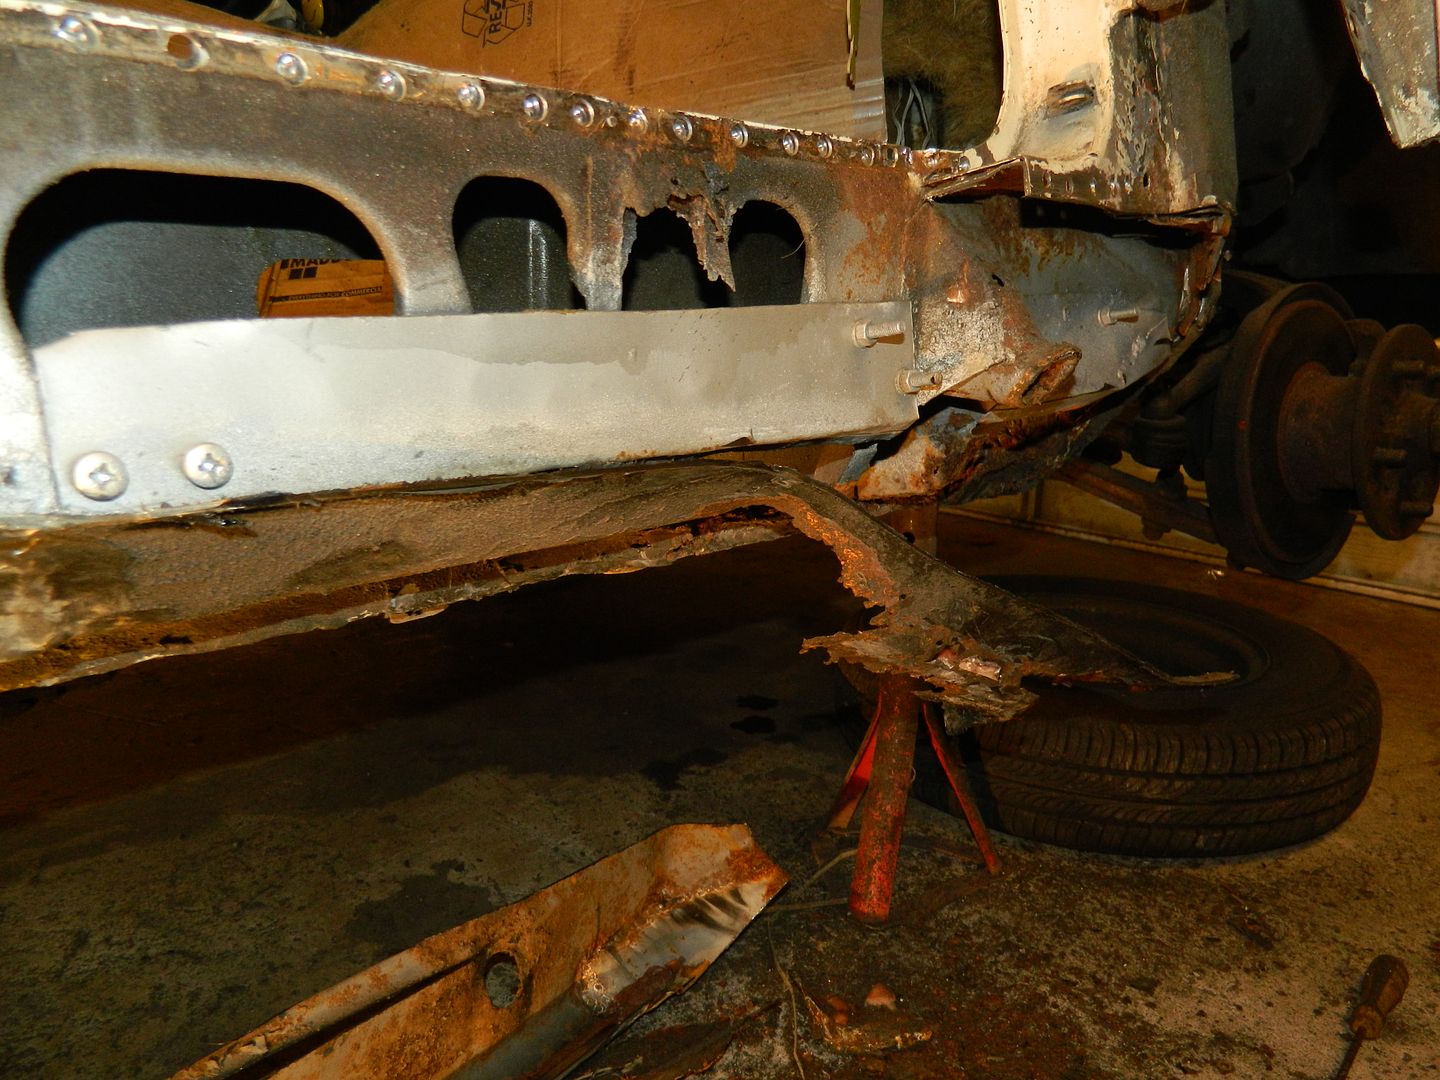
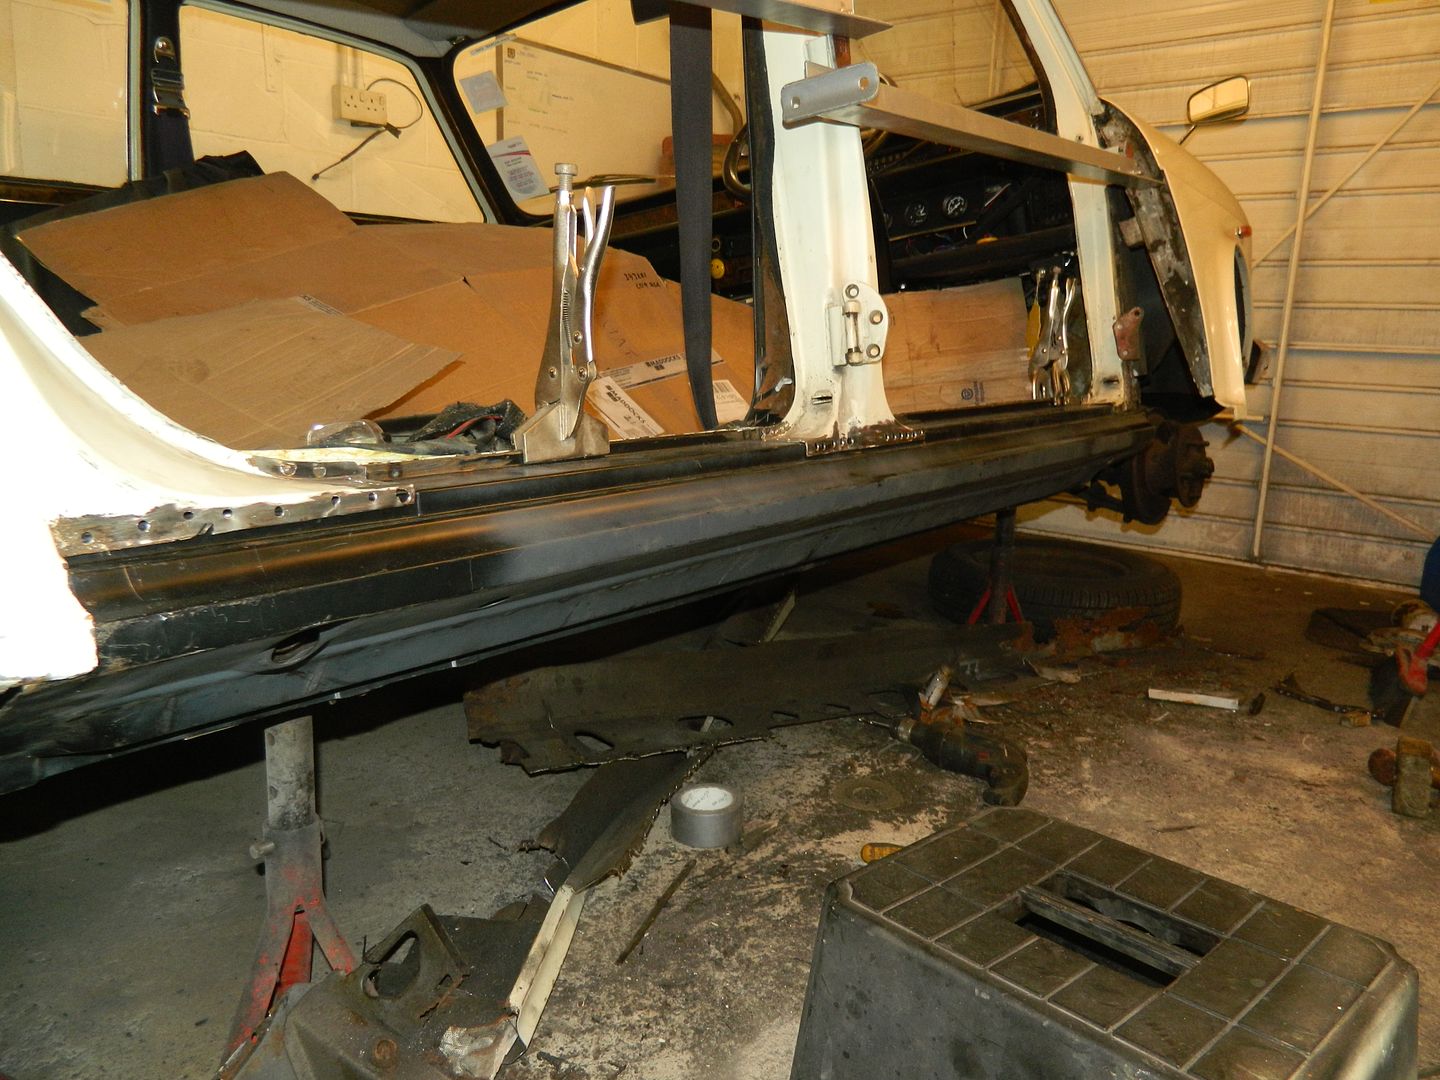
Outer sill off. Note bracing bars.
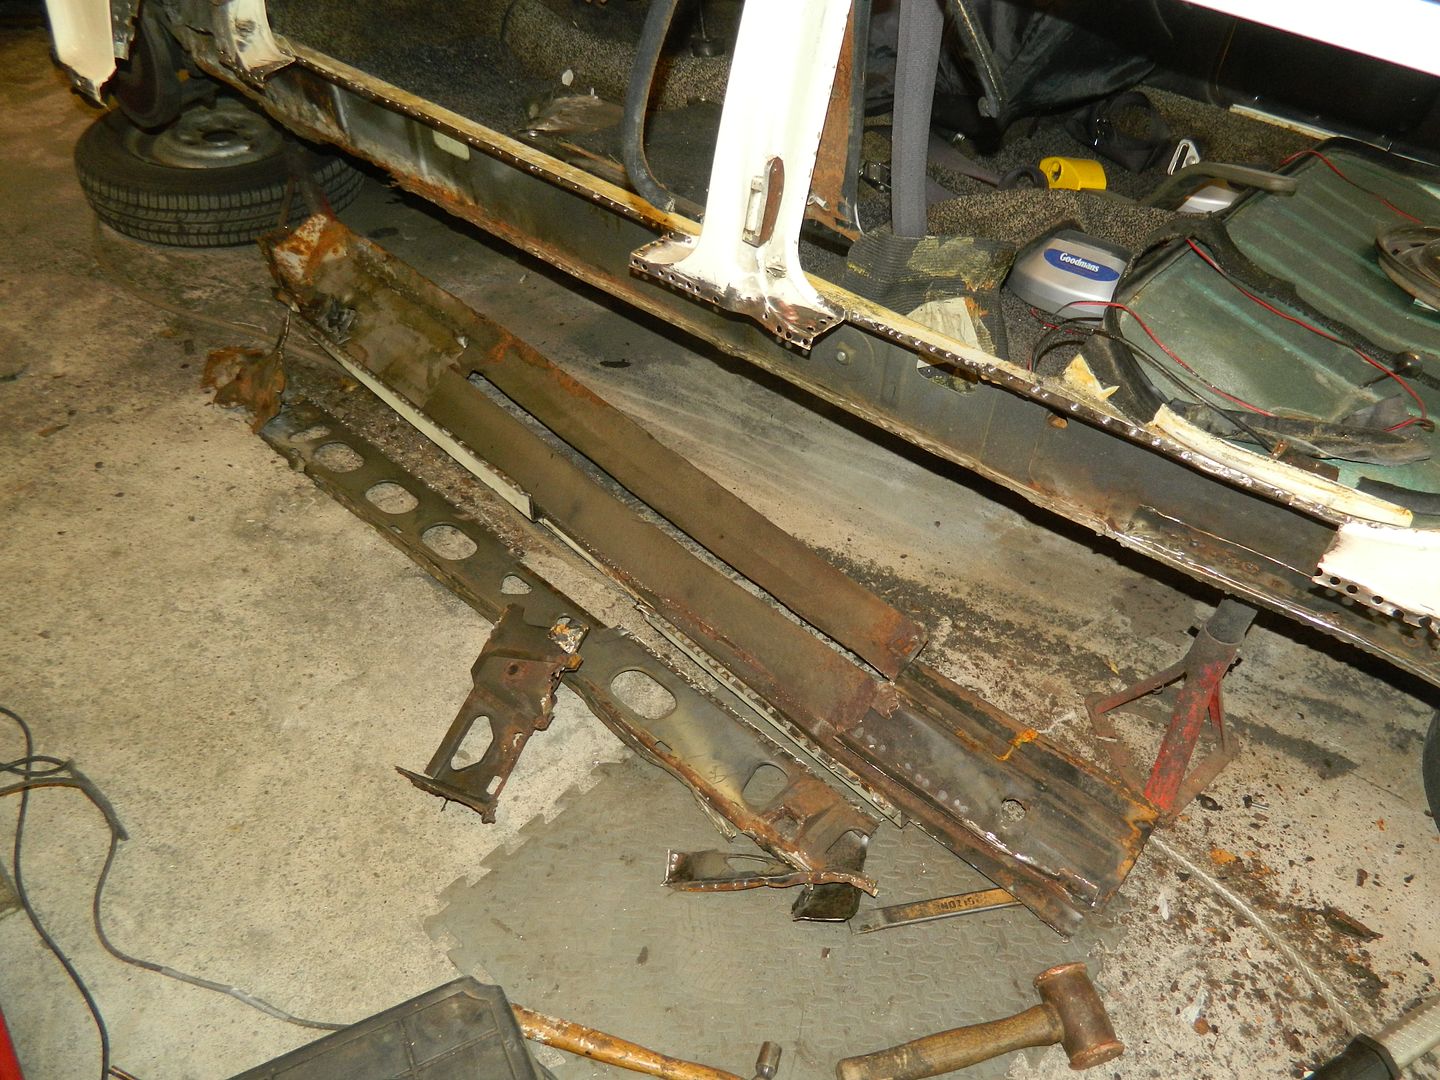
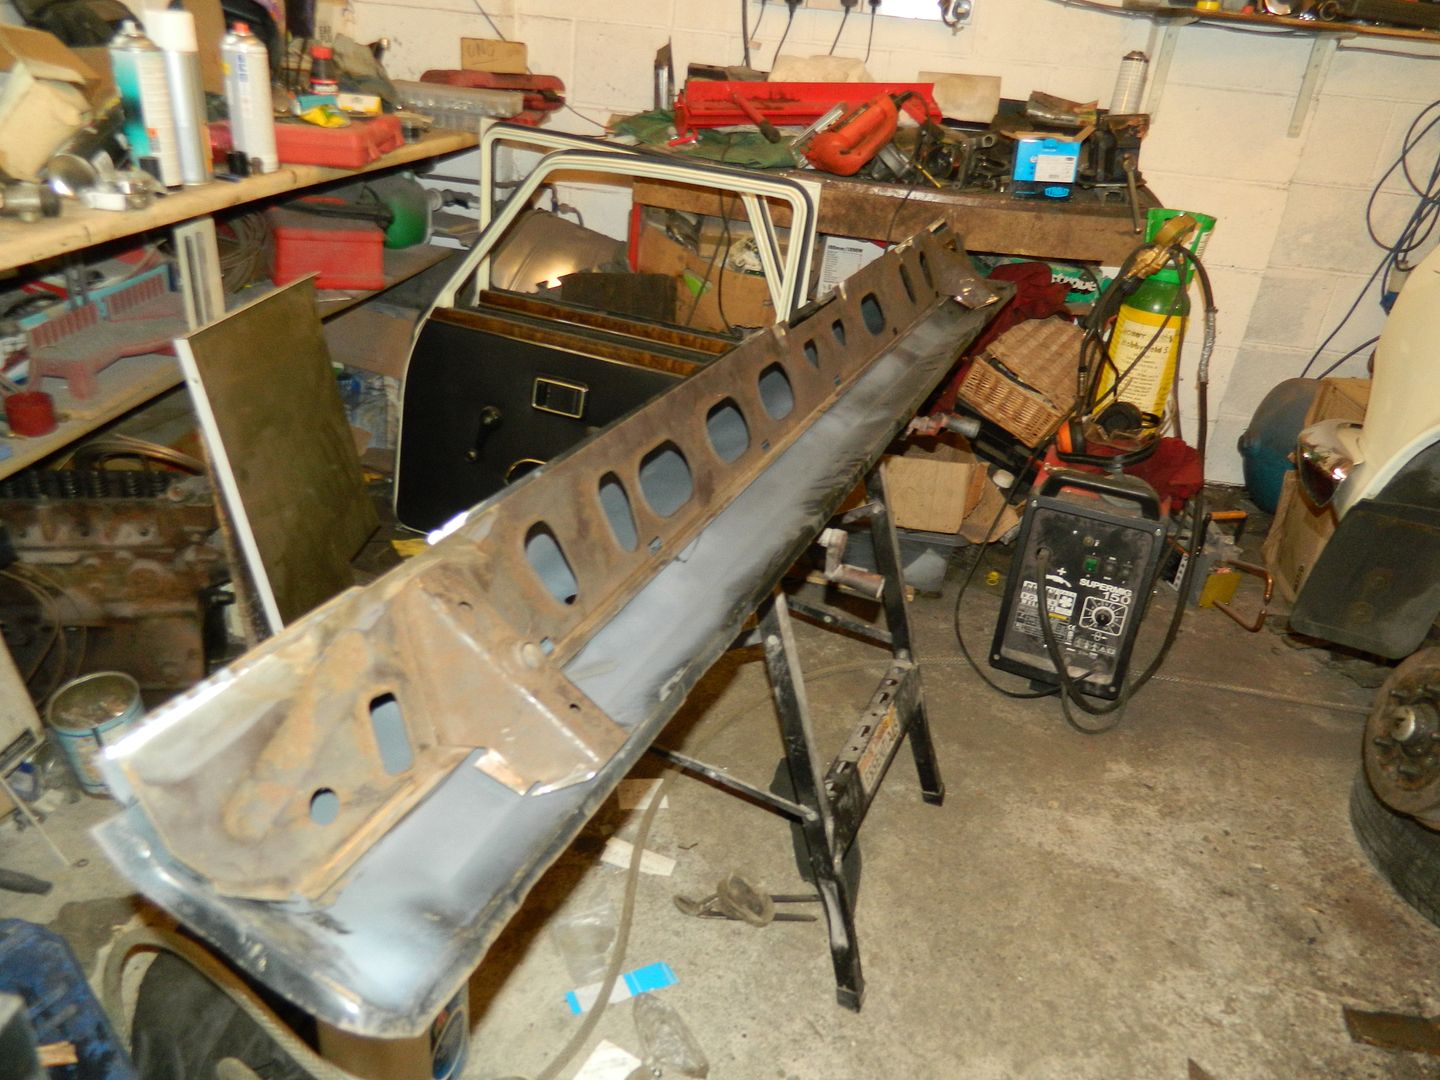
And the centre one off as well.
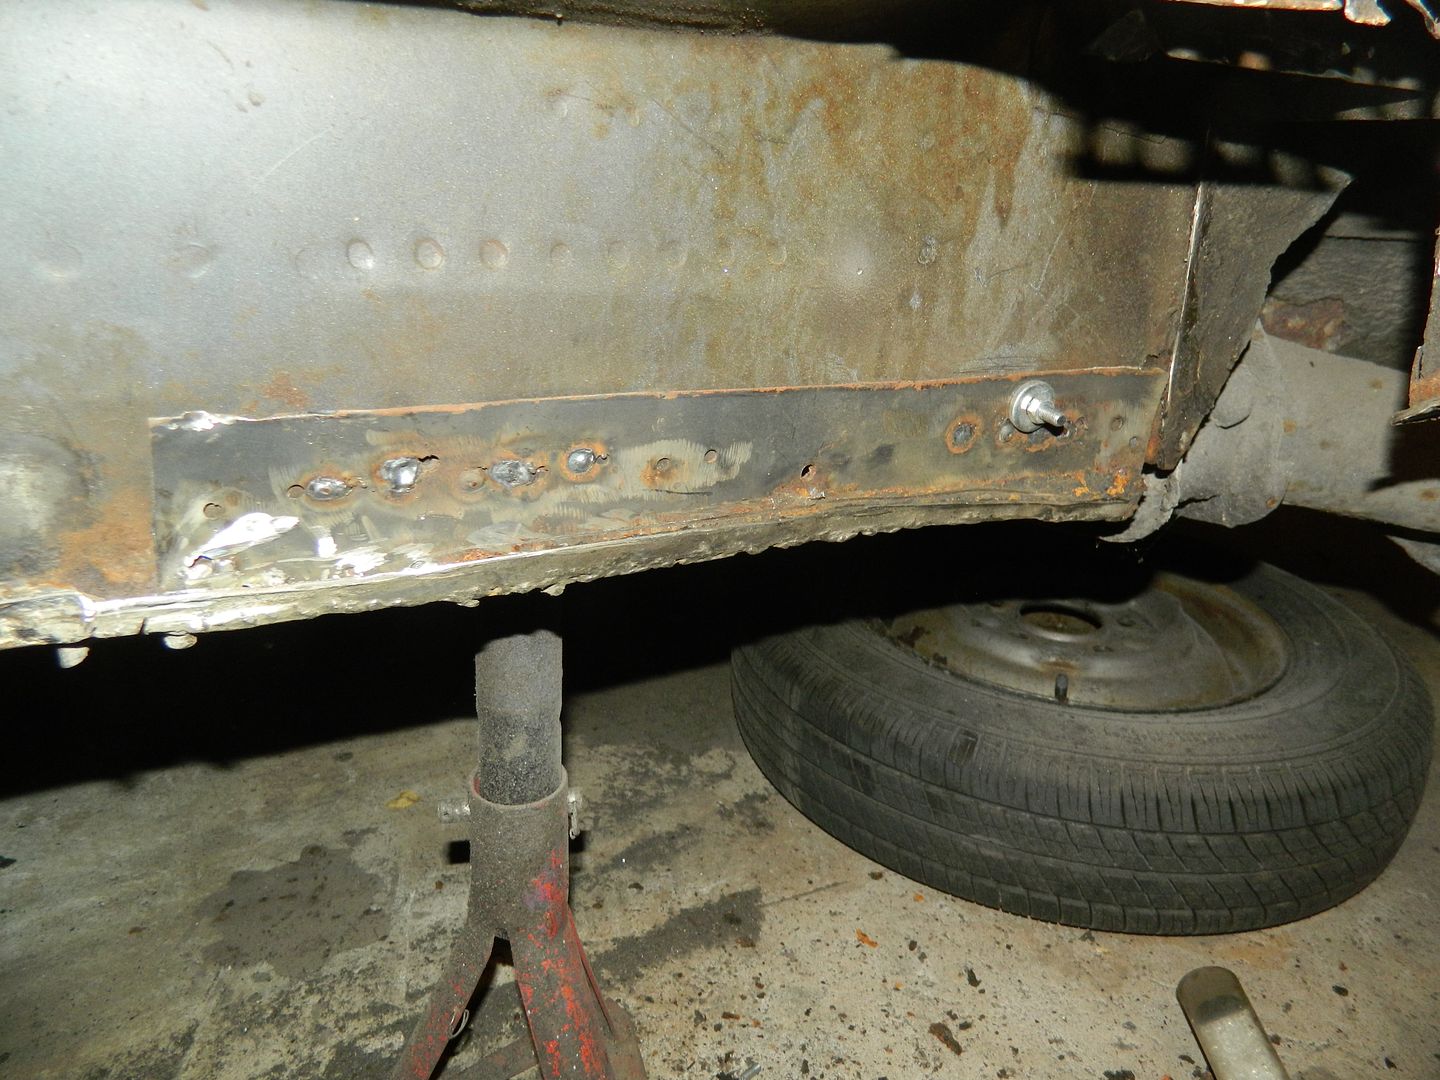
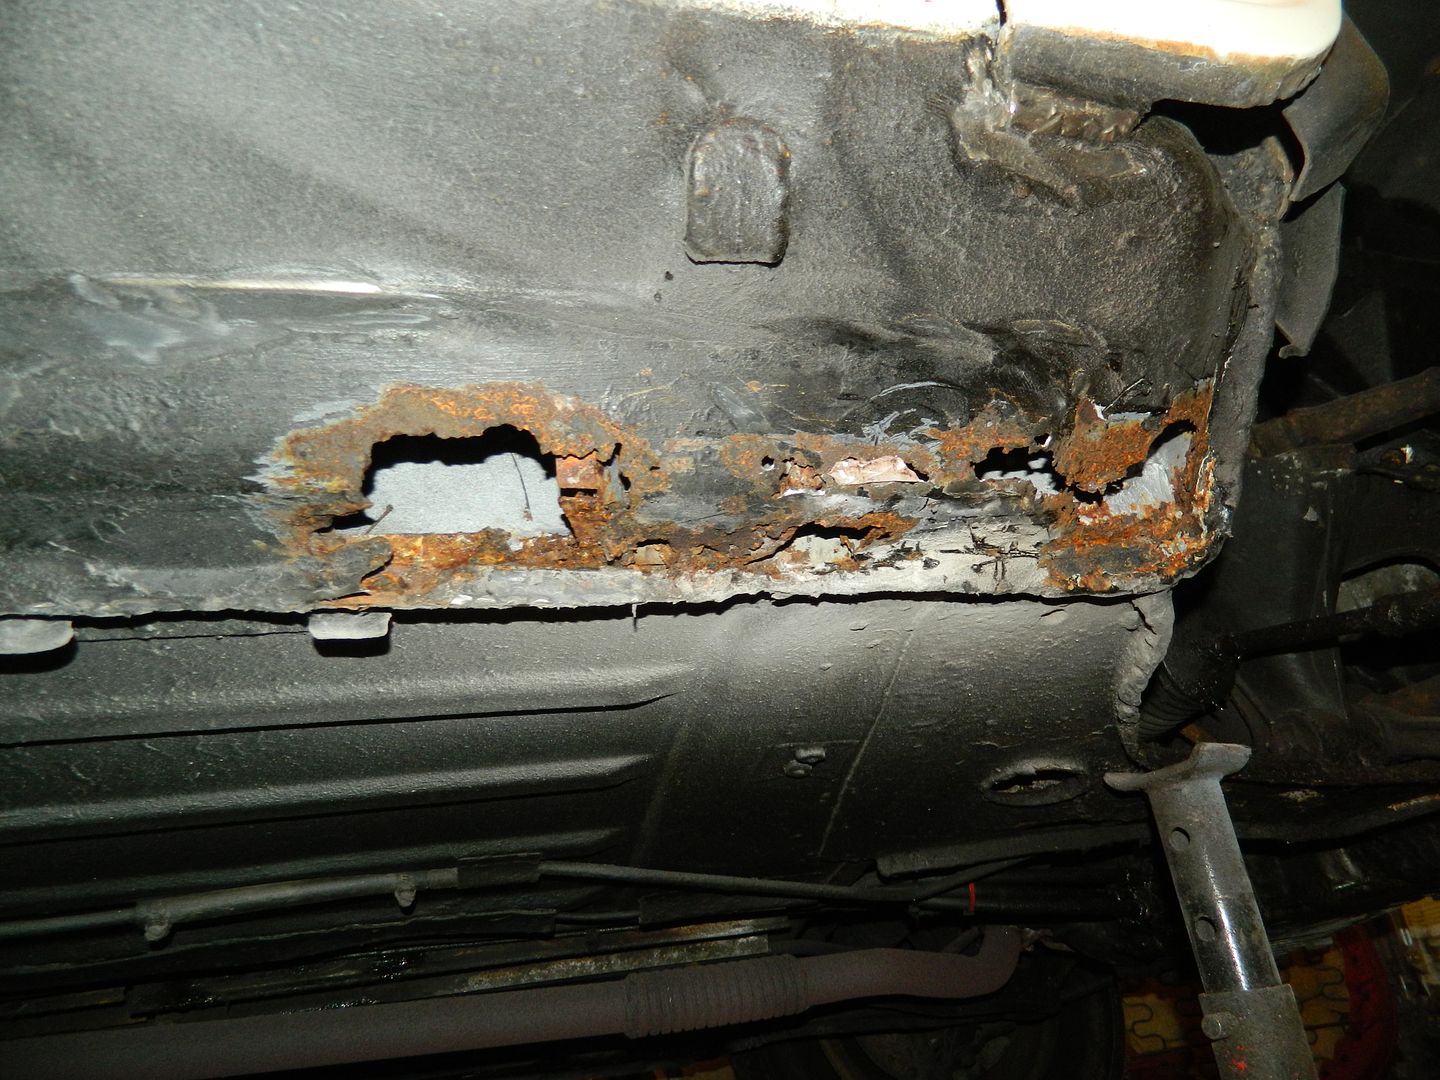
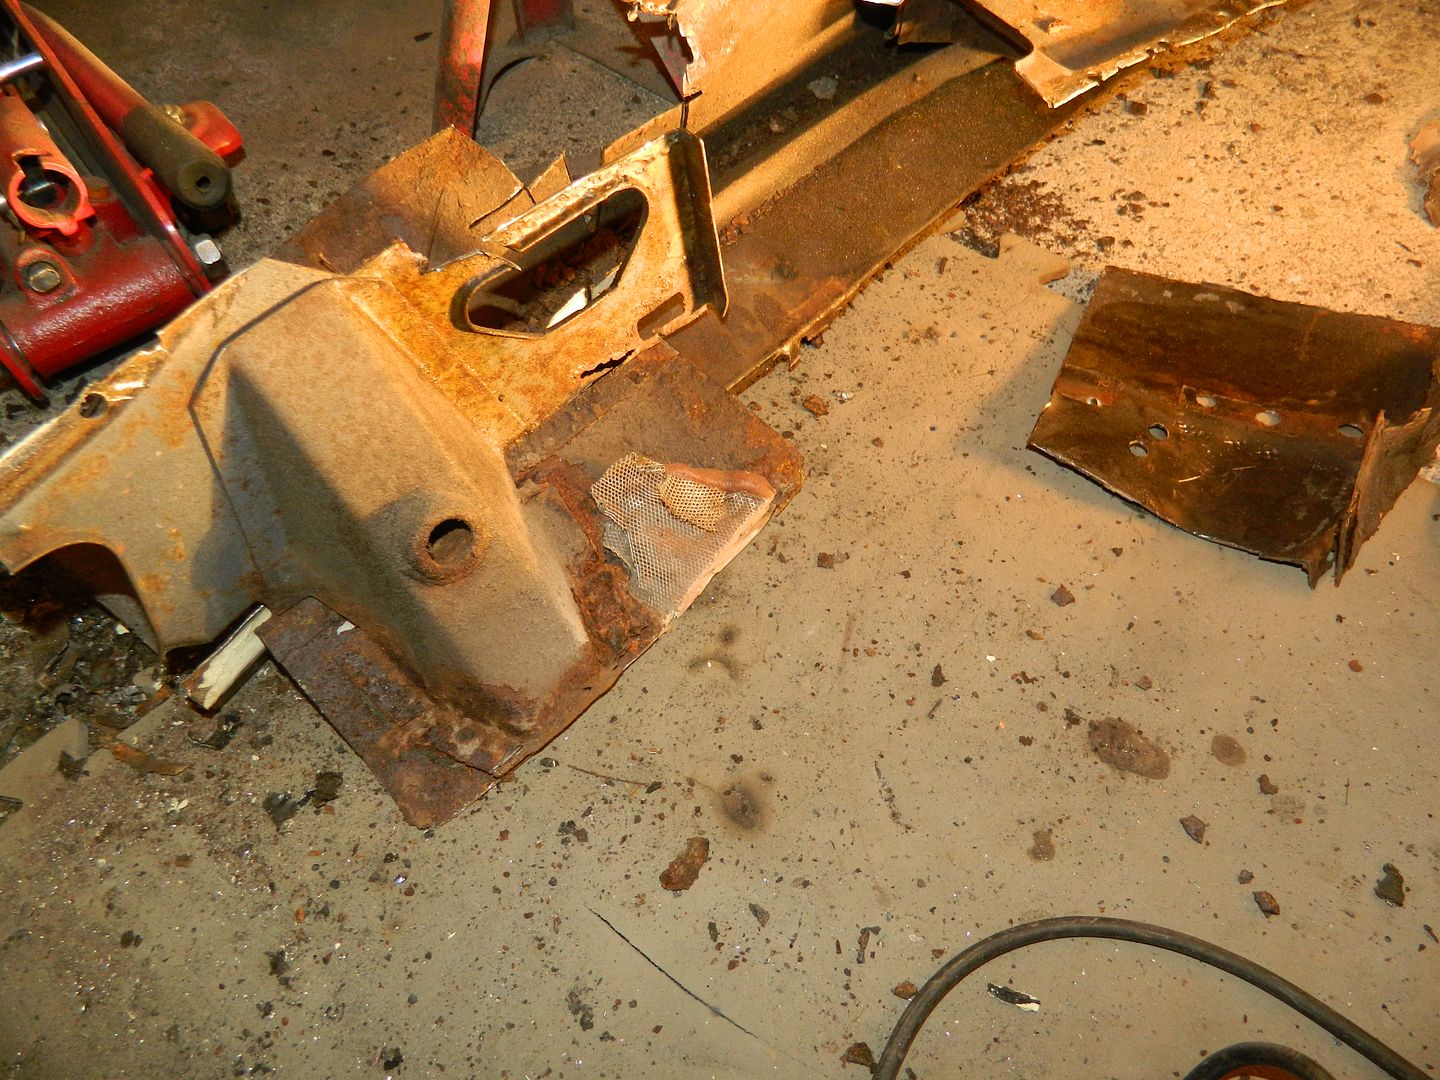
That had to go.
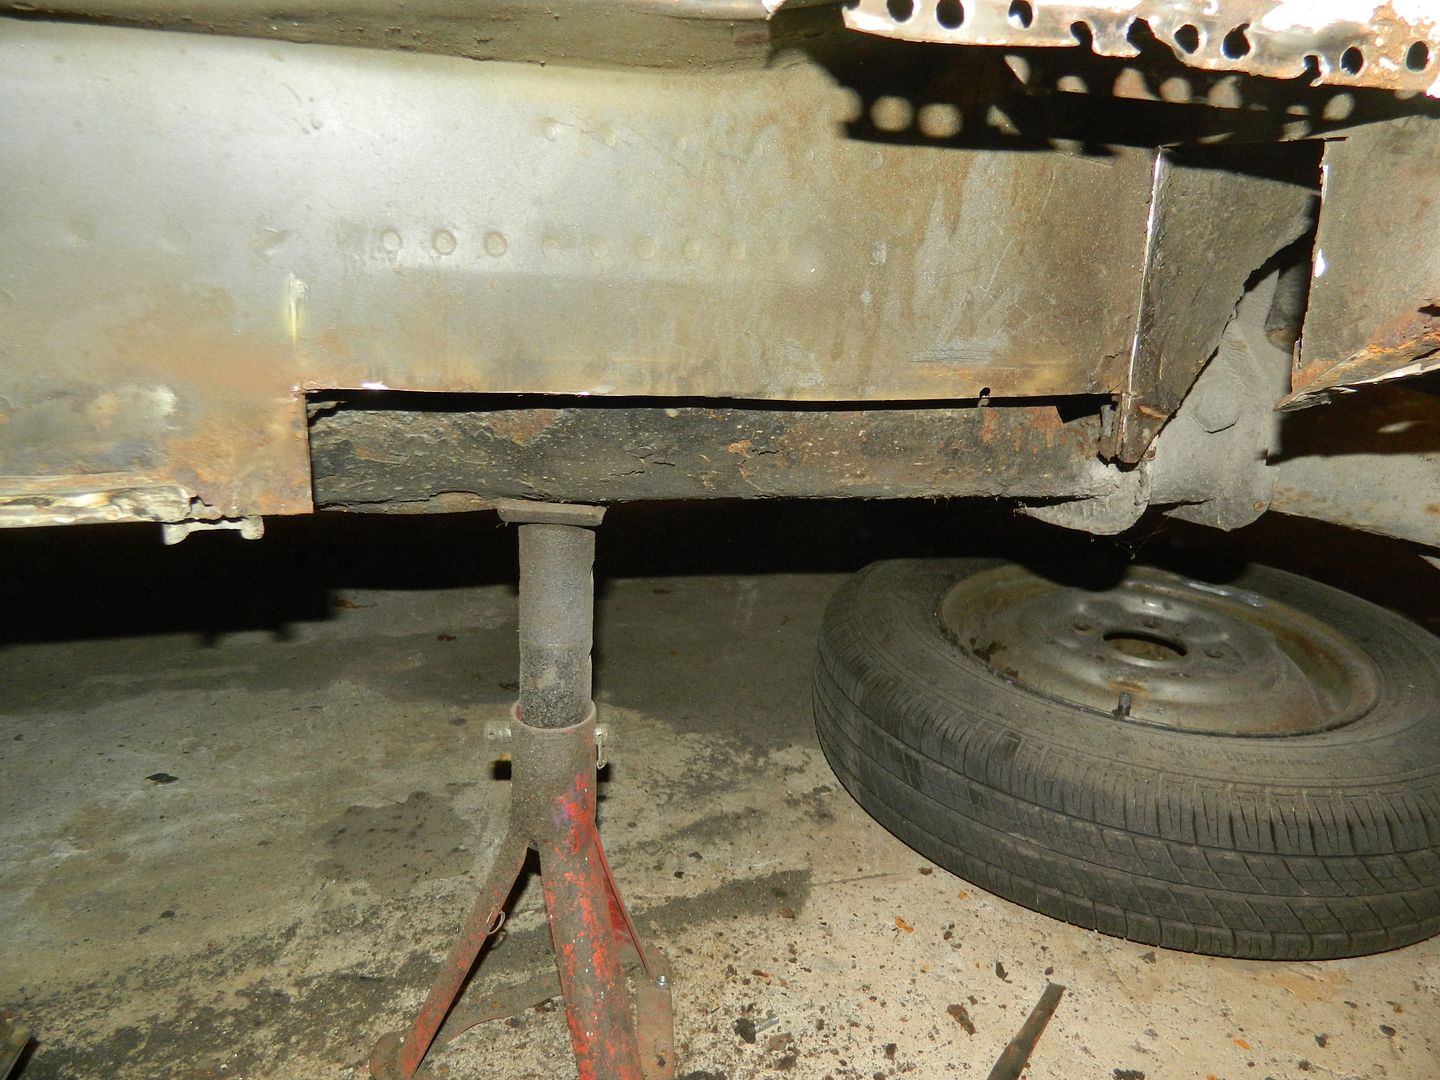
So it did.
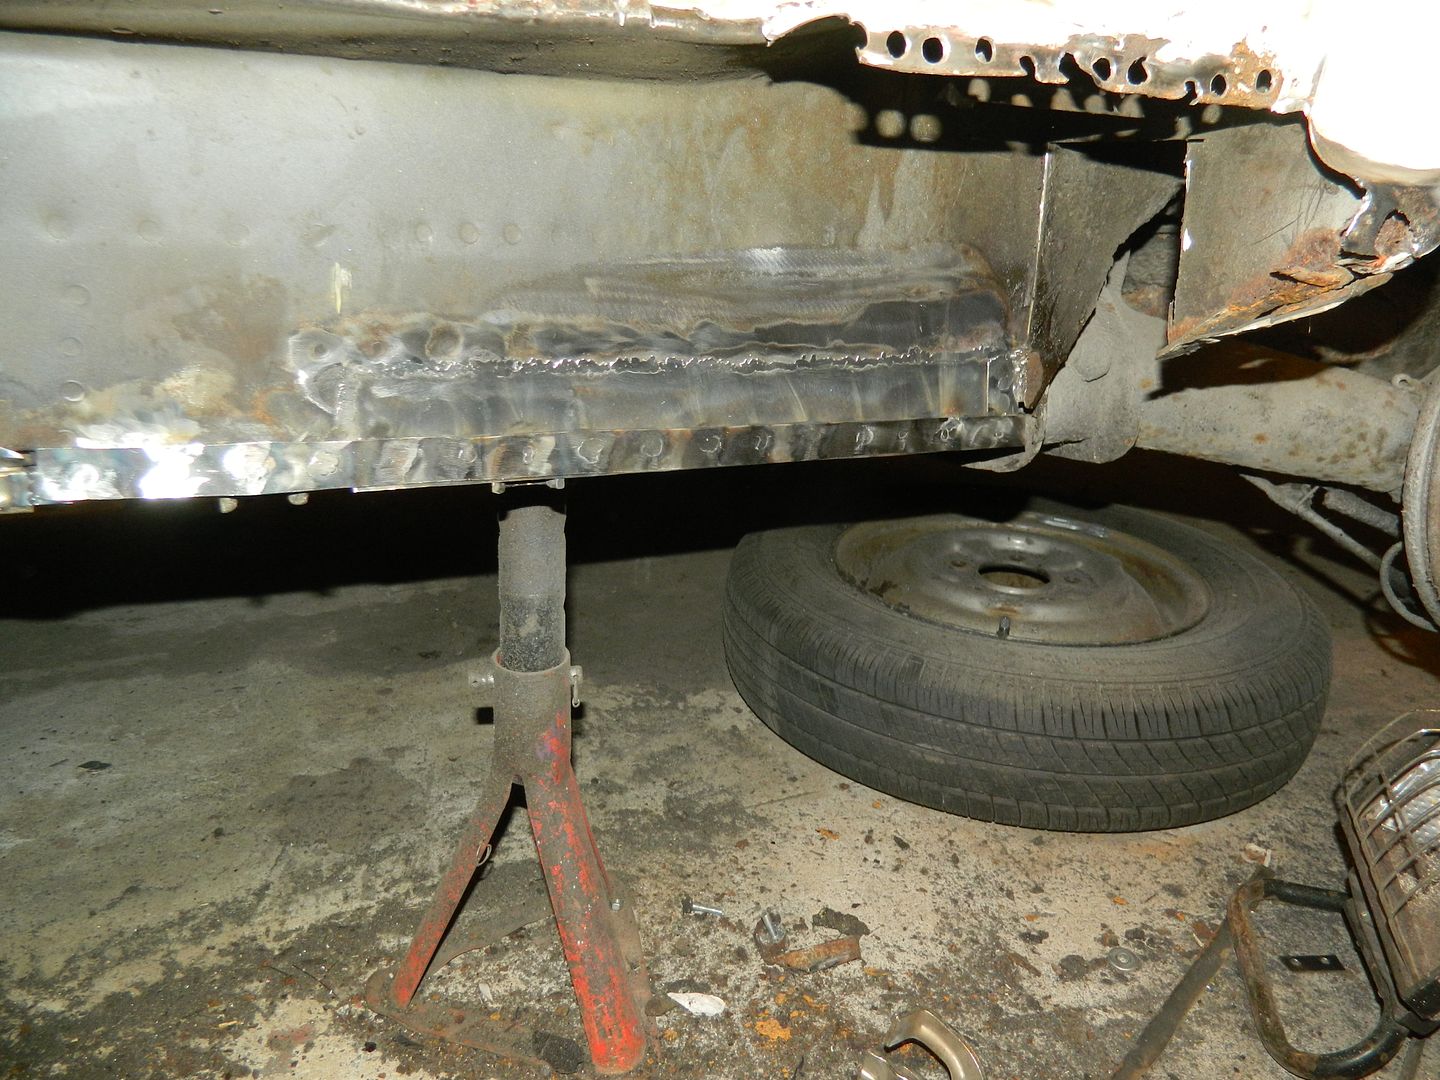
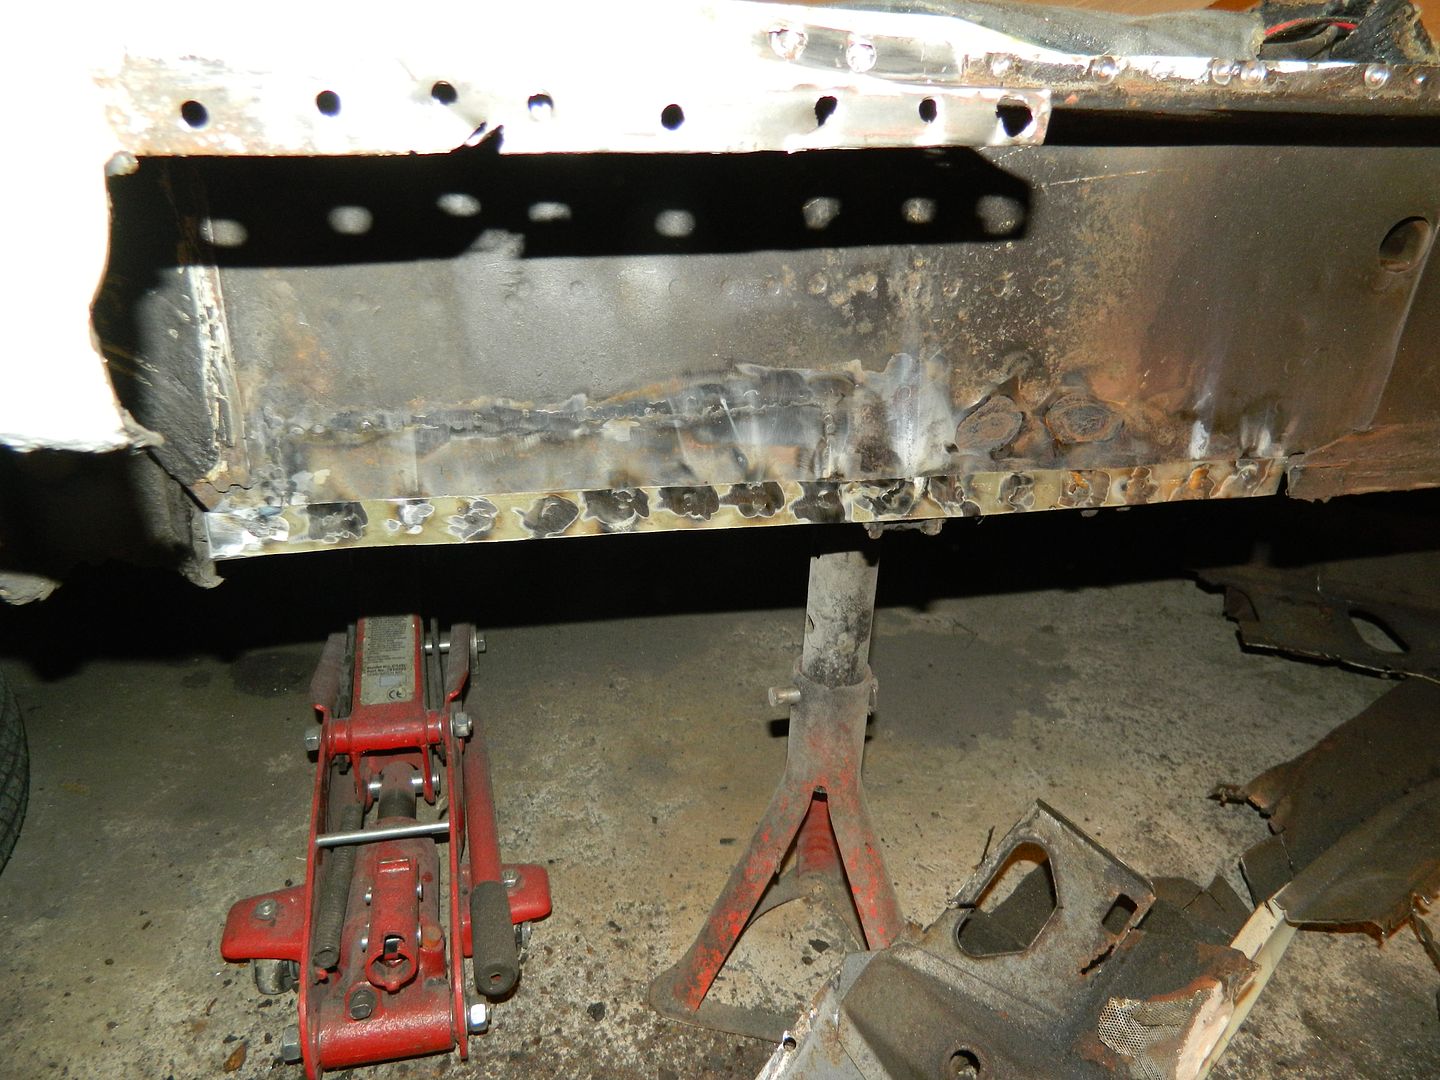
And got replaced. Bottom edge doubled for extra strength.
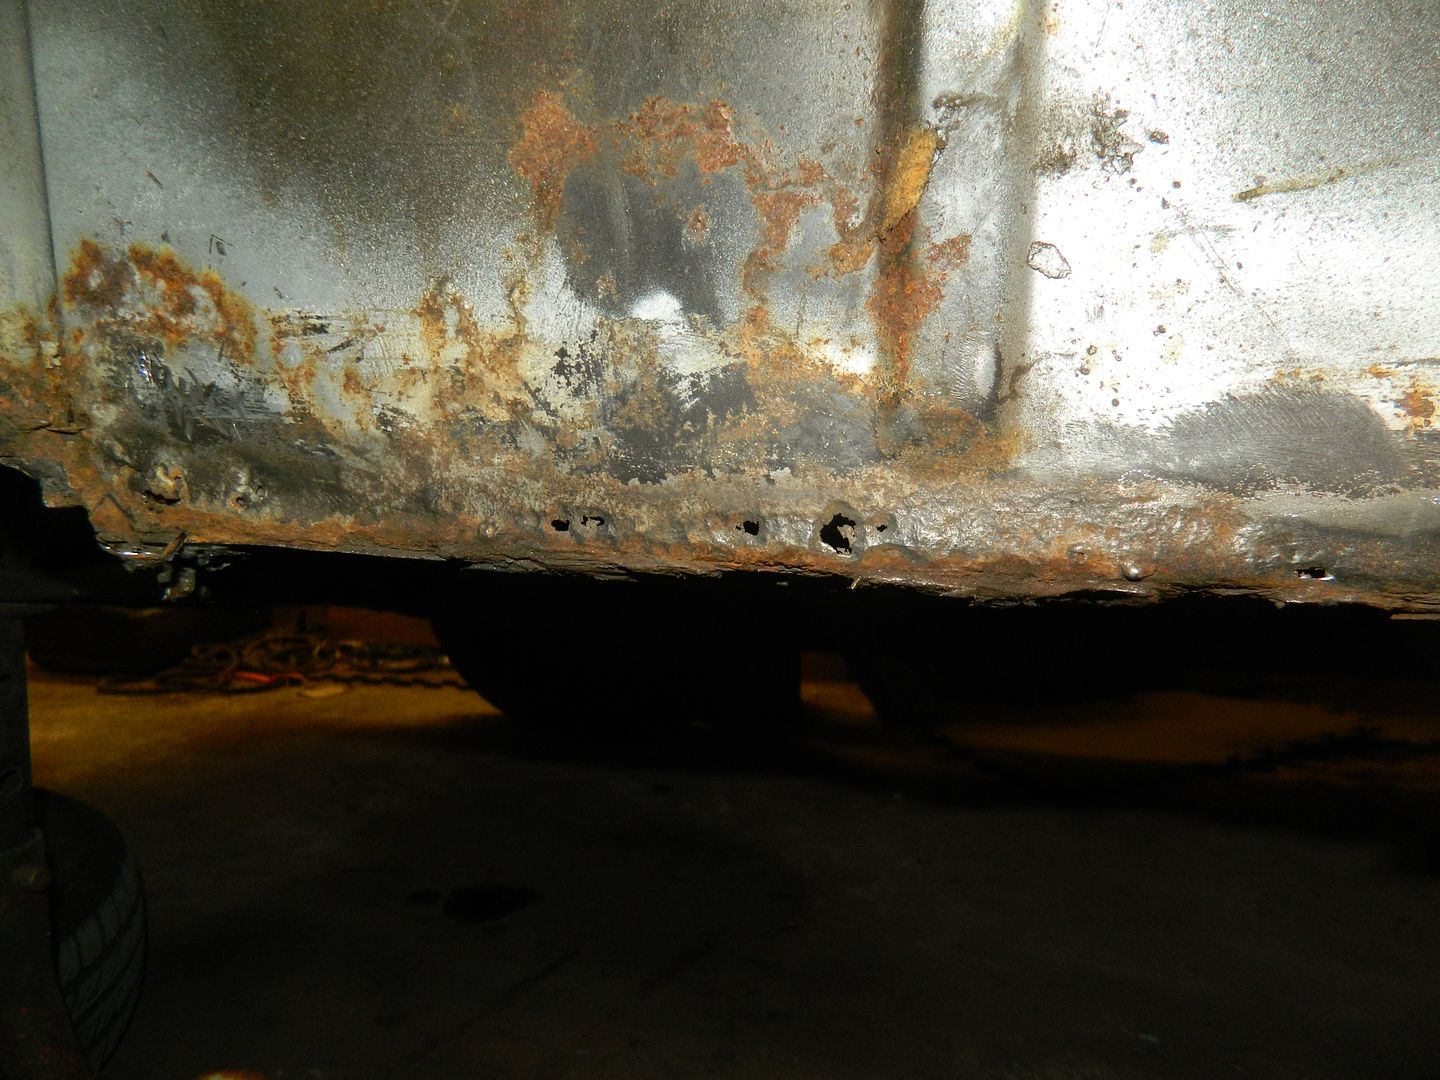
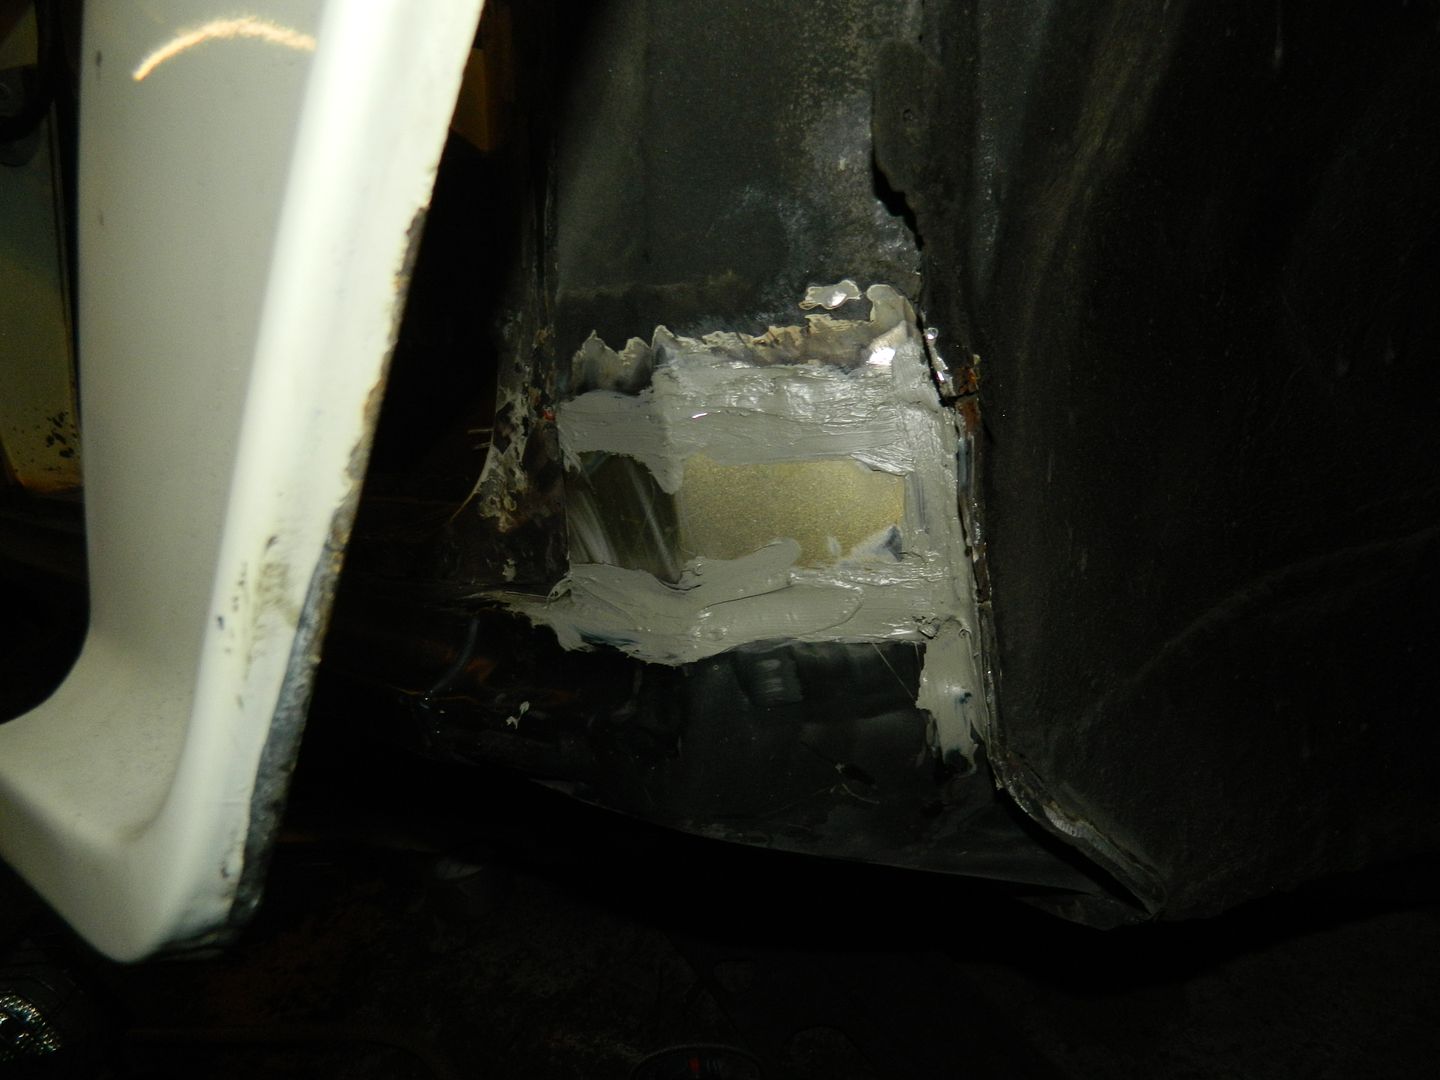
Grotty bit at the front.
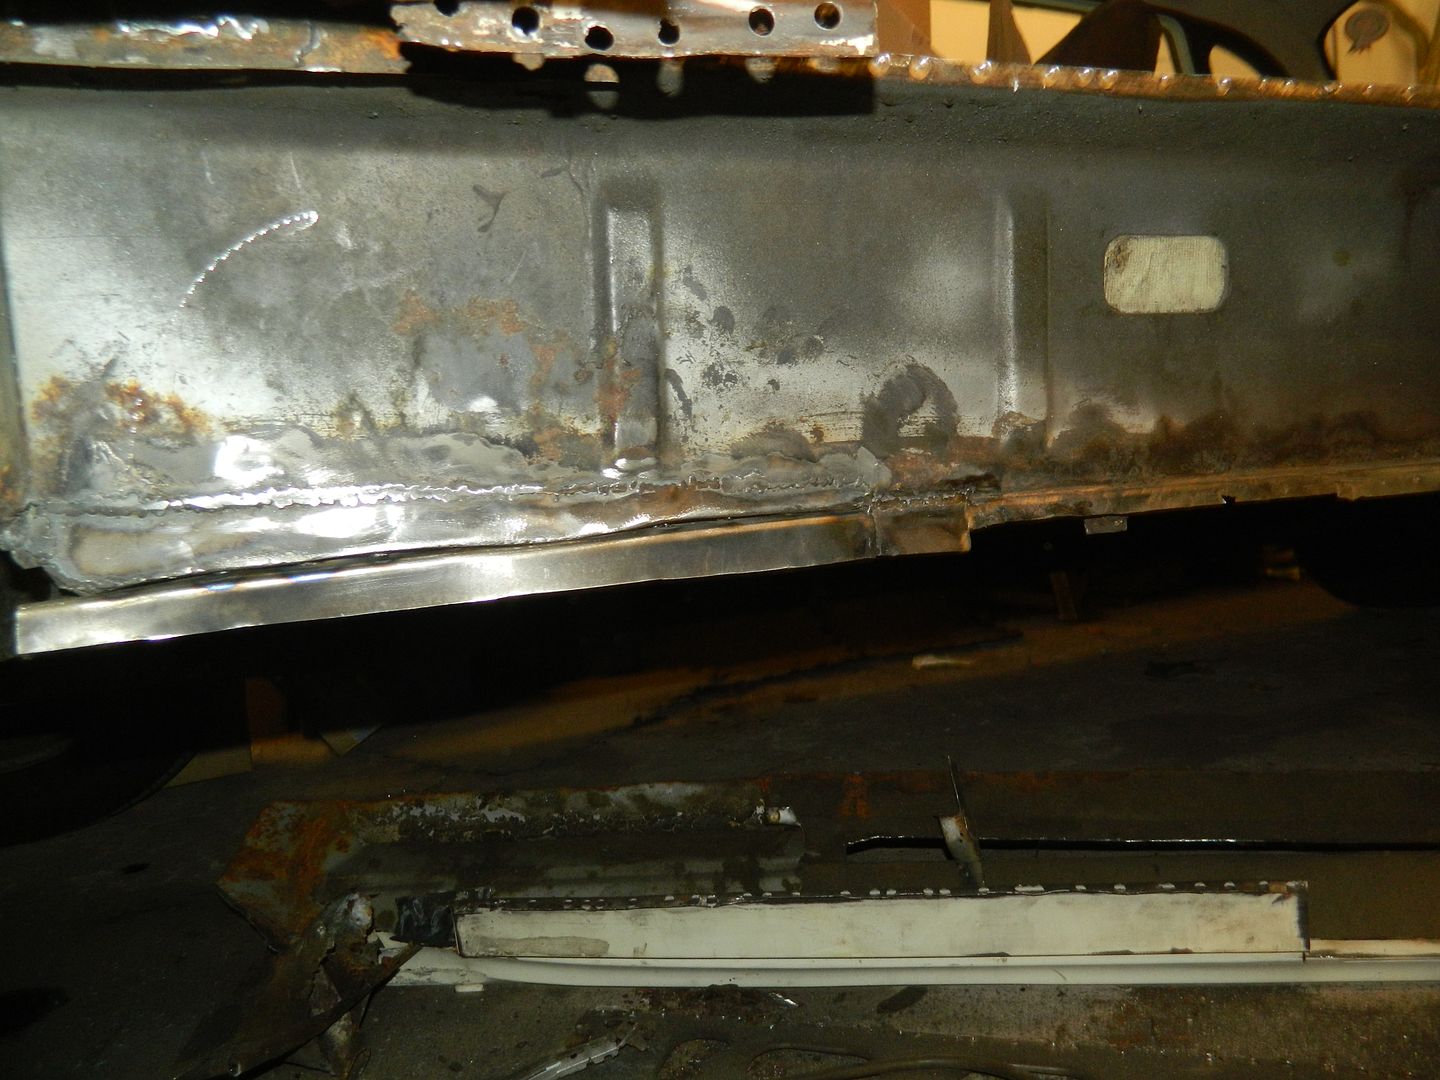
Much better. New bottom flange going on as well.
Then the problem of getting a r/h centre sill to fit on the left. Dead easy really.....
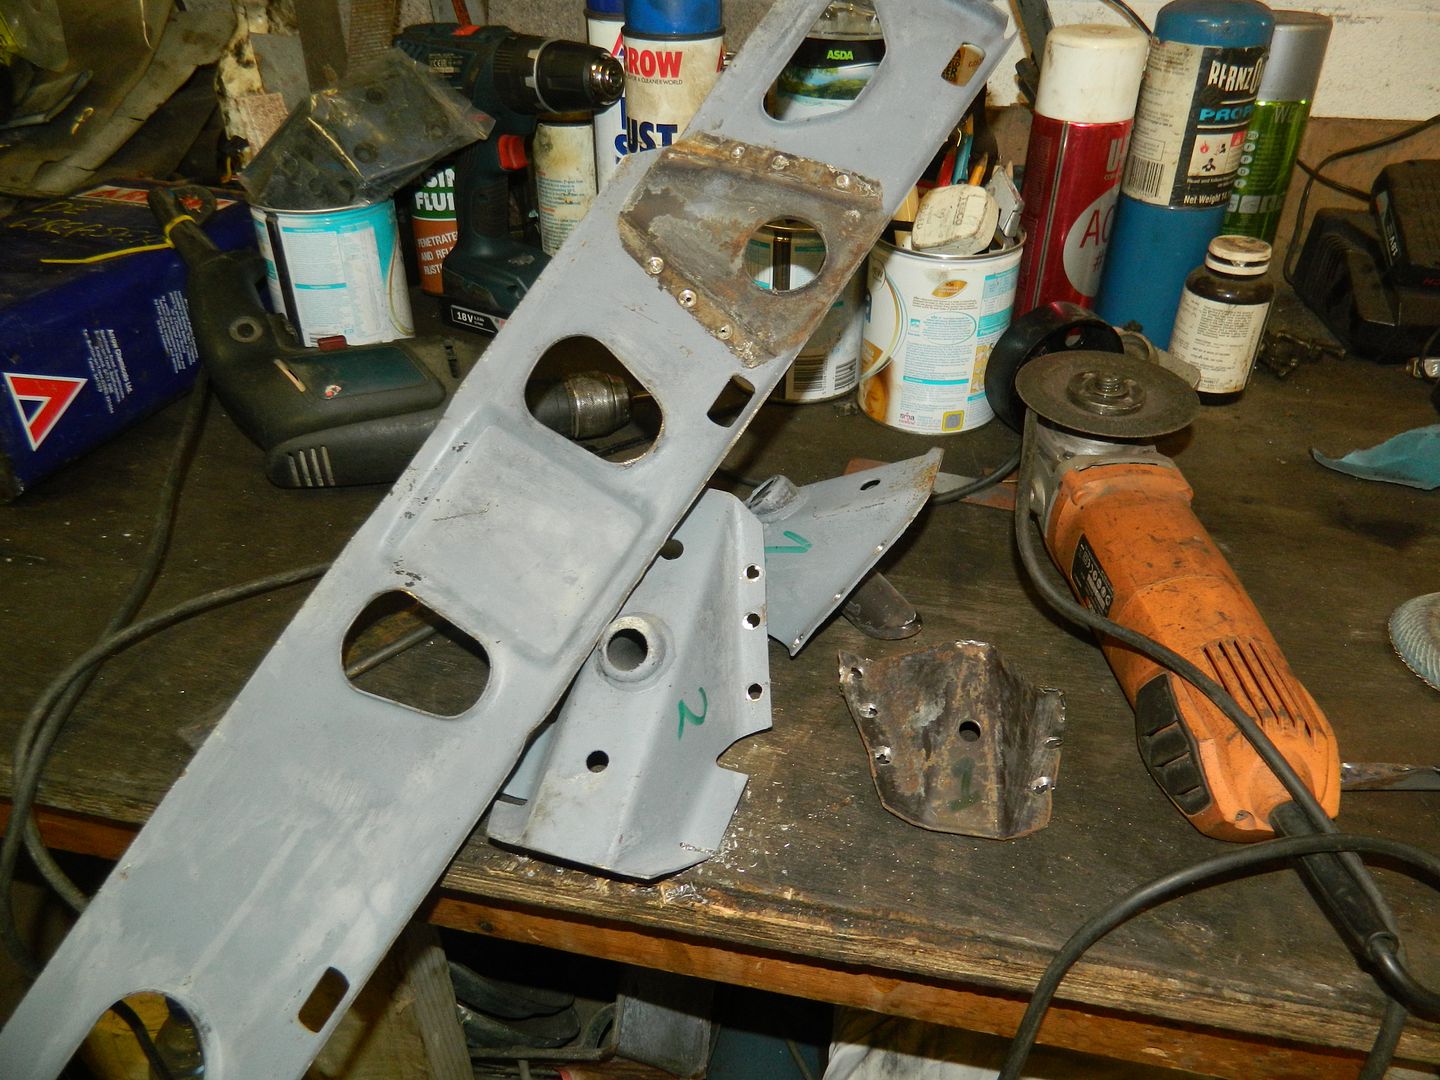
Drill off the jacking points.
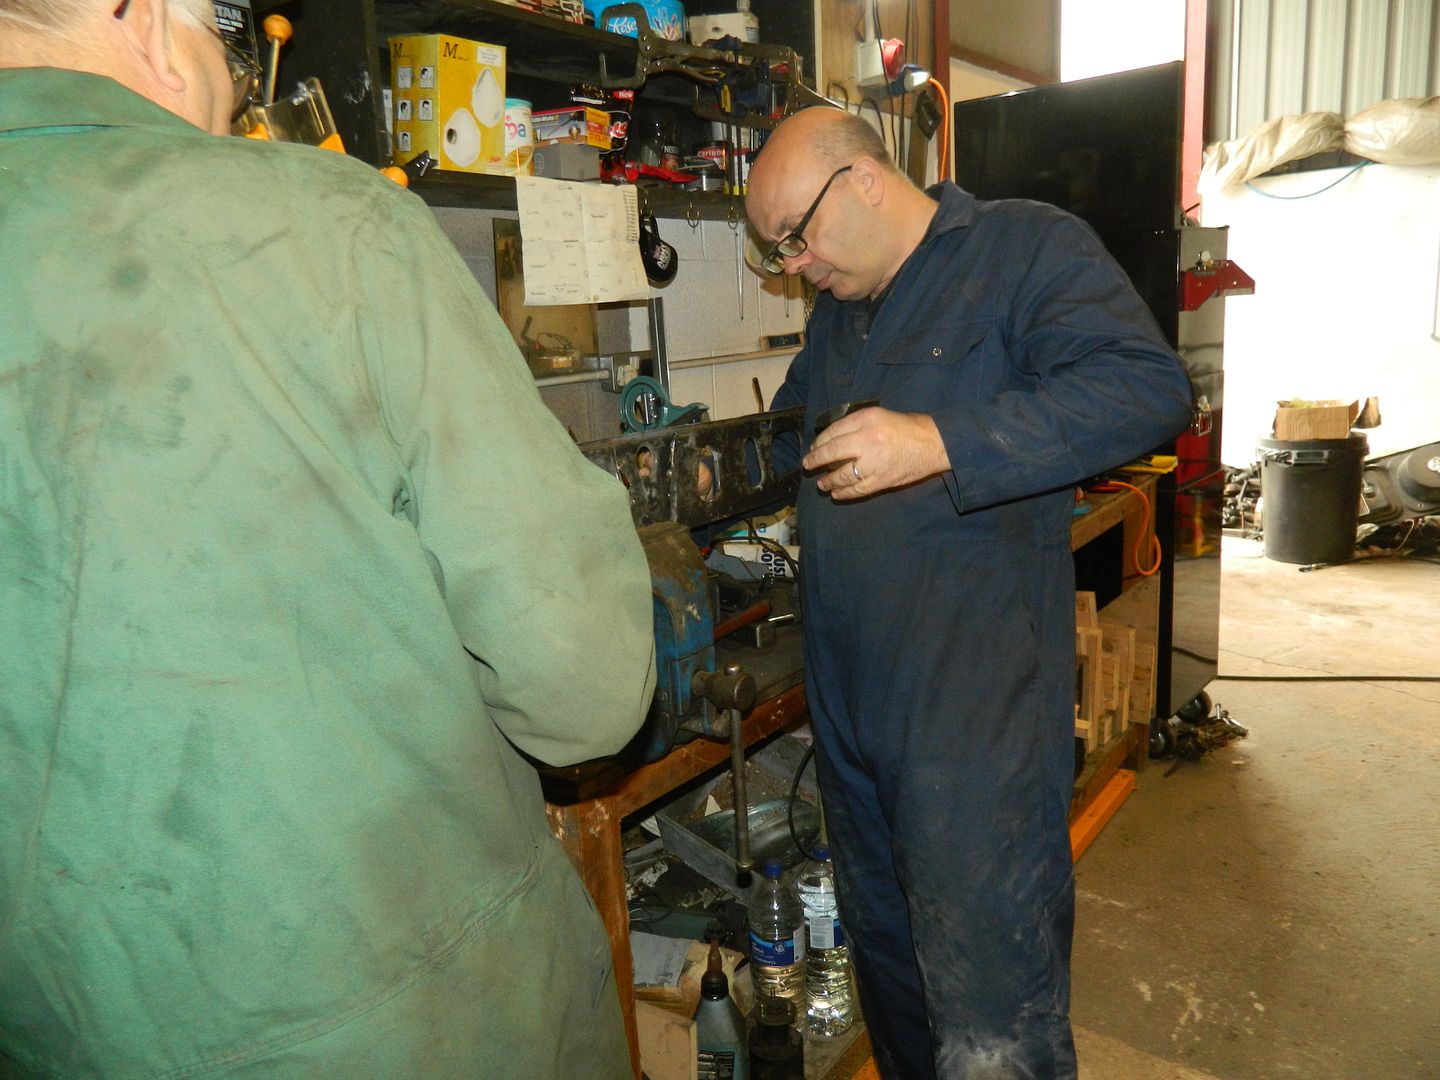
And persuade my two large chums from the WolseleyPrincess 18-22 project to fold the edge over. I'm quite small and feeble really.
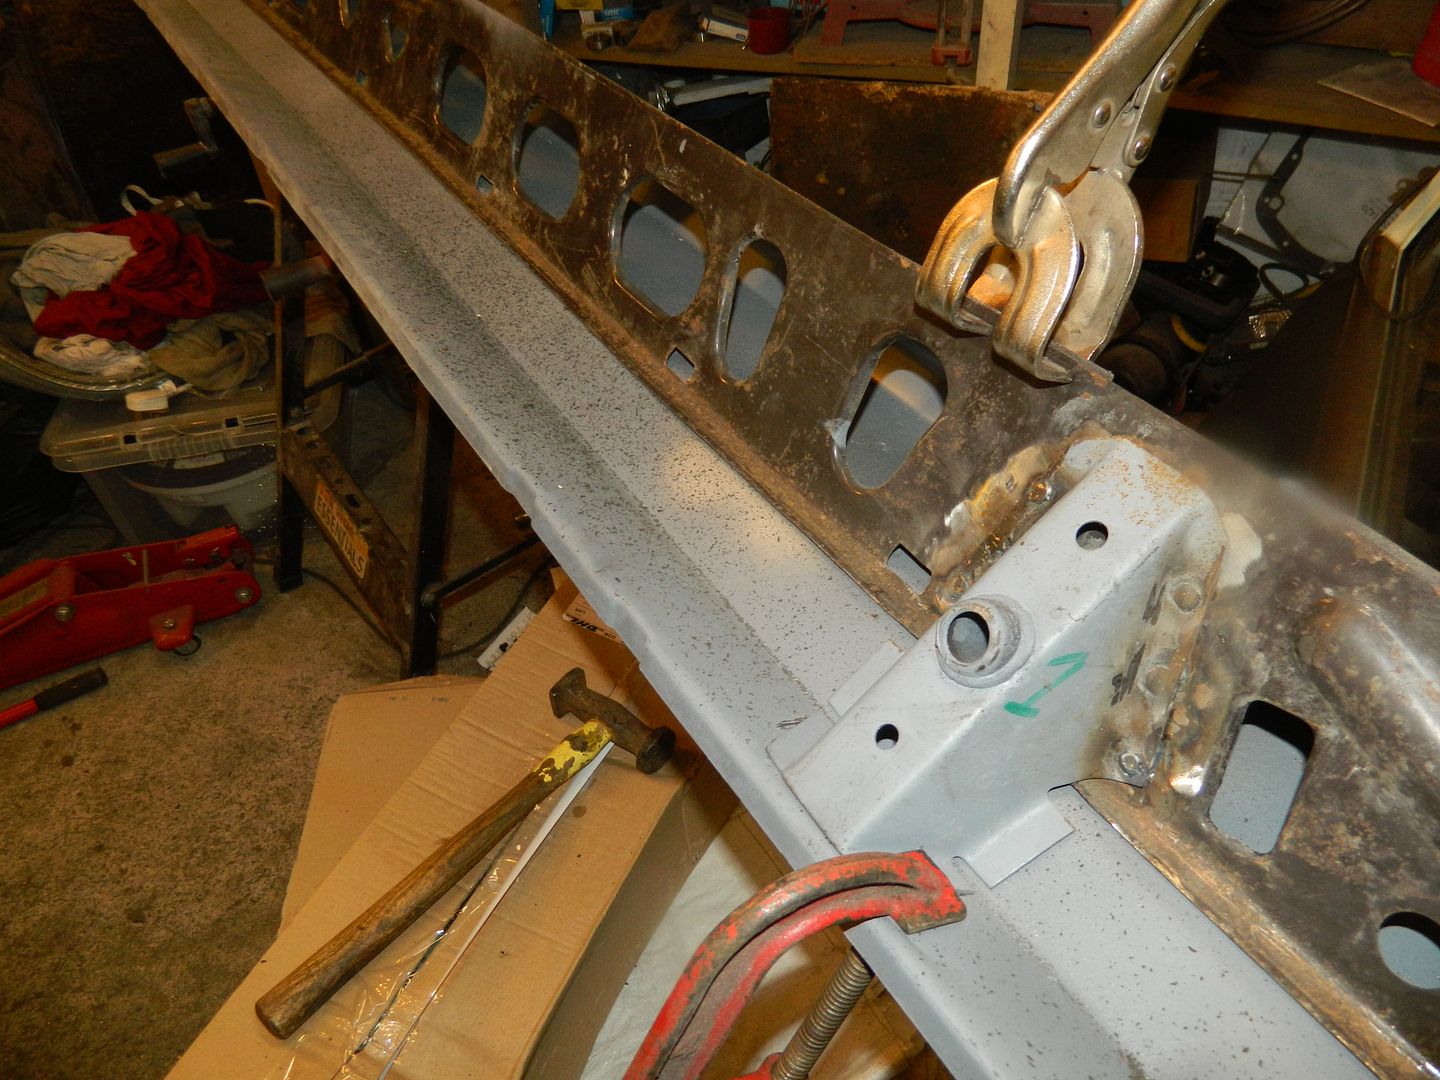
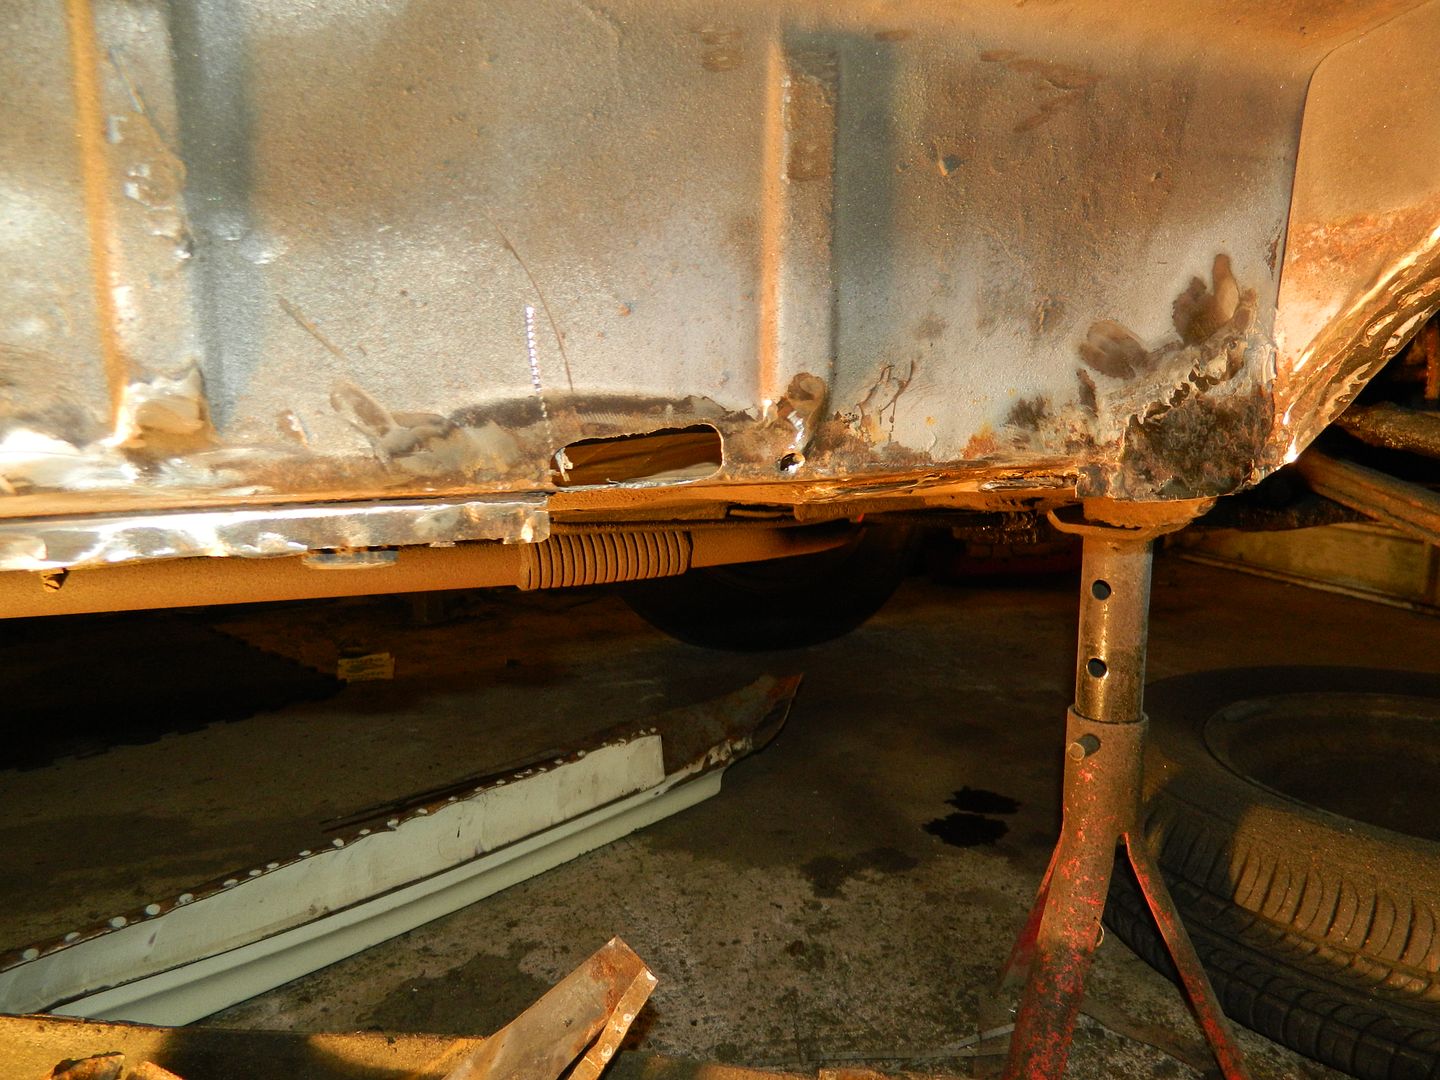
Weld jacking points back on and it fits in the inner sill. Yay!
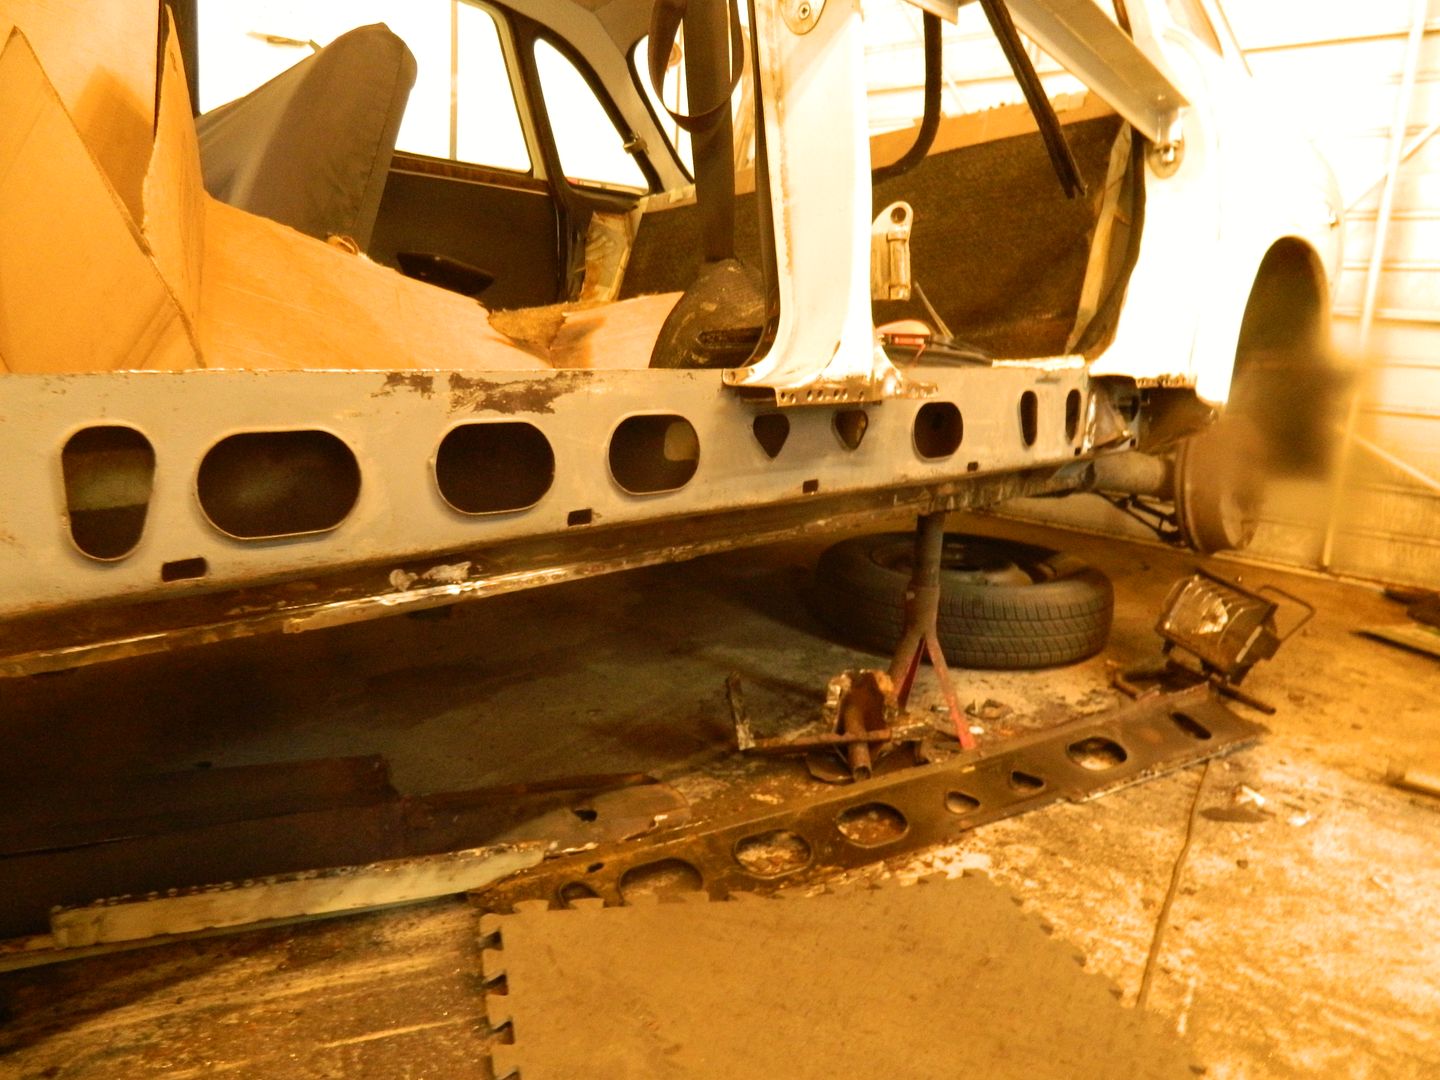
Weld it to car.
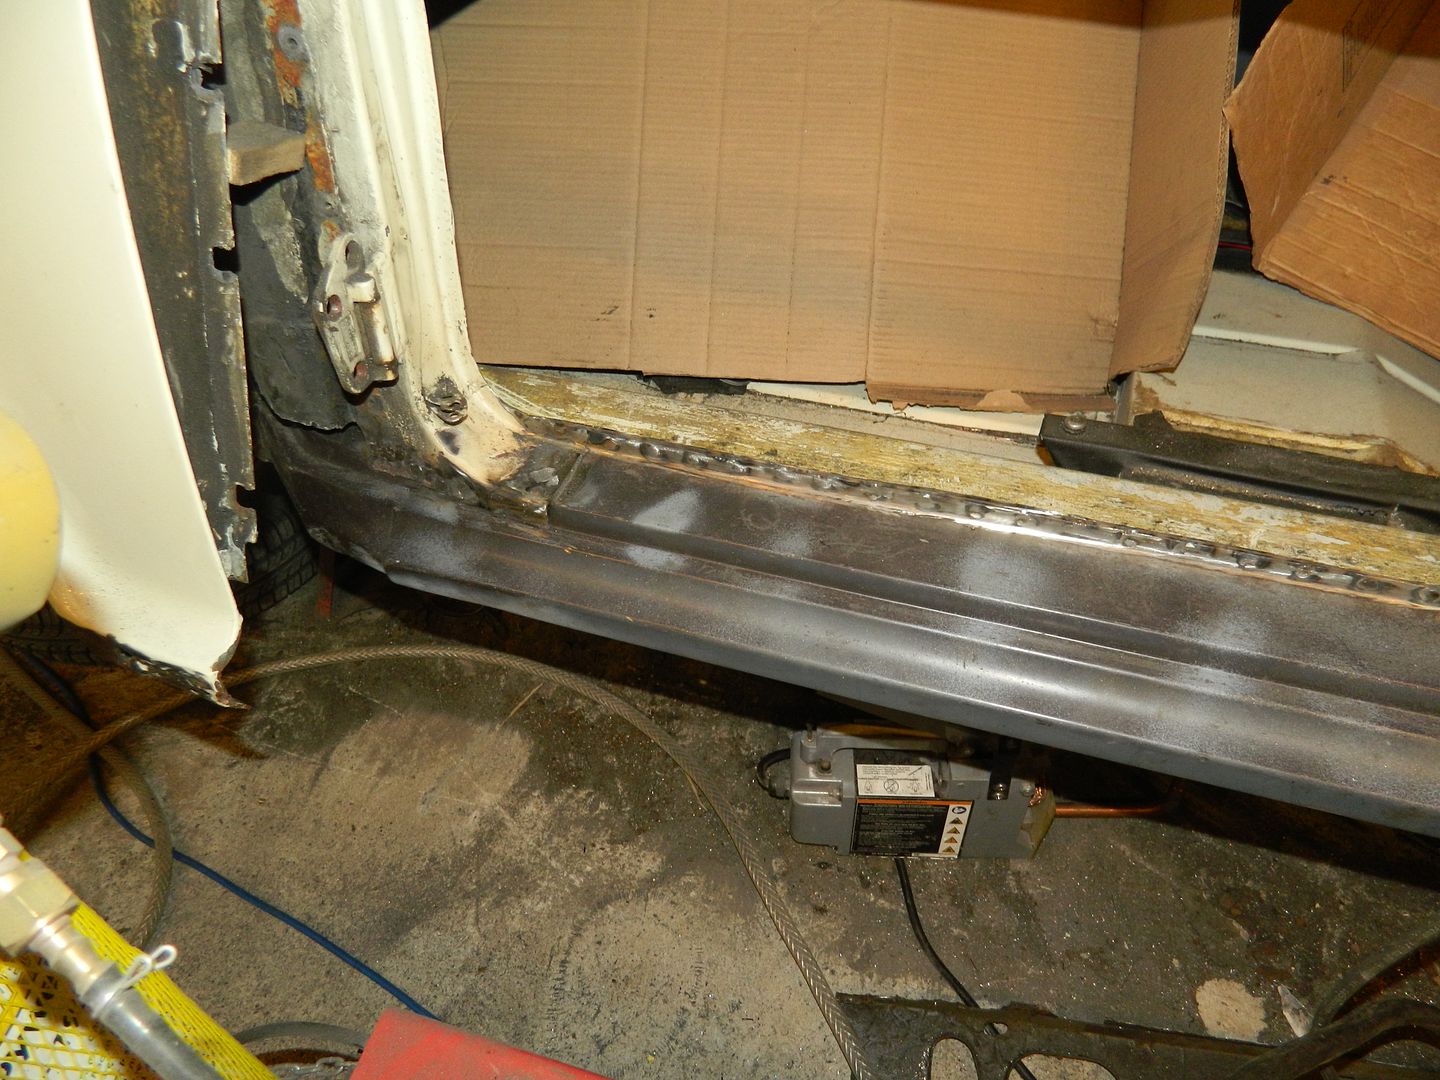
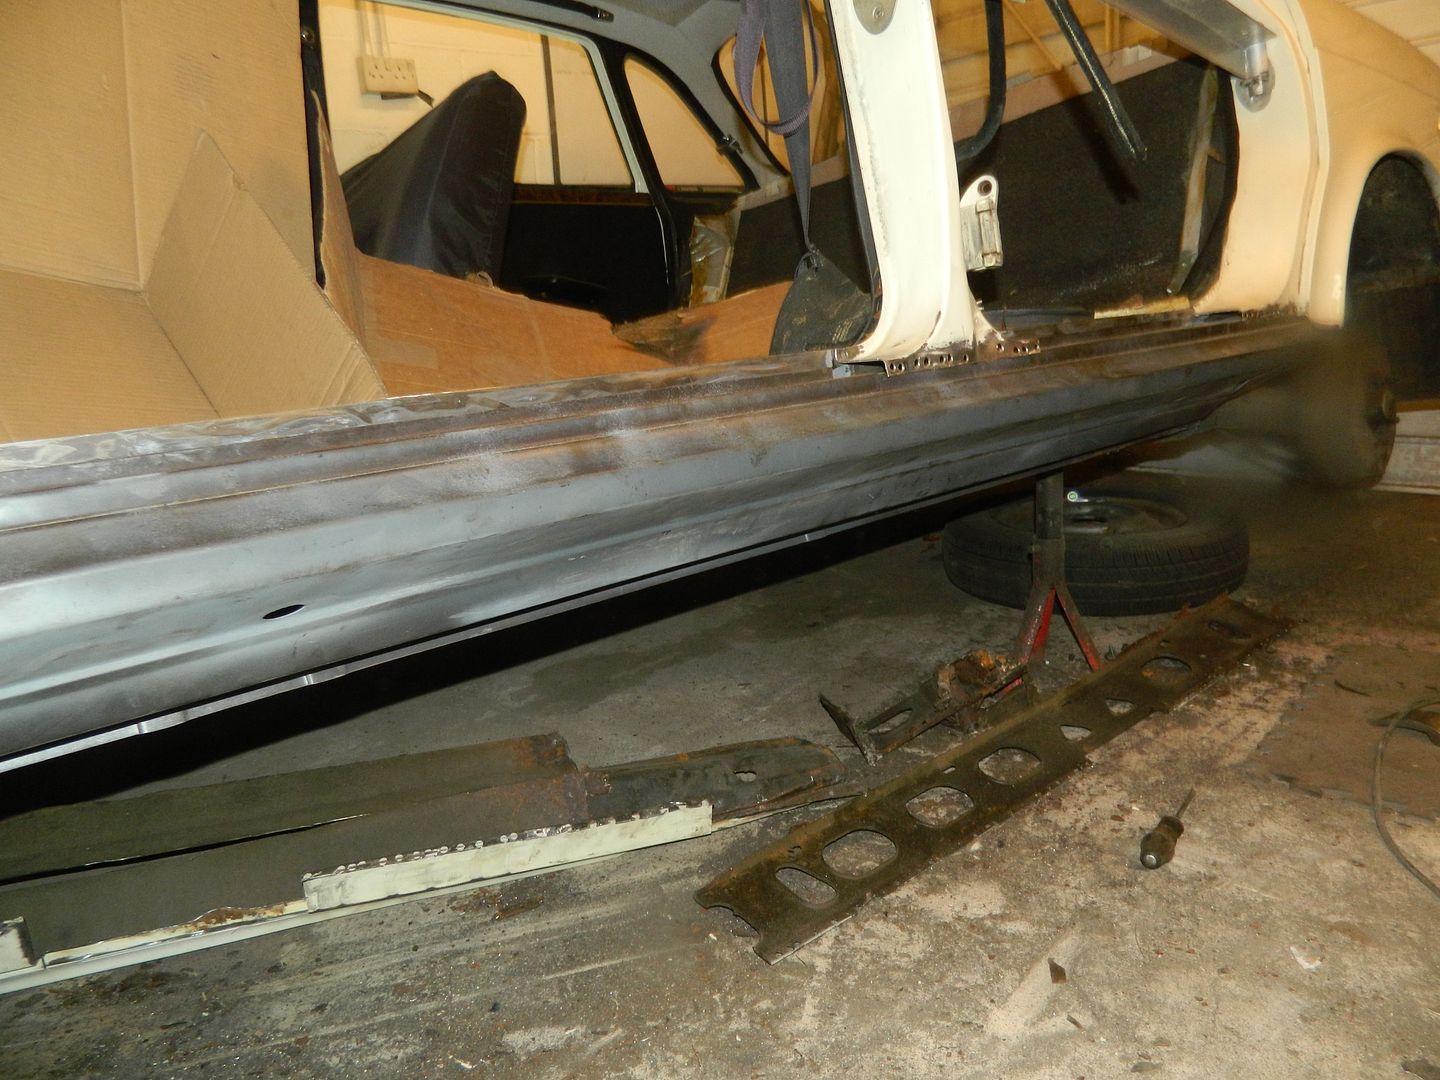
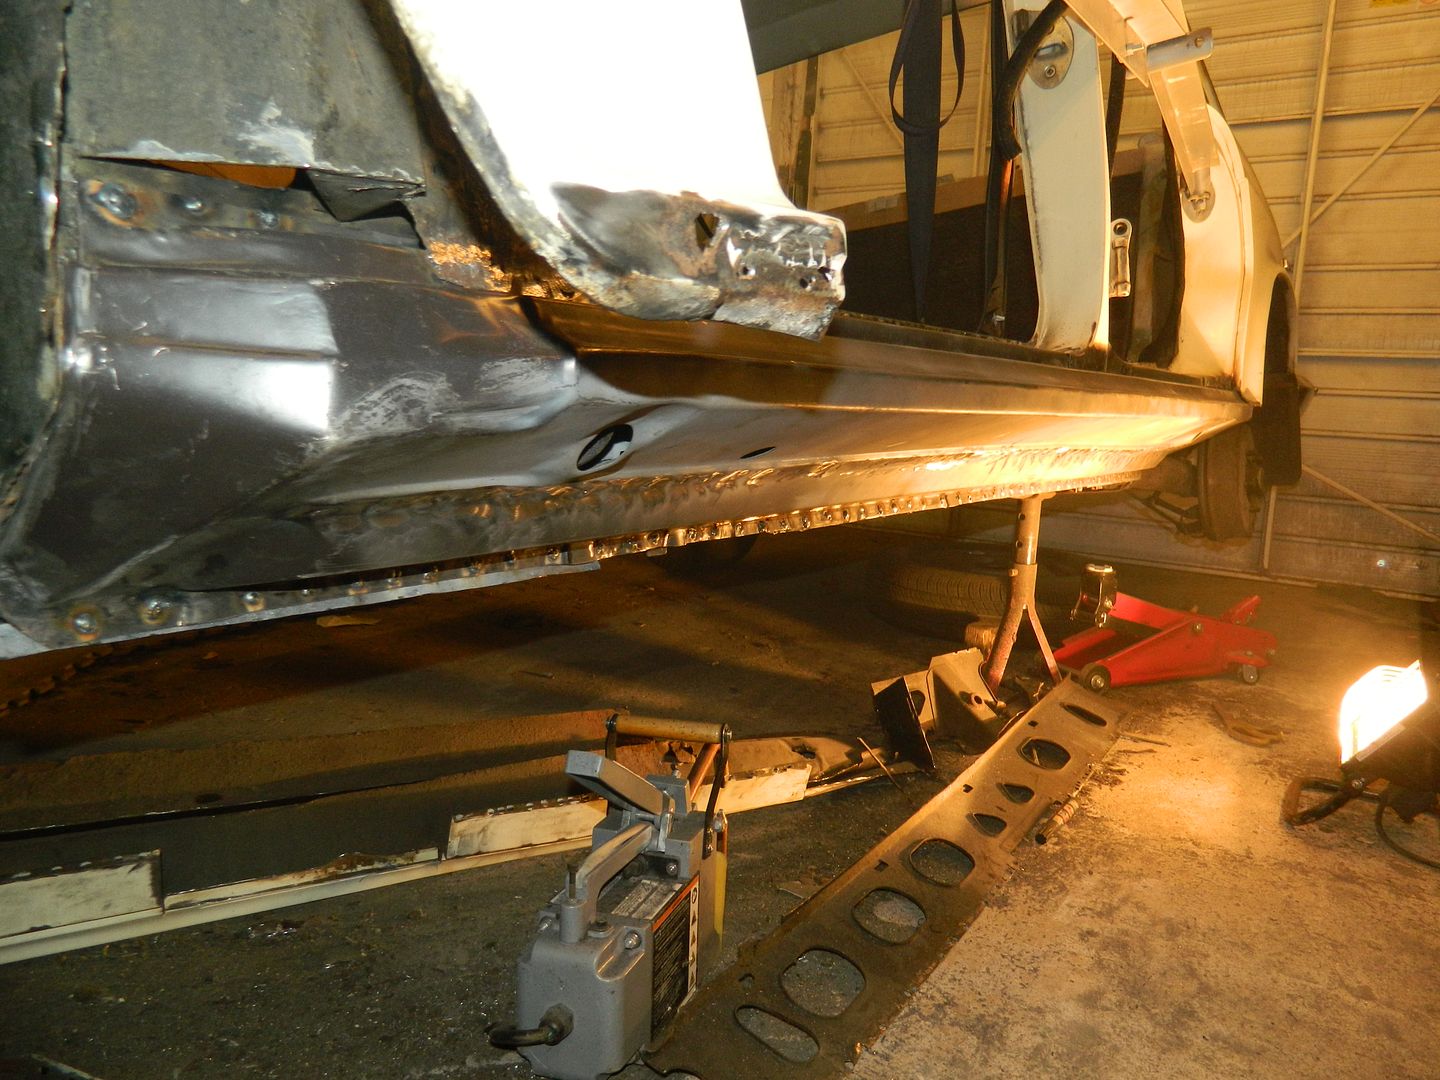
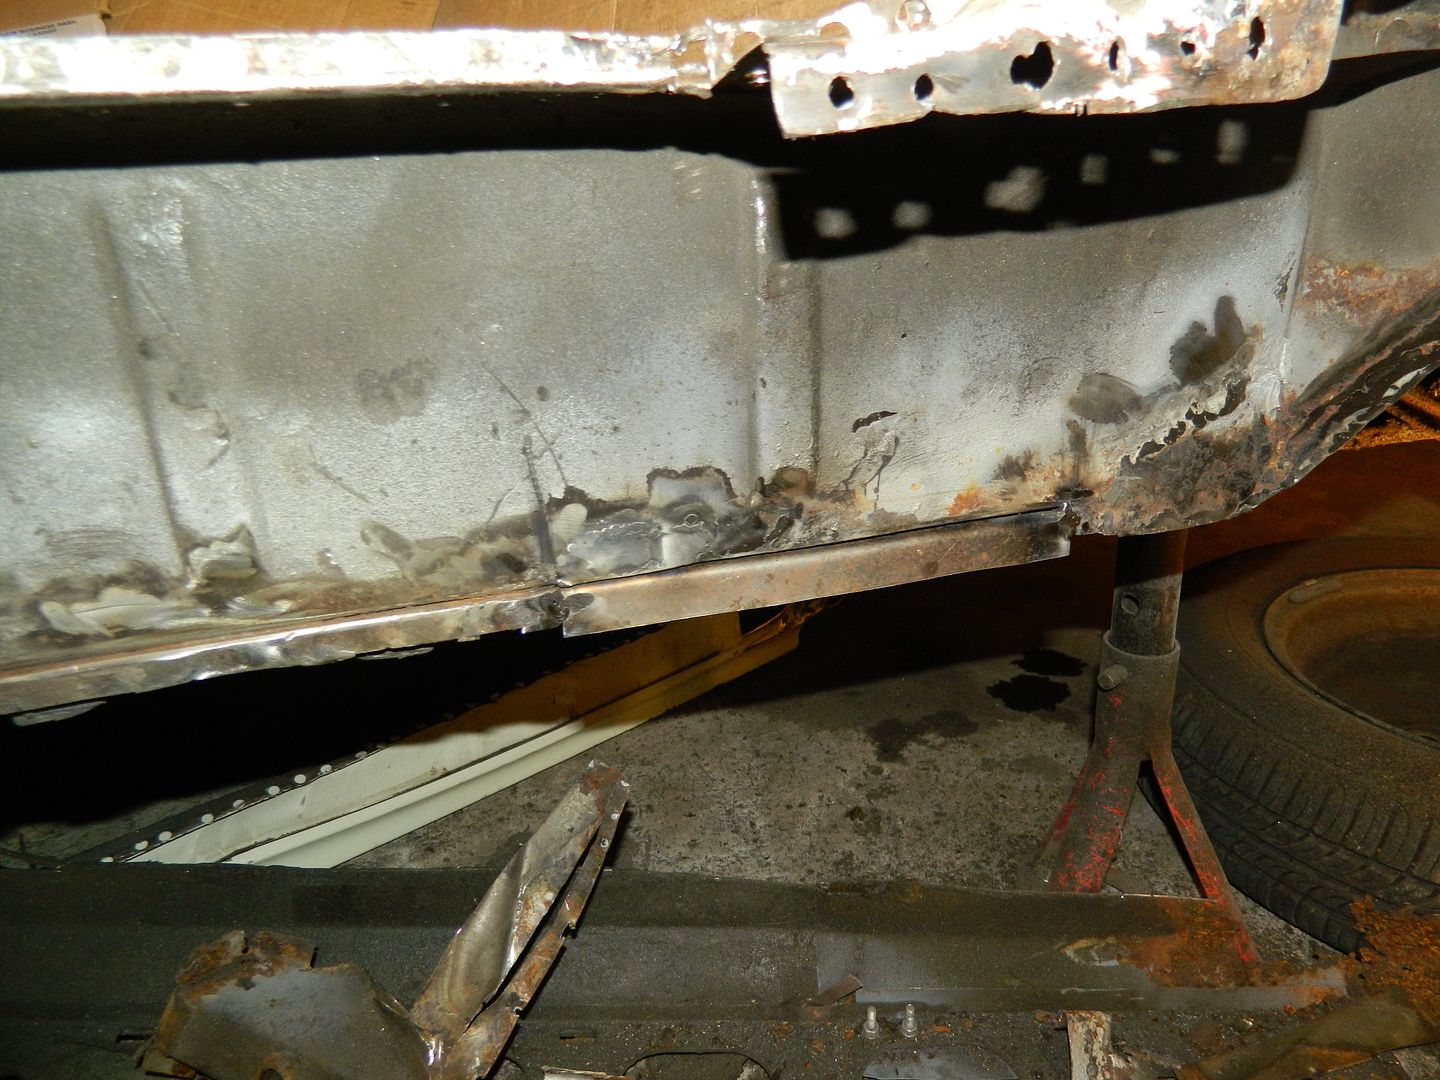
Weld outer to car. Something like 180 plug welds if you include attaching the bottom flanges. I'm really good at plug welds. It would have been a lot quicker and easier if the spot welder worked reliably.
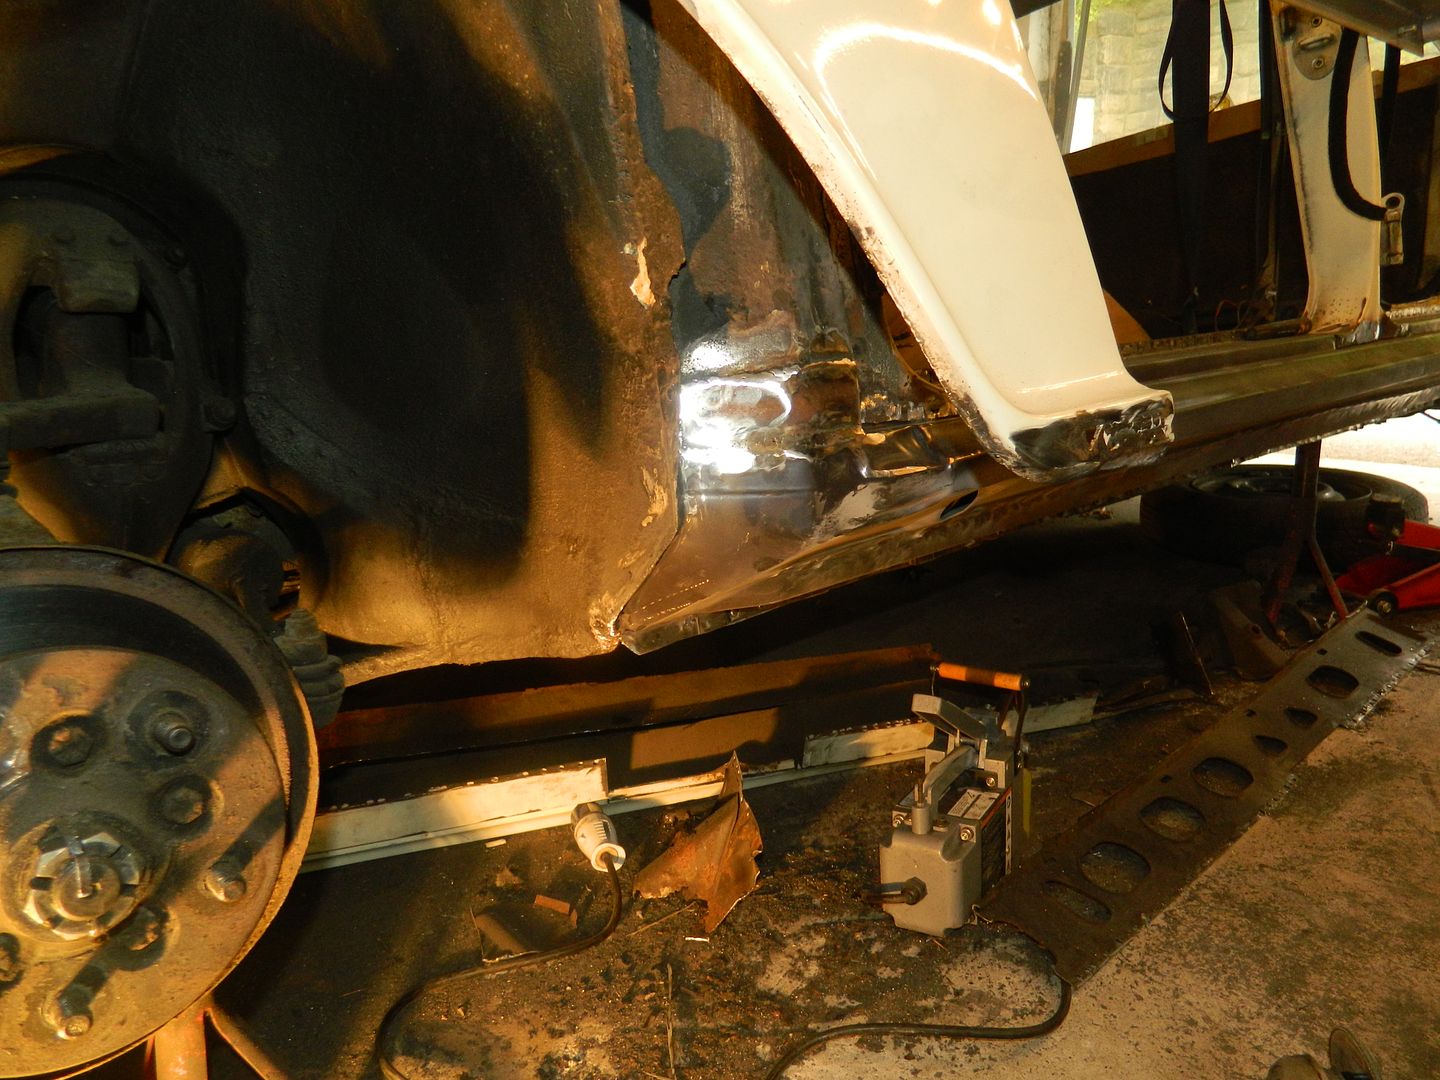
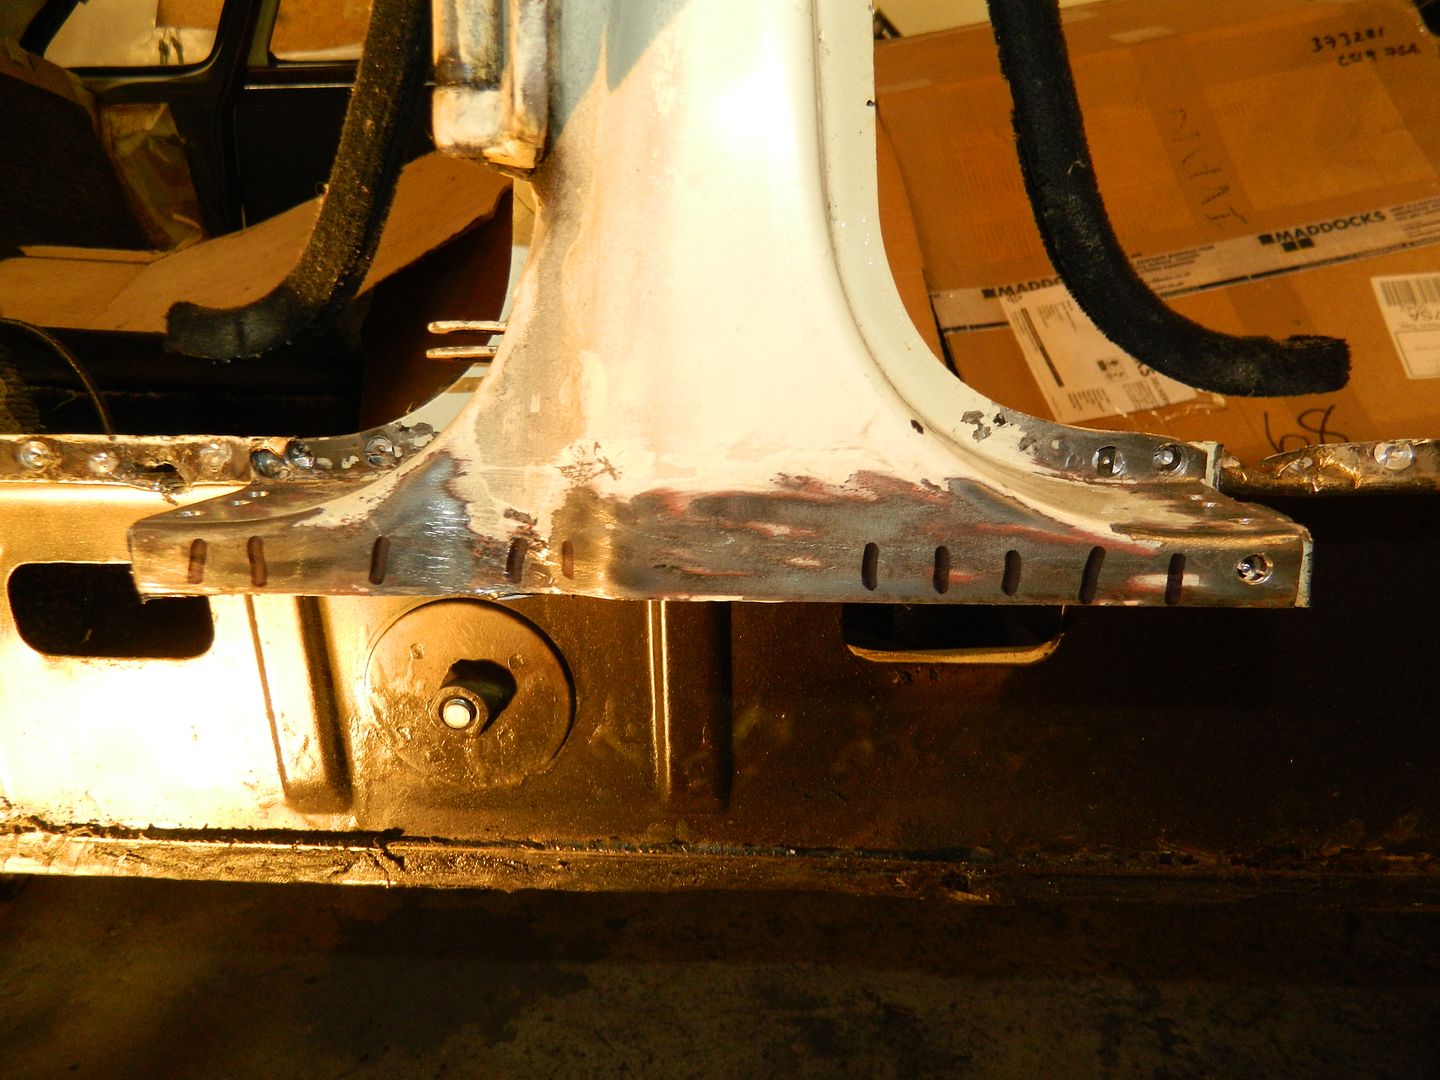
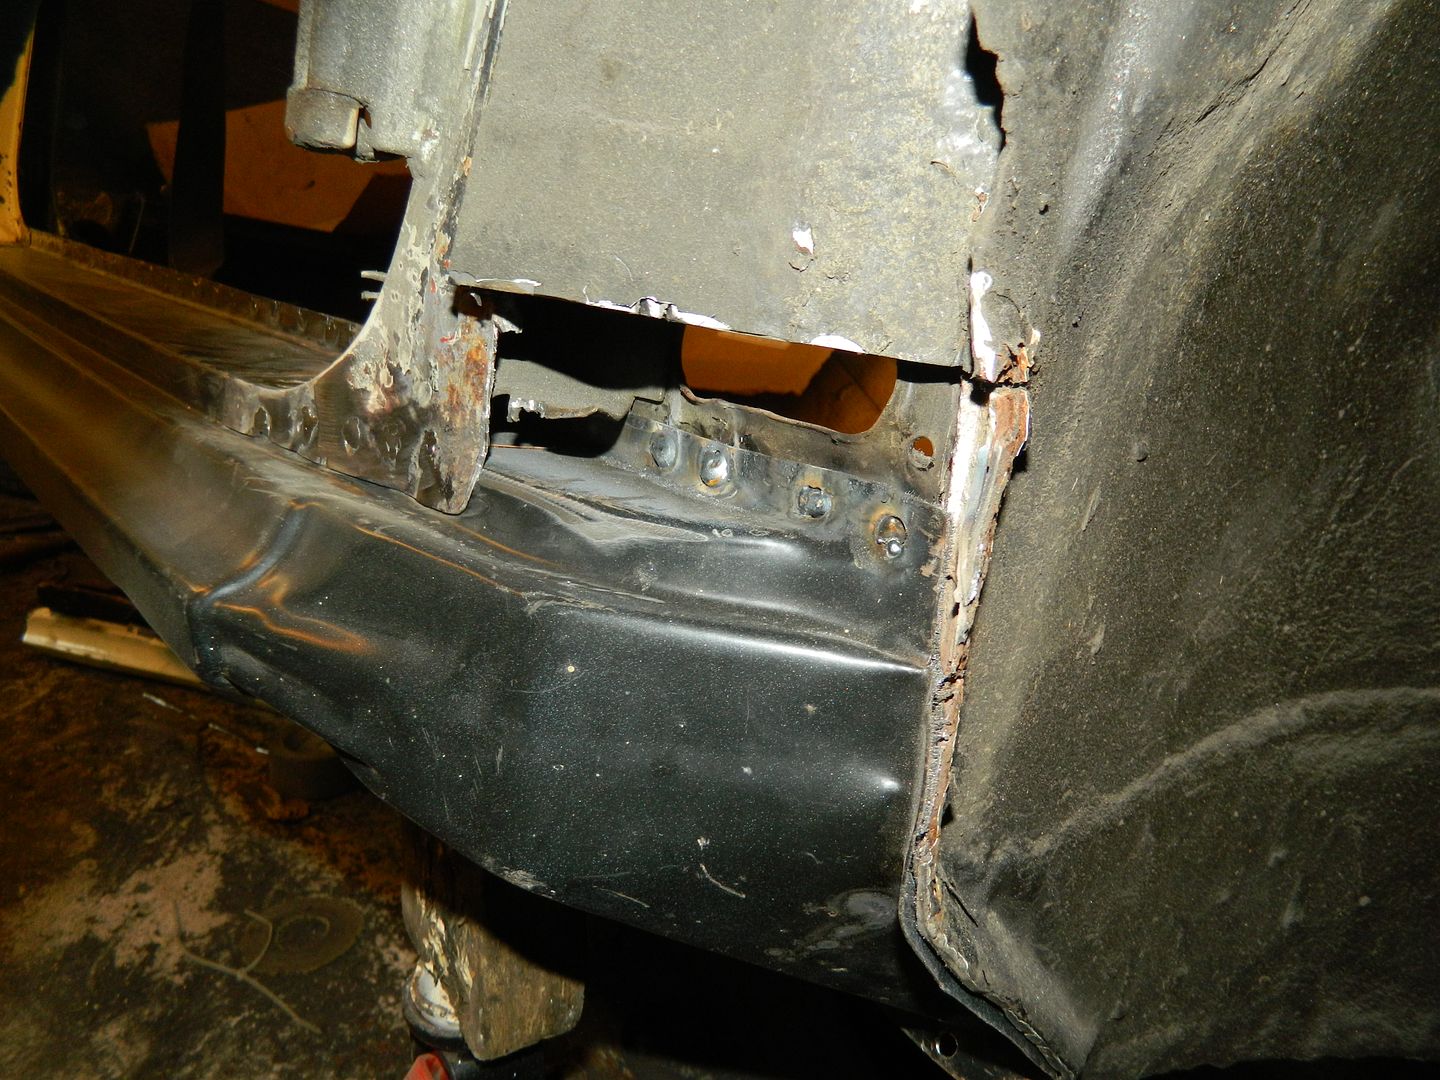
"A" post sorted.
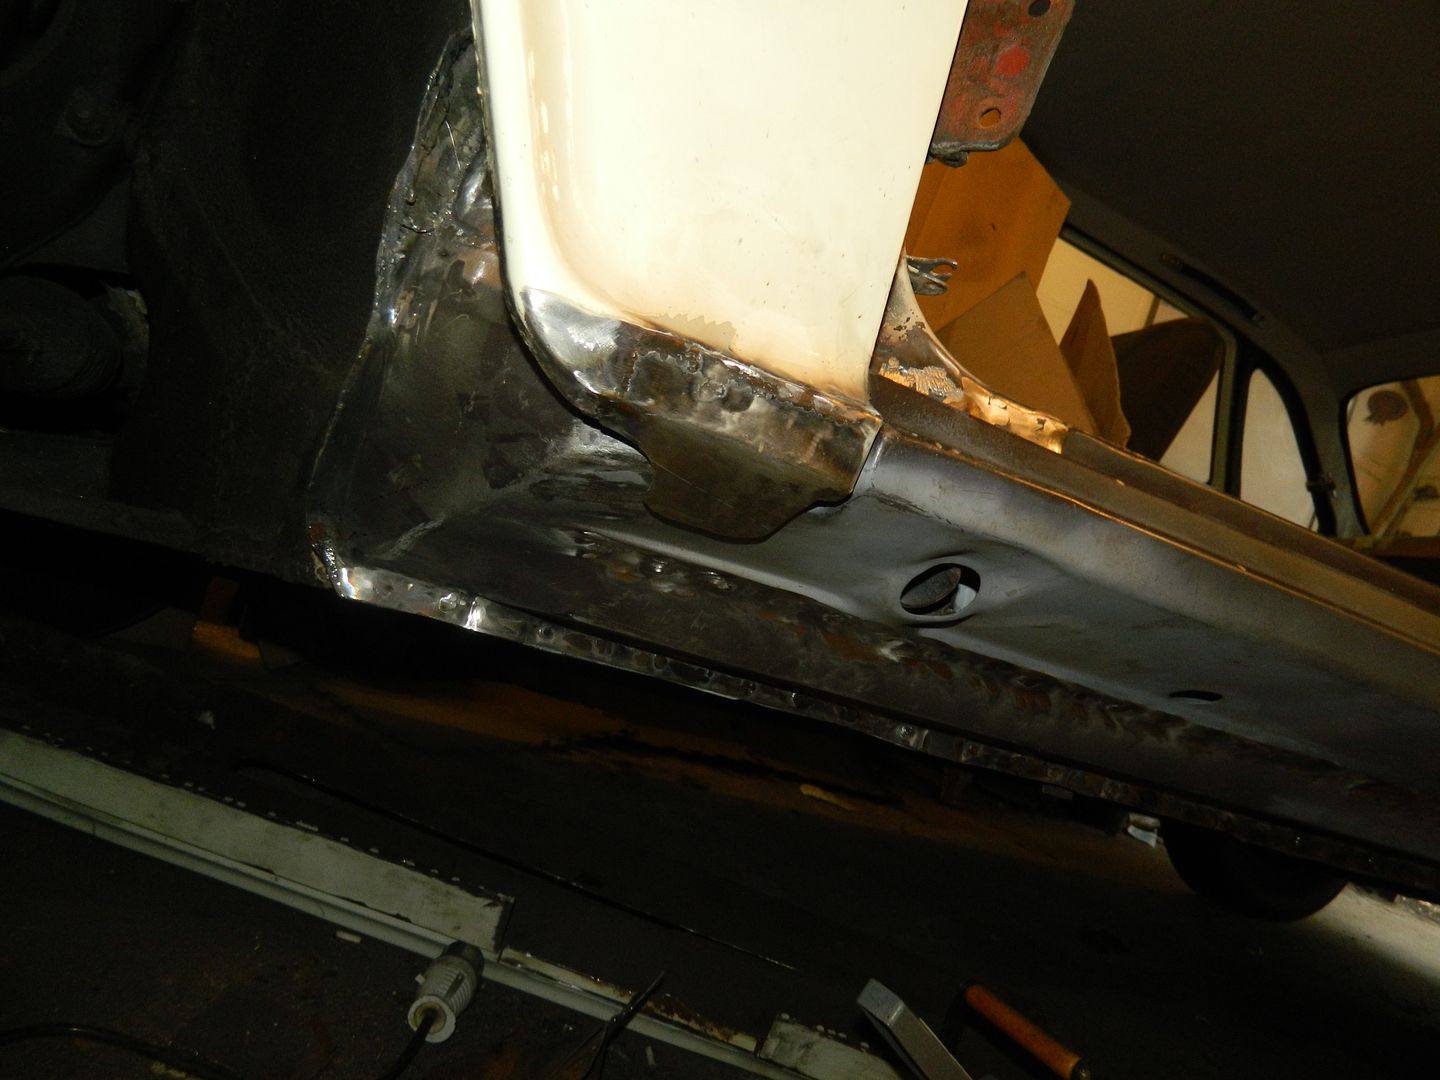
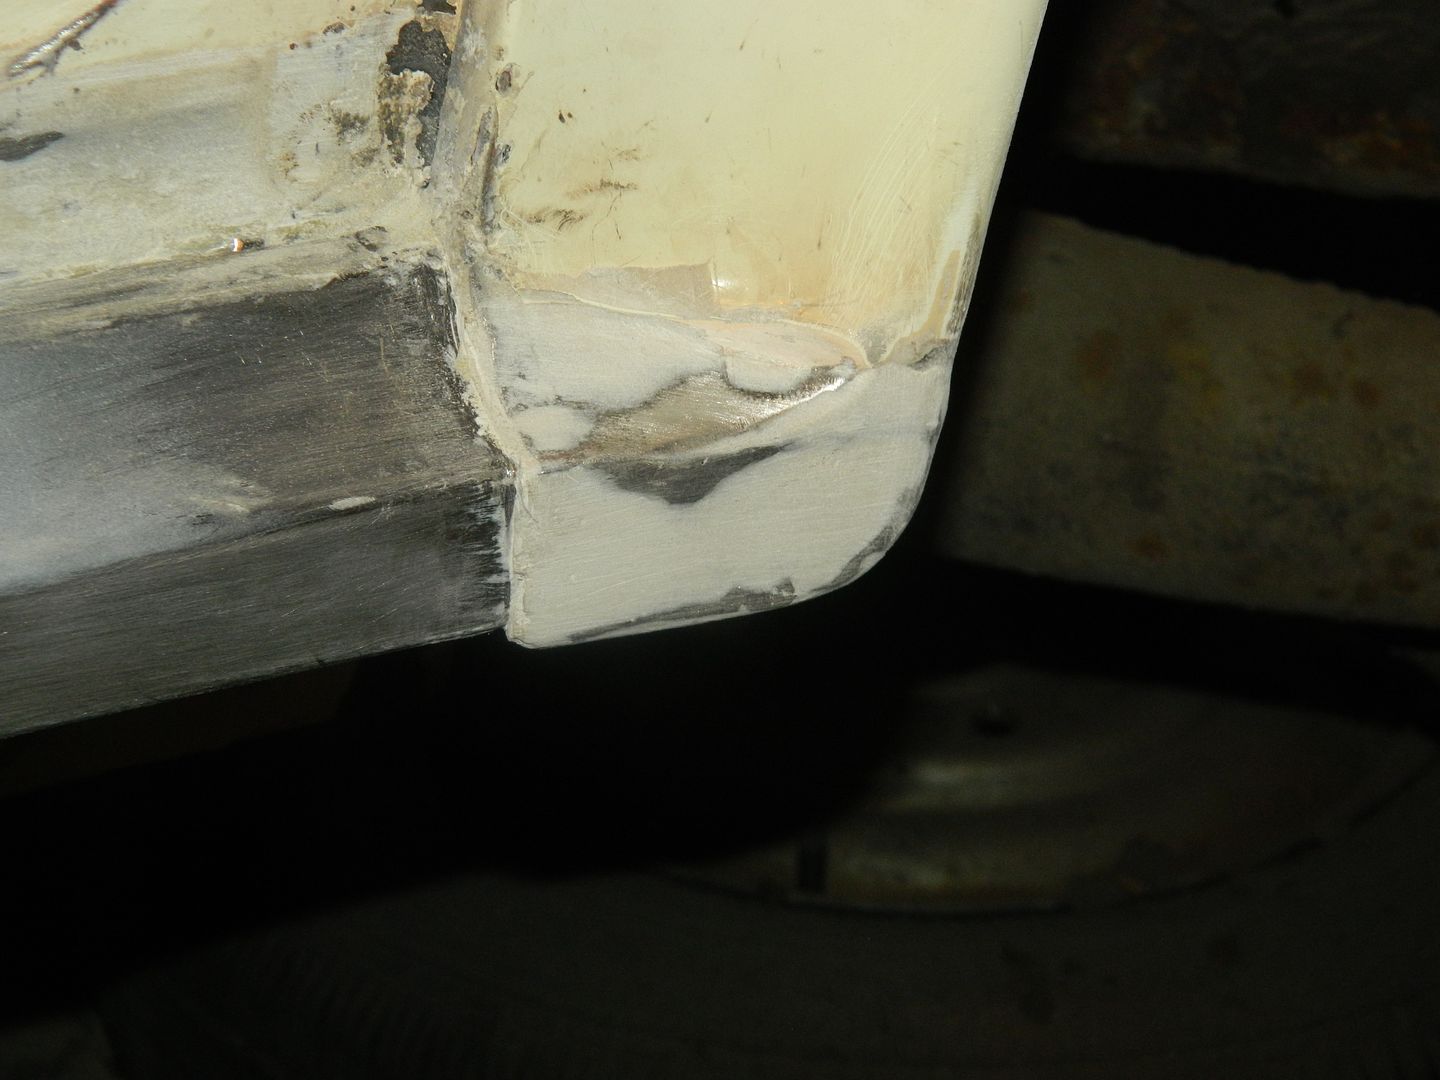
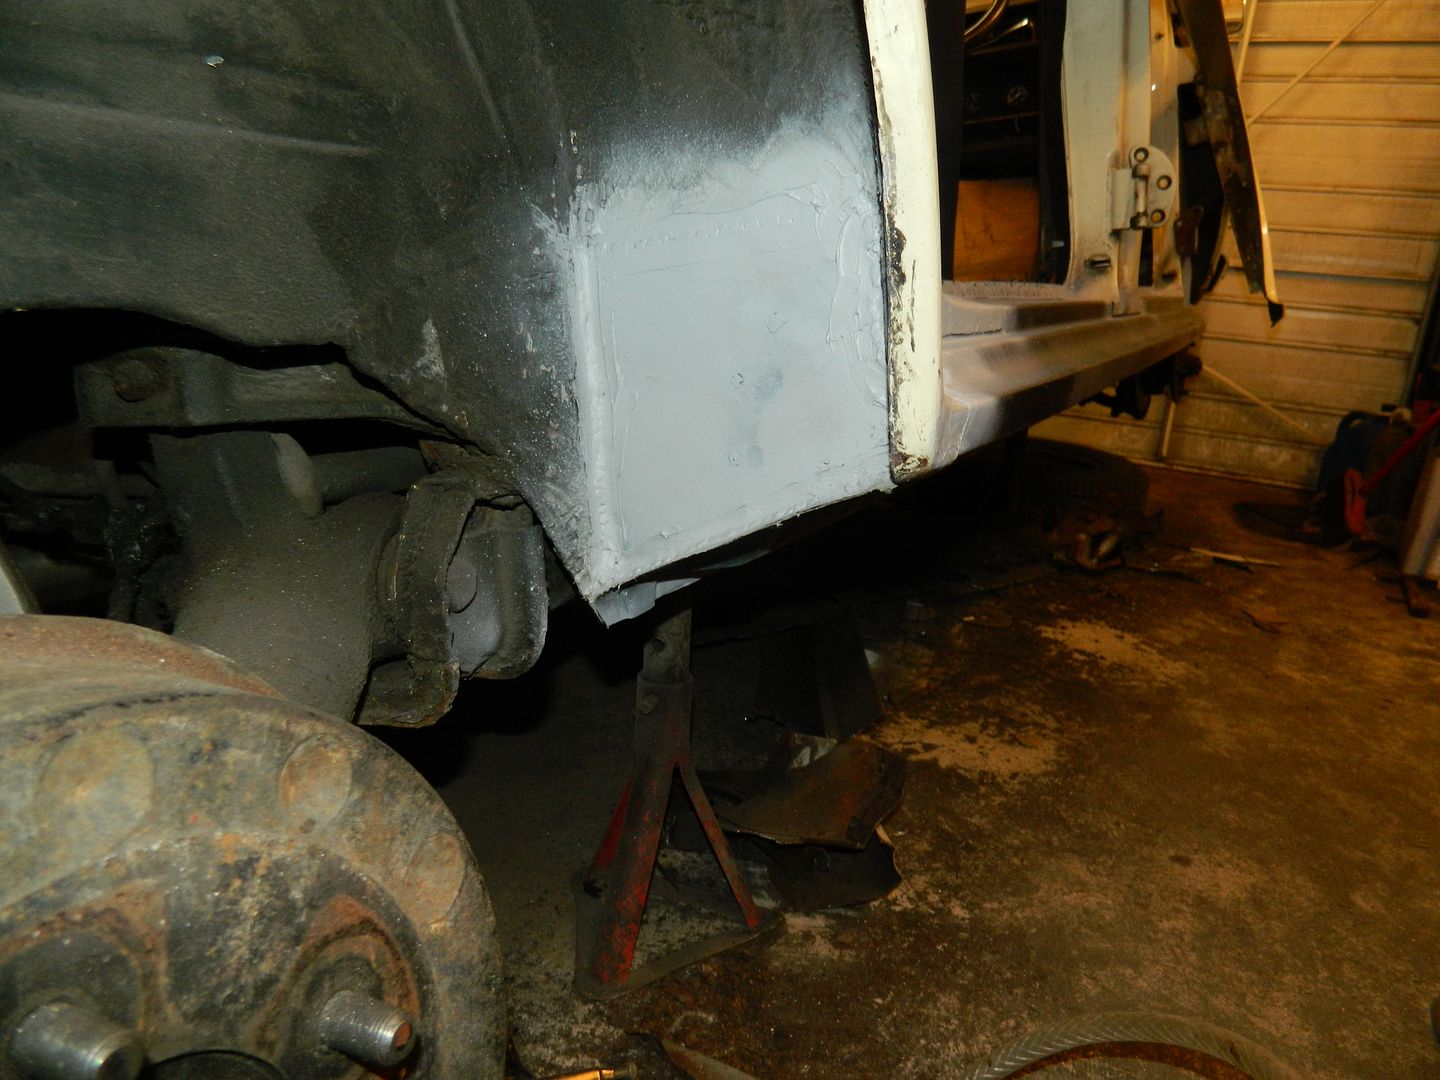
Frilly wing bottoms sorted.
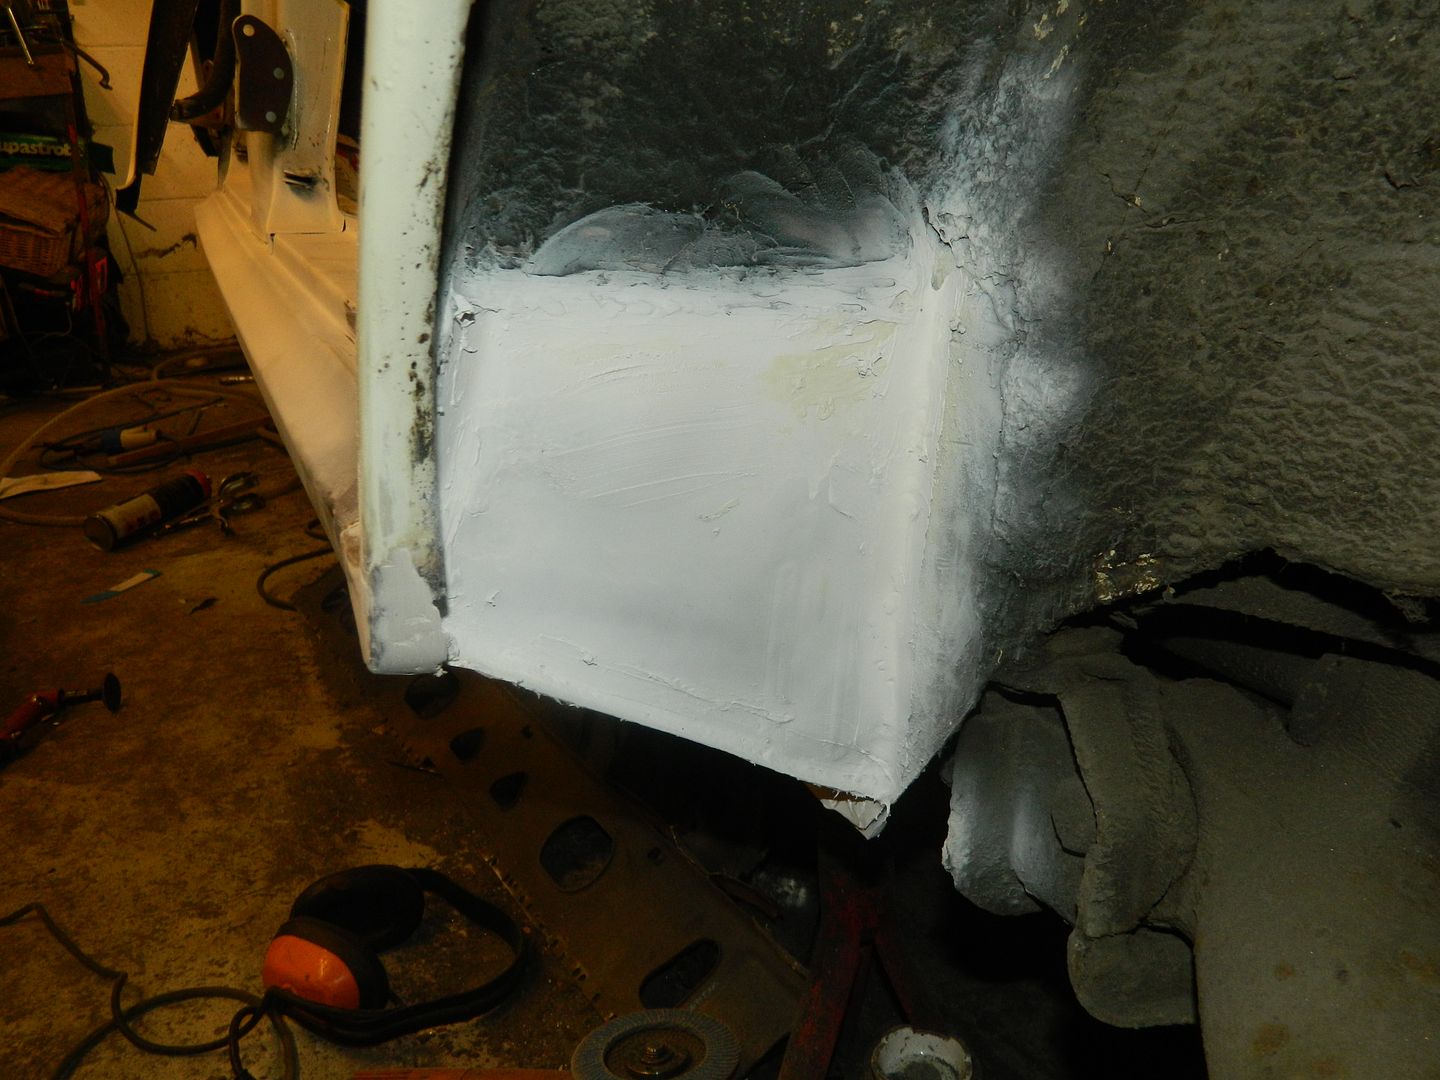
Closing panel in the rear tub.
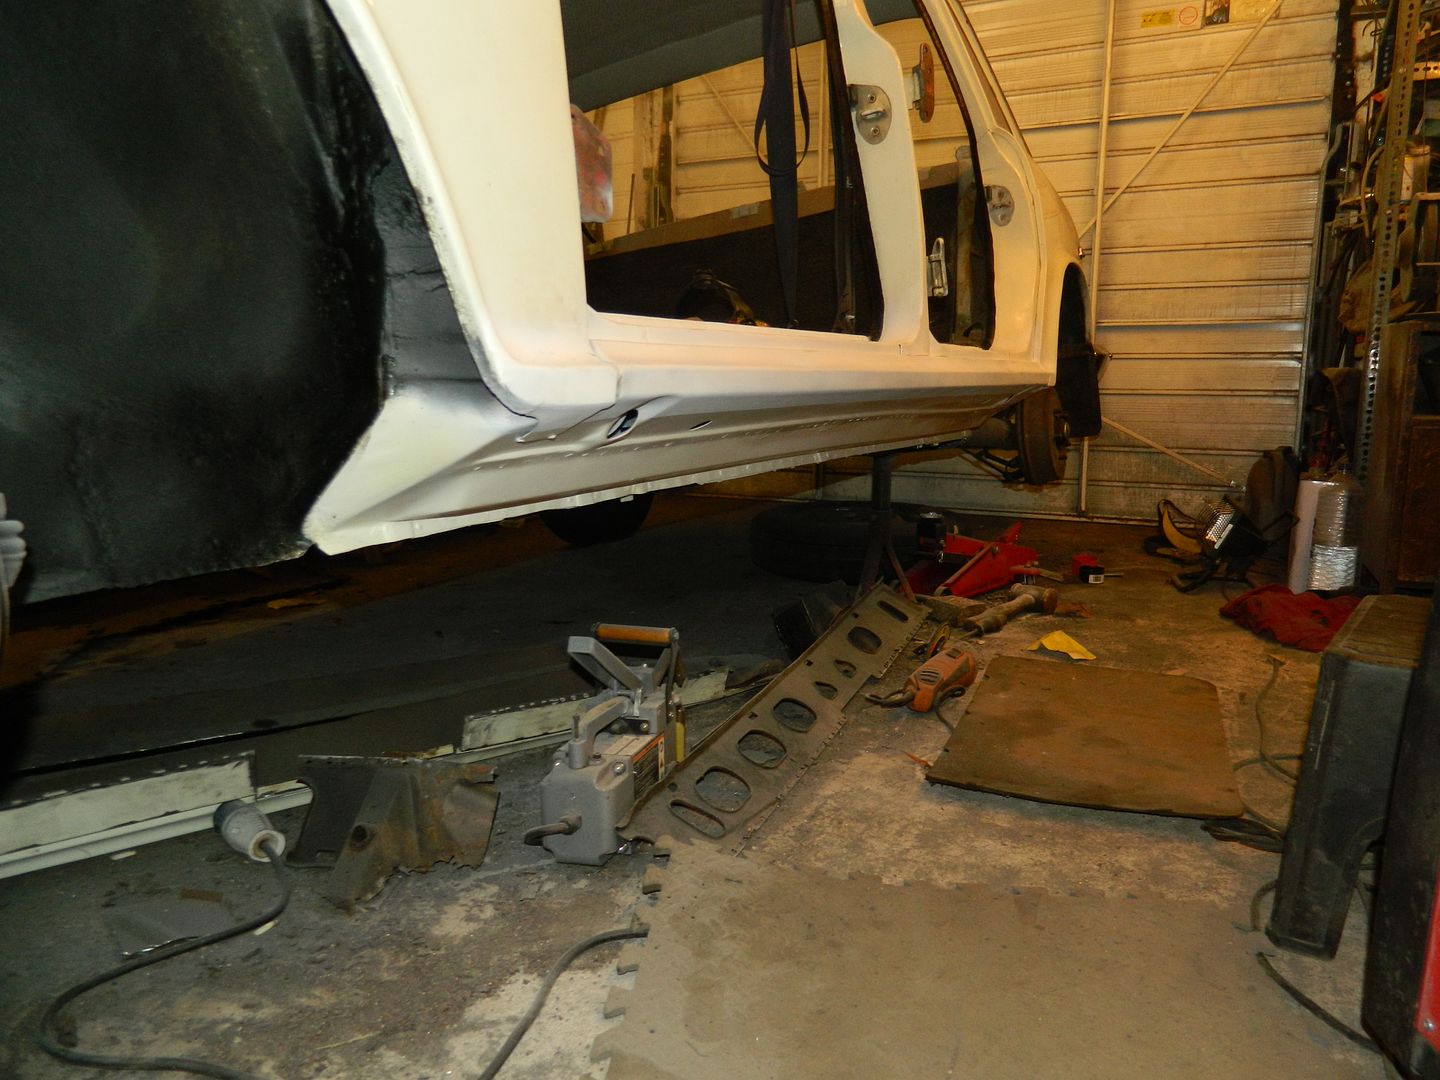
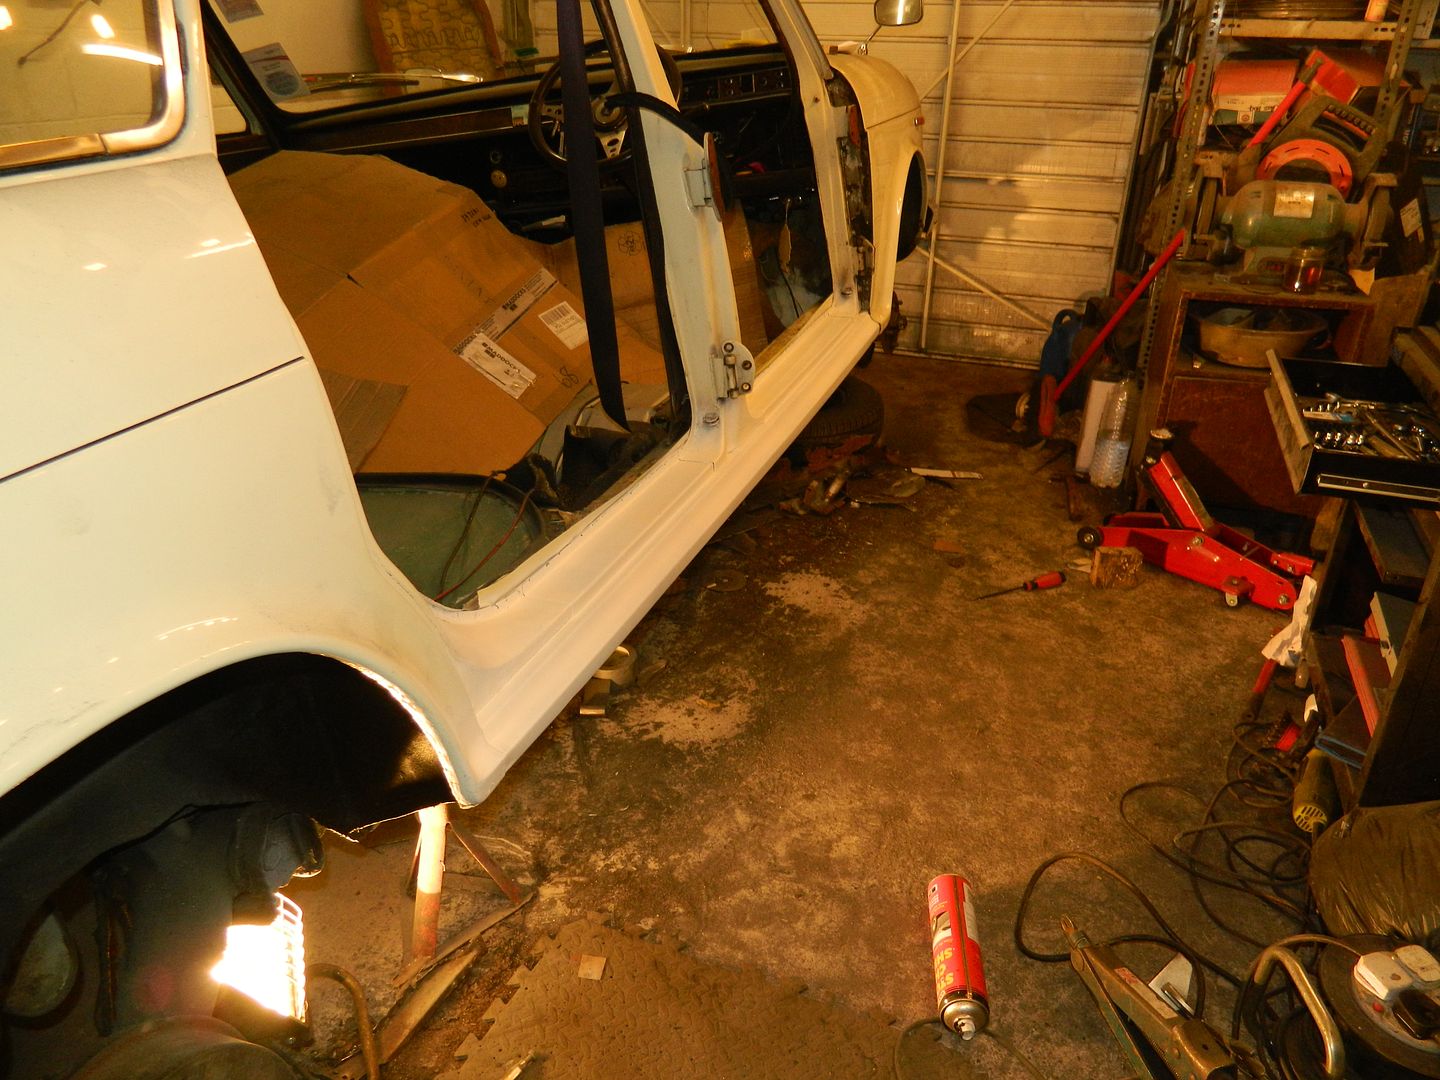
Primer, stonechip, underseal - that's this side done. Then came the curve ball....
P45.

Usual start - n/s first and drilling out myriad spot welds.


Frilly arch bottoms.

Outer sill off. Note bracing bars.

And the centre one off as well.

That had to go.

So it did.

And got replaced. Bottom edge doubled for extra strength.

Grotty bit at the front.

Much better. New bottom flange going on as well.
Then the problem of getting a r/h centre sill to fit on the left. Dead easy really.....

Drill off the jacking points.

And persuade my two large chums from the Wolseley

Weld jacking points back on and it fits in the inner sill. Yay!

Weld it to car.


Weld outer to car. Something like 180 plug welds if you include attaching the bottom flanges. I'm really good at plug welds. It would have been a lot quicker and easier if the spot welder worked reliably.

"A" post sorted.


Frilly wing bottoms sorted.

Closing panel in the rear tub.

Primer, stonechip, underseal - that's this side done. Then came the curve ball....
P45.

