|
|
Post by penguin45 on Mar 26, 2017 18:01:37 GMT
Prophetic words. One minor problem and one I'm going to have to think about. Got the ducting out and decided that the underseal around the ventilator area needed redoing. Scraped it all off and poked the pair of small scabs revealed. Well, you know the rest. Flange had to be cut away and patches welded home. There might be a small third bit to deal with, but it can wait until after the footie. 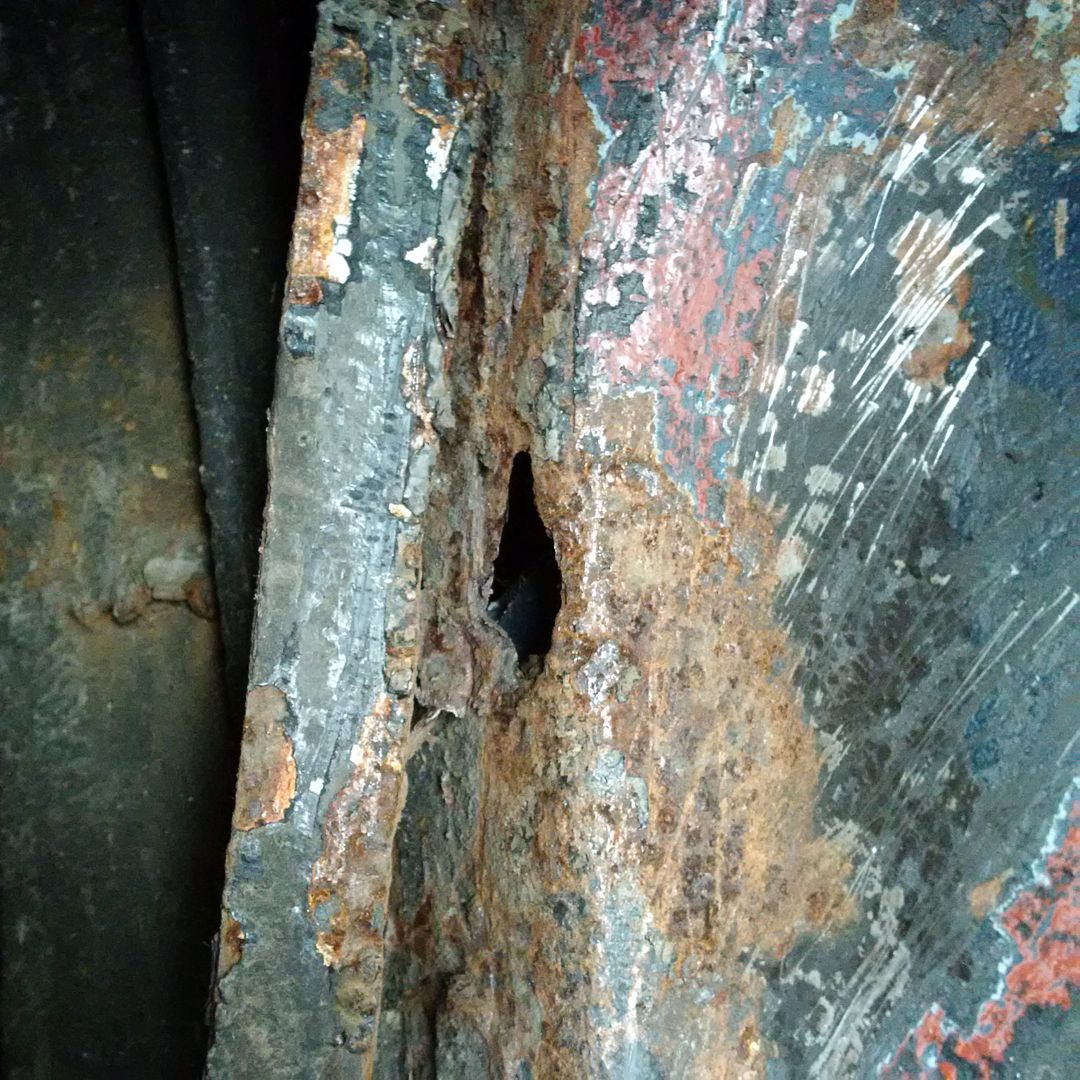 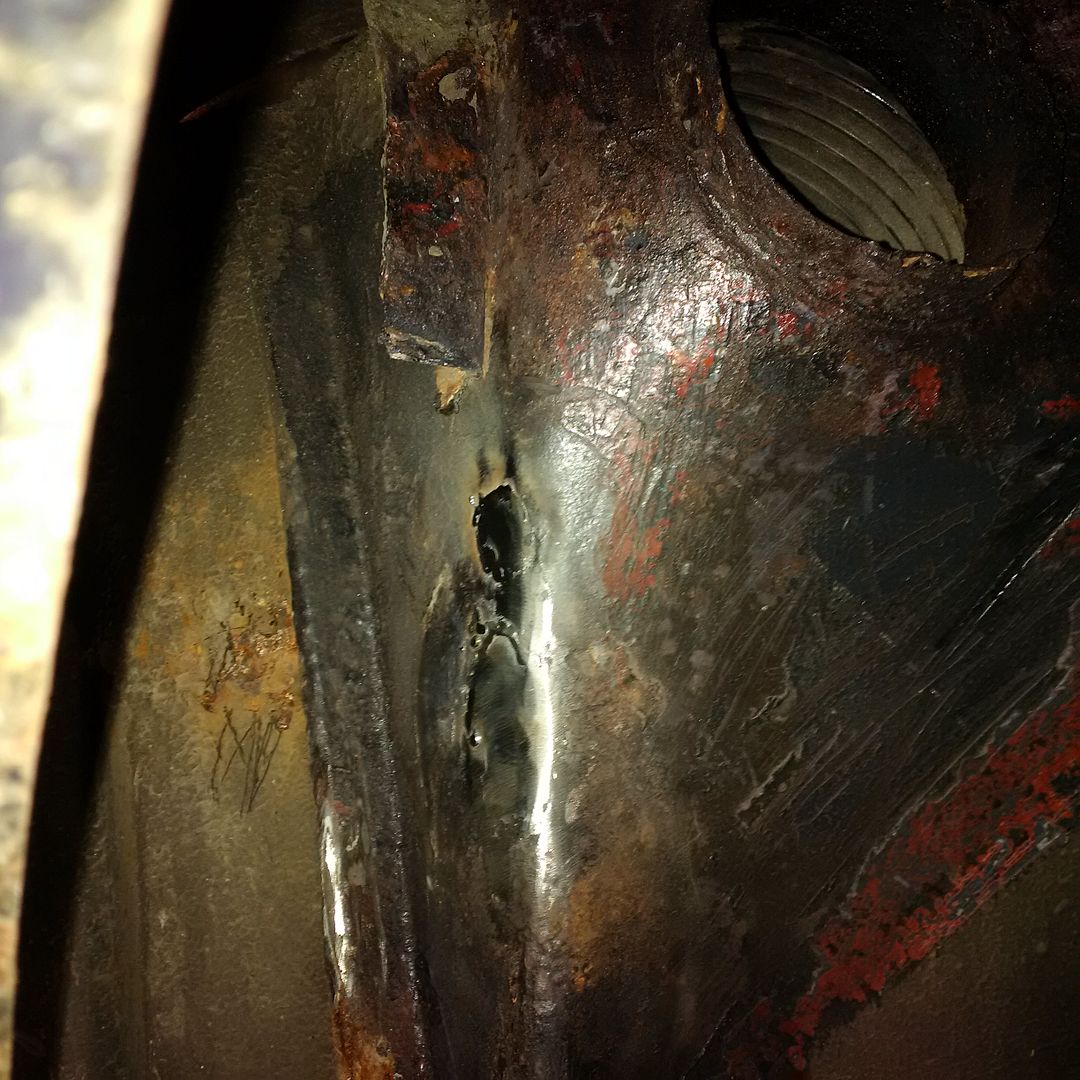 New flange bit to go on to finish this bit off. 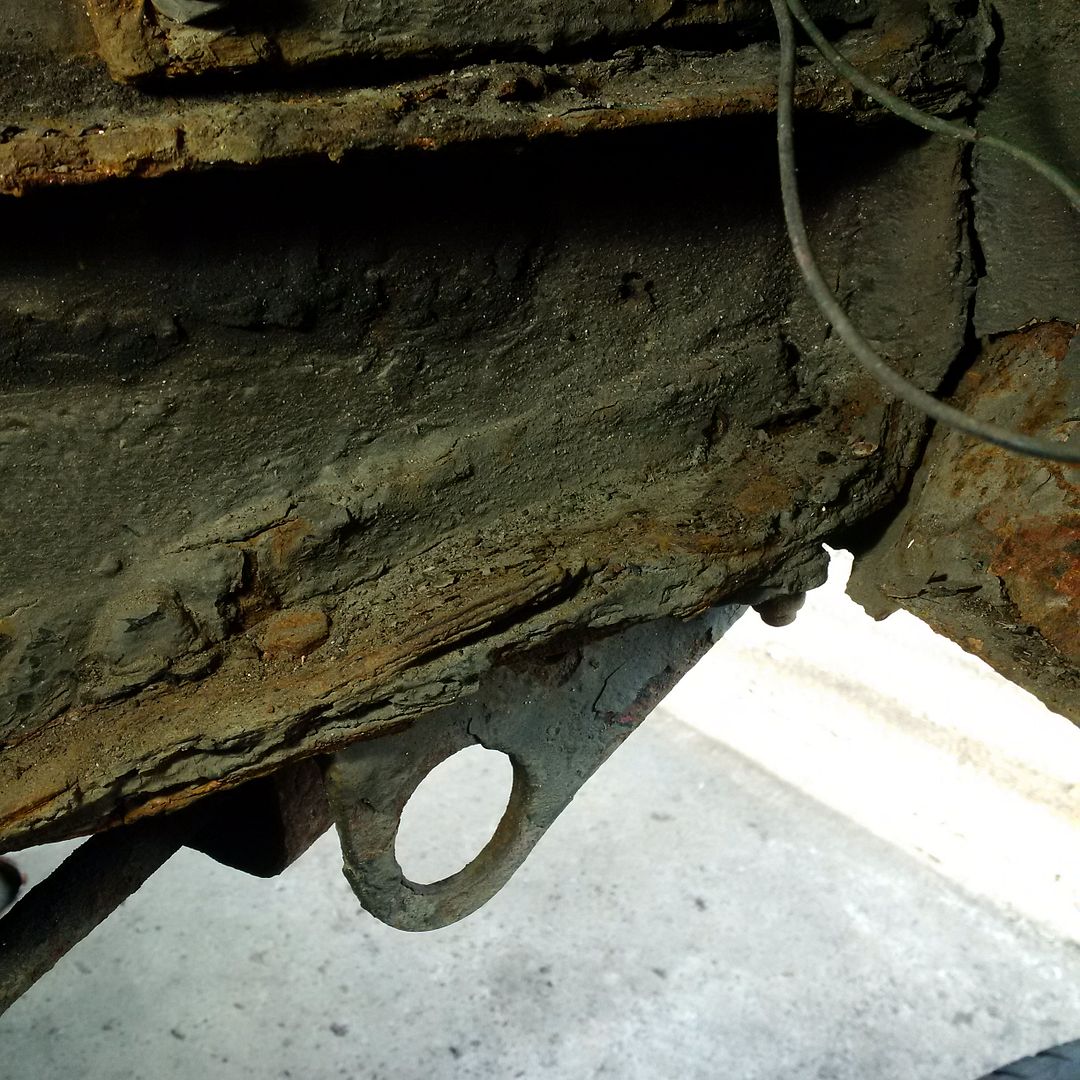 Bottom of the front chassis leg delaminating badly. Don't like it. That's going to be complicated. P45. |
|
|
|
Post by penguin45 on Mar 31, 2017 0:06:02 GMT
Well, it wasn't that bad really. Removing the tie-bar housing and gusset plate got rid of one layer of rusty metal and after due careful consideration, the wire wheel and slitting disc in the anglegrinders got rid of the rest. There was a need to maintain datum lines, so the gusset plate and tie-bar housing were dealt with first. Housing just needed a doing over with the wire wheel and rust killer before painting. The gussett plate was bent every which way due to the distortion of the bottom flange of the chassis leg. It's called panel beating - it's a panel and by 'eck did it get beaten into flatness. And welded.  Then painted. Nice thick metal - makes welding much easier.  A lot of effort with the wire wheel and slitting disc removed rusty rubbish up to an inch thick and got it all cleaned up. 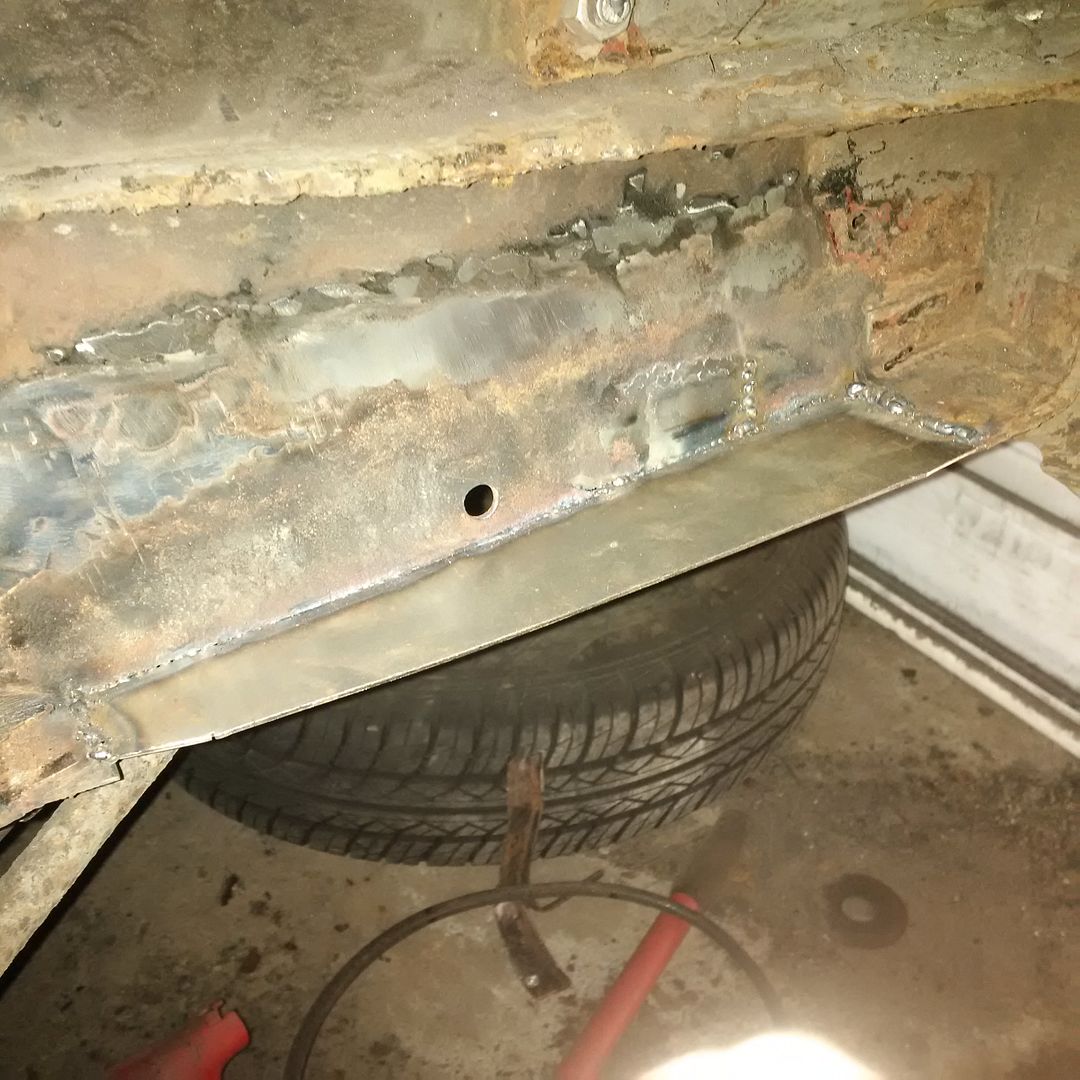 Middle layer welded home, it's the centre of the reconstruction. 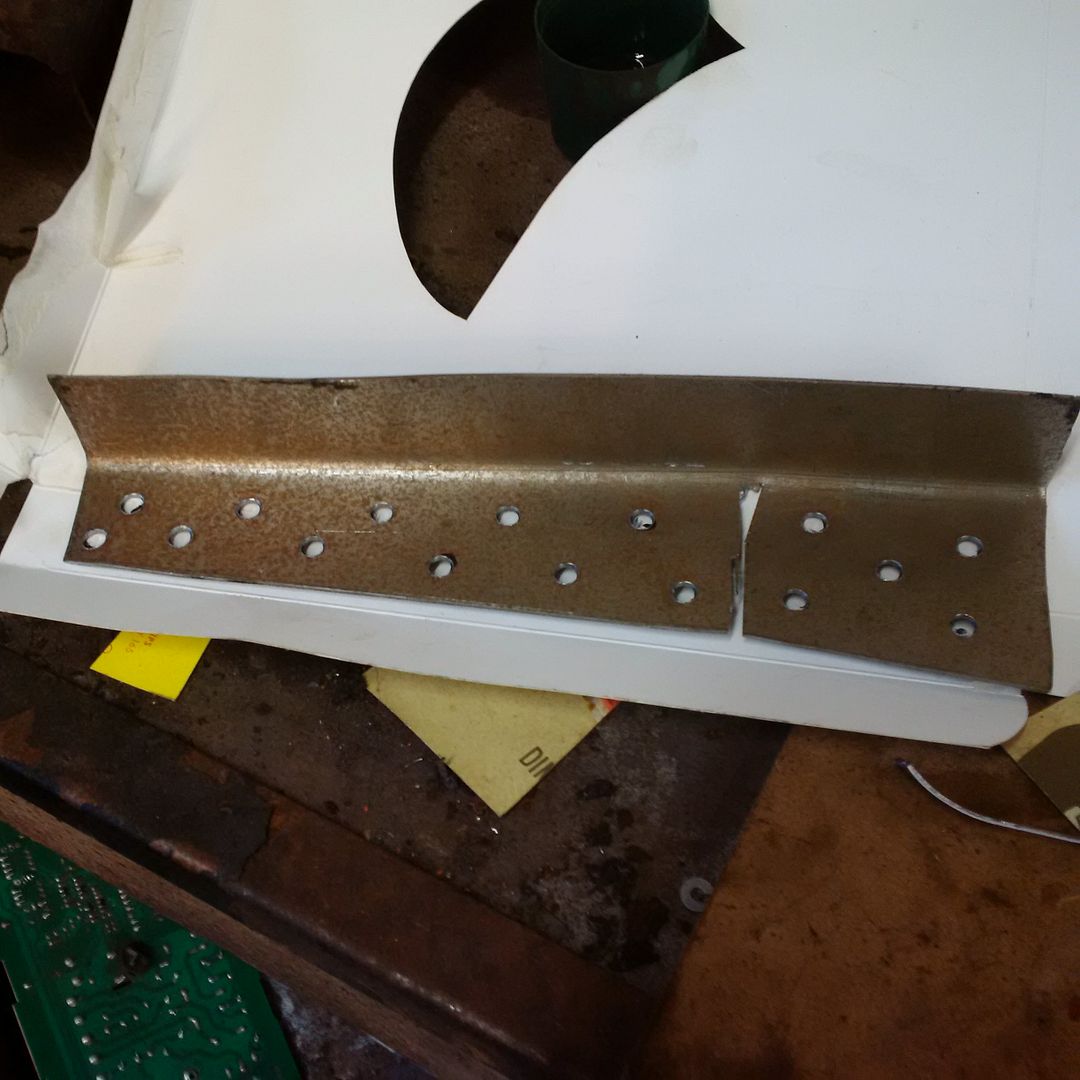 Lower/inside panel made.  That got plug welded underneath and through the chassis leg. A similar slightly smaller panel was made to fit on the outside and top for the middle section. 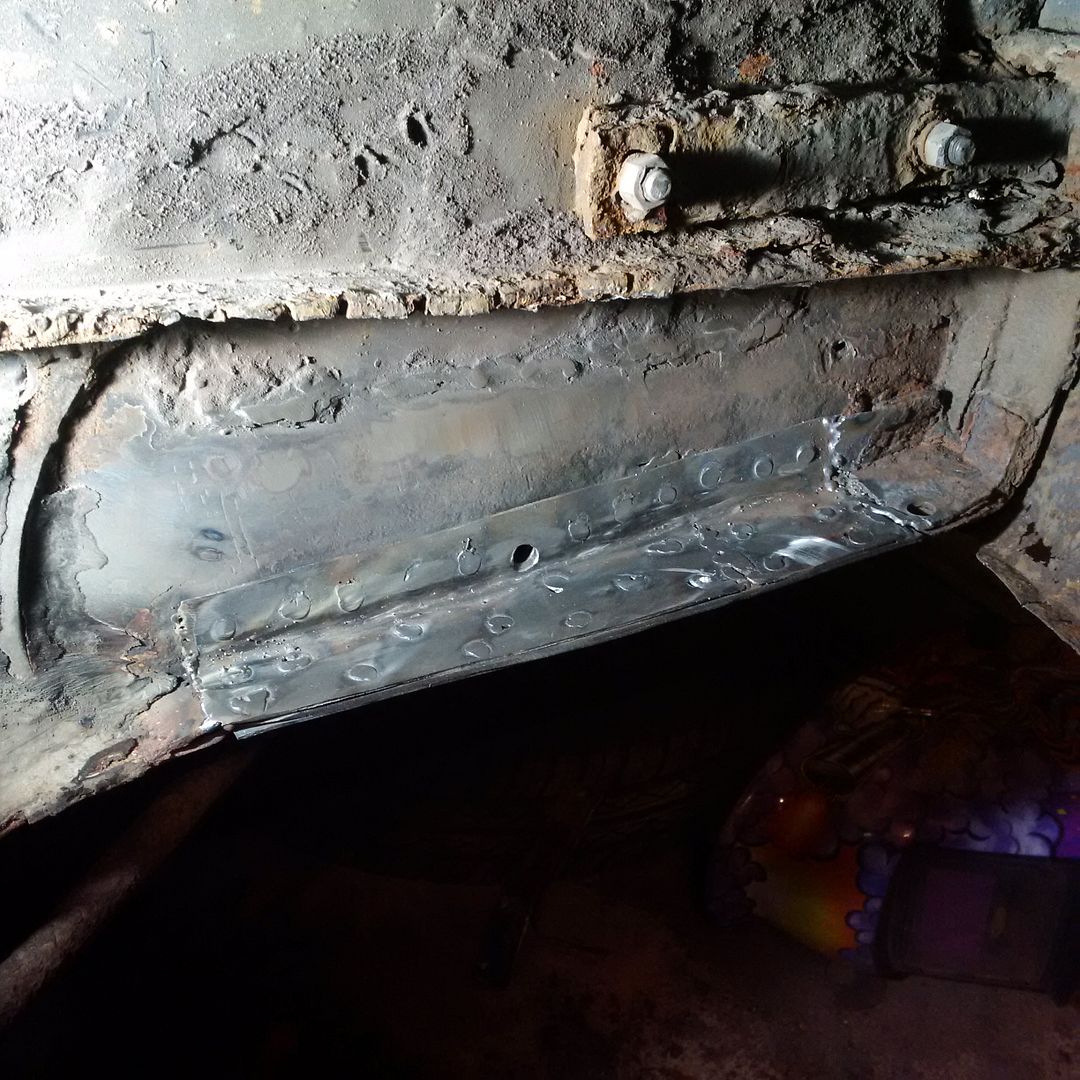 Plug welded home and flatted off. This is now immensely strong. The area is now 4.5mm thick along the bottom edge and through the side of the chassis leg, so should be more than strong enough. It's now been blown over with etch primer and I'll get it fully painted tomorrow. P45. |
|
|
|
Post by penguin45 on Mar 31, 2017 23:37:32 GMT
And it's all back together again. What'll I do next......?
P45.
|
|
|
|
Post by bent8rover on Apr 1, 2017 17:47:30 GMT
Oh, well now you're asking...  Any interest in tackling my Rover? |
|
|
|
Post by Toledo Man on Apr 2, 2017 18:05:49 GMT
...or getting my Dolomite running again.
|
|
|
|
Post by penguin45 on Apr 7, 2017 19:39:39 GMT
Sorry to read your news, Ben. I assume that it's time for the last rites. What's up with yours, TM? I sorted out half of the front valance.  This side had been viciously attacked by an invisible boulder a couple of years back. Dented and fairly rotten.  Four patches let in, then round to the joint between the valance and the wing.  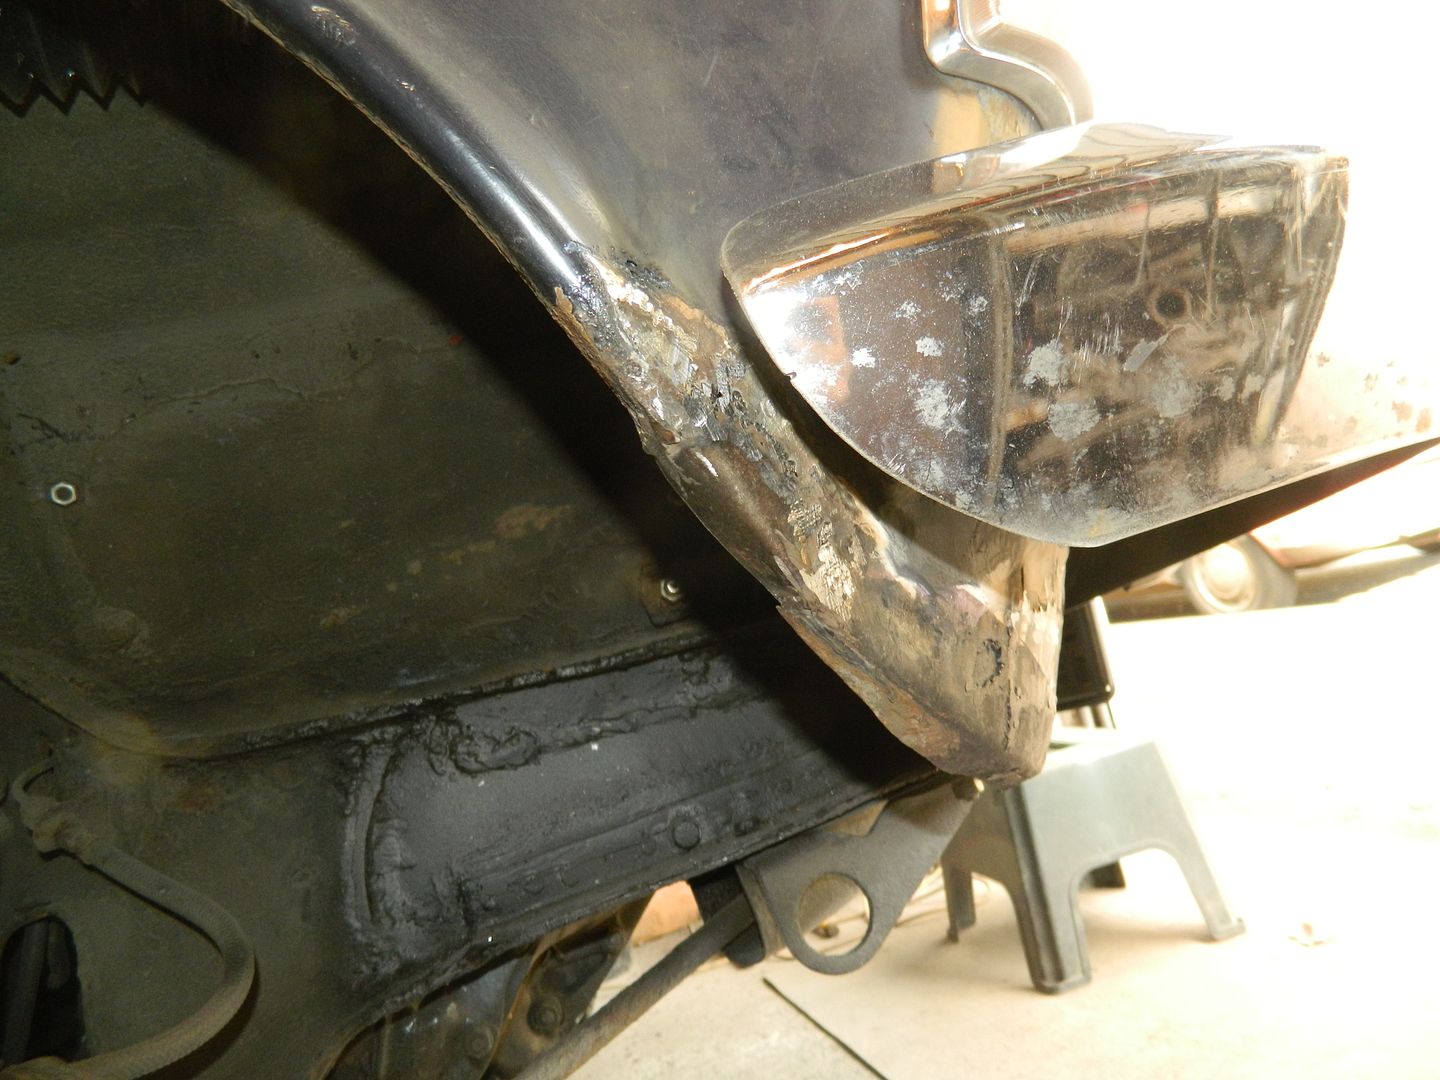 Worked out all right. There were several rounds of filling and flatting. 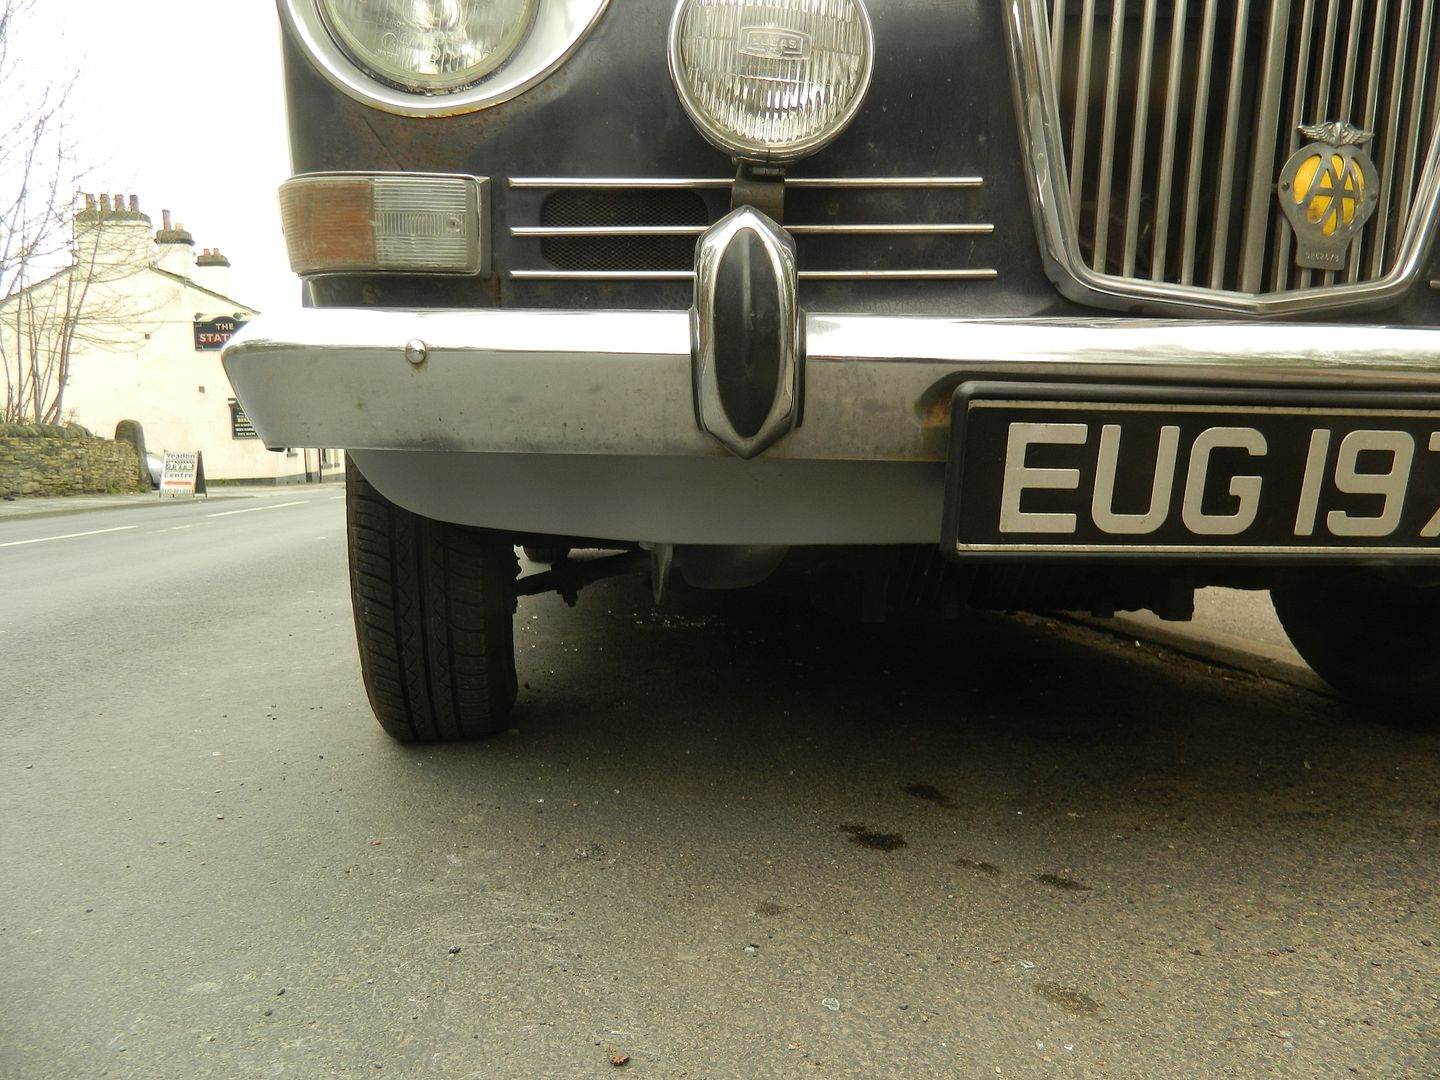  Back outside. Doesn't look too bad. Off down to Kettering for the Wolseley Owners Club AGM in the morning, so that'll be the first real long run. Wish me luck. P45. |
|
|
|
Post by penguin45 on Apr 8, 2017 20:18:50 GMT
This should be called "Penguin's Adventures im Motorway Land" Cruised down the M1 and A14 to Desborough - loveley. Almost all of the Smart Motorway roadworks have gone, nice empty roads for a 60mph drive. Seemed to get a little warm towards the end, but no problem. After the meeting, I set off back. Stopped for a bite at Tibshelf services. Started car - wouldn't rev. Left it to idle for a while and she seemed to clear, so set off. Two miles up the road she started jolting and juddering, temperature shot up. A final loud back fire and we coasted to a halt. This is a four lane bit of the M1, so no hard shoulder and I'm nicely half way between two safety refuges. I did manage to get off the carraigeway. Set up the triangle and applied some logic. When did this last happen? Oh yes, when I shut the inside lane of the M62 in the rush hour with GLE. Culprit? Condenser. BUT - I've got electronic ignition. Same symptons exactly, so set about changing it. I'd removed the dizzy and was halfway through fitting the new condenser when the boys from the Highway Agency pull up with all the orange flashing lights. The overhead gantry was now showing inside lane shut and "INCIDENT". That'll be me then. Towed me along to the next refuge, where I finished installing the condenser and re-fitted the dizzy. The HA officers' last instruction was "If you get it going, use that phone and we'll shut the inside lane again so you can rejoin safely". So I did and they did and several minutes later the inside lane was empty and off I went. Now, the hard questiion is this: The car is using an ETi100 electronic ignition, which uses the contact breakers as a switch, so why would the condenser failing still cause the car to run badly? My brain hurts.  Chris. |
|
|
|
Post by penguin45 on Apr 13, 2017 19:23:39 GMT
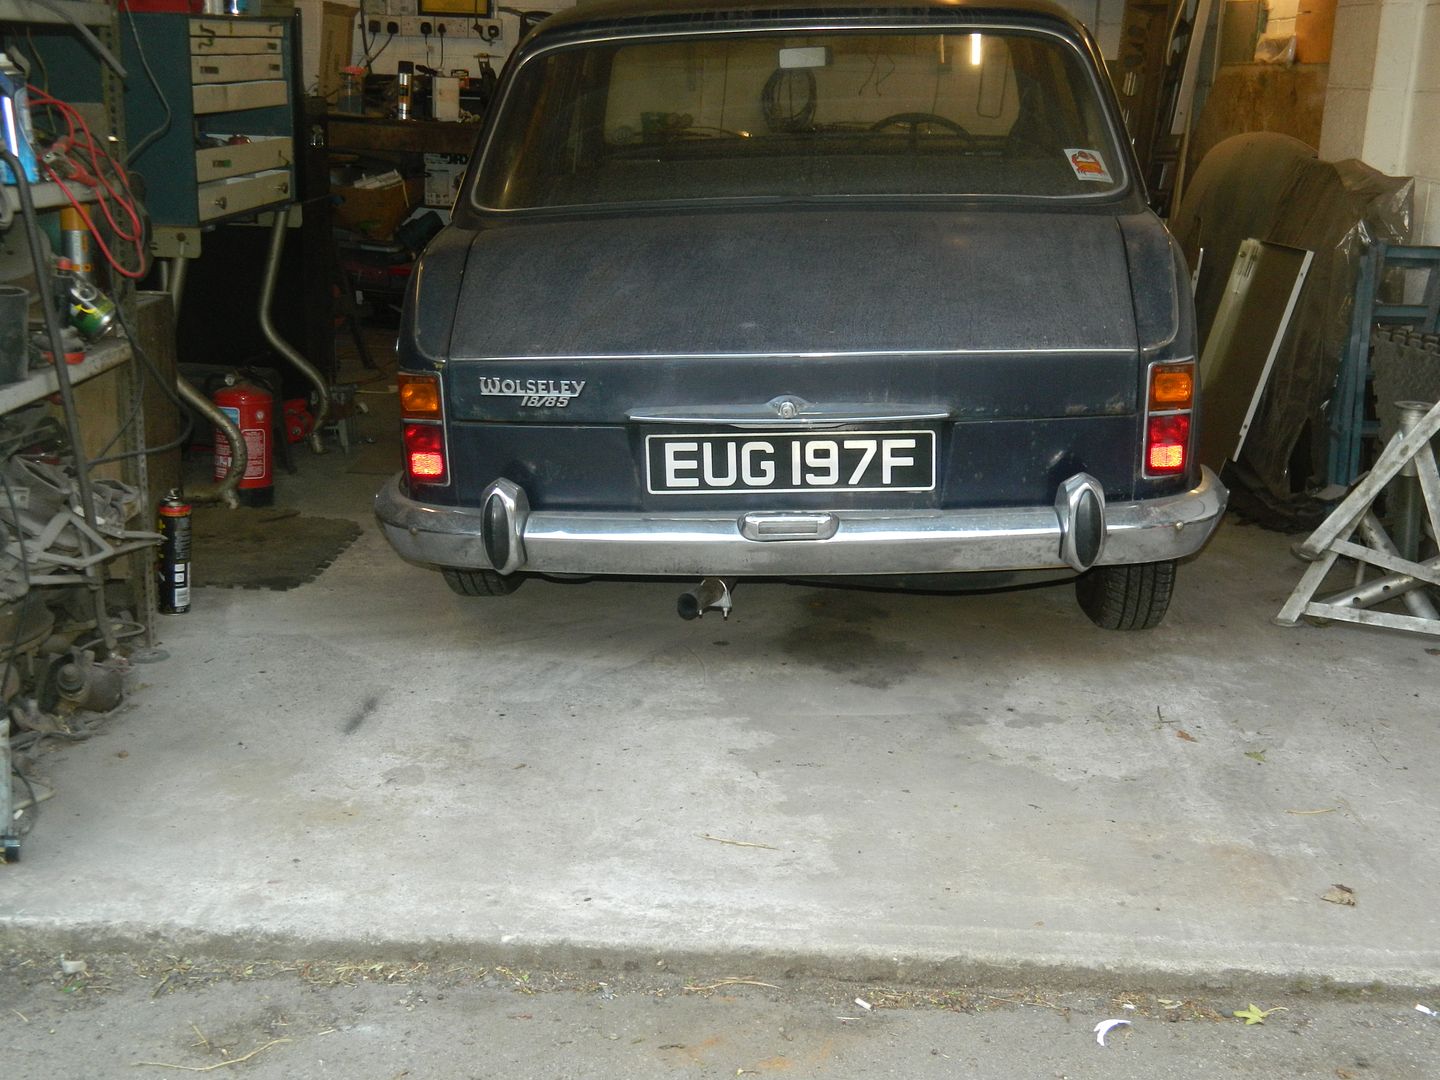 I could do without this.....  Rear near displacer hose gone. P45. |
|
|
|
Post by bent8rover on Apr 13, 2017 21:24:31 GMT
That's annoying, especially over this weekend when the firm you used last time to make up the hose for Red Dog will be closed...
Can Red Dog donate her displacer so you can get out and about this weekend?
|
|
|
|
Post by penguin45 on Apr 13, 2017 23:10:53 GMT
Aha - there is a cunning plan, as I now have several sets of displacer hoses to hand. It's just a big heavy lump to drop off and followed by some hard work. My mate Snoopy owes me one, so he's coming to give me a hand.
Didin't want to go to POL anyway.
Chris.
|
|
|
|
Post by penguin45 on Apr 23, 2017 23:31:01 GMT
I owe you guys an apology, especially Bent8Rover. This has turned ito a monstrous repair, which is still ongoing. On the face of it, all I had to do was drop the n/s displacer housing, pull out the displacer and re-hose it. This revealed that the alloy carrier which supports the back end was severely damaged by previous bodgery. Removing it showed that the boot floor which it bolts through was rotten and needed extensive repair. 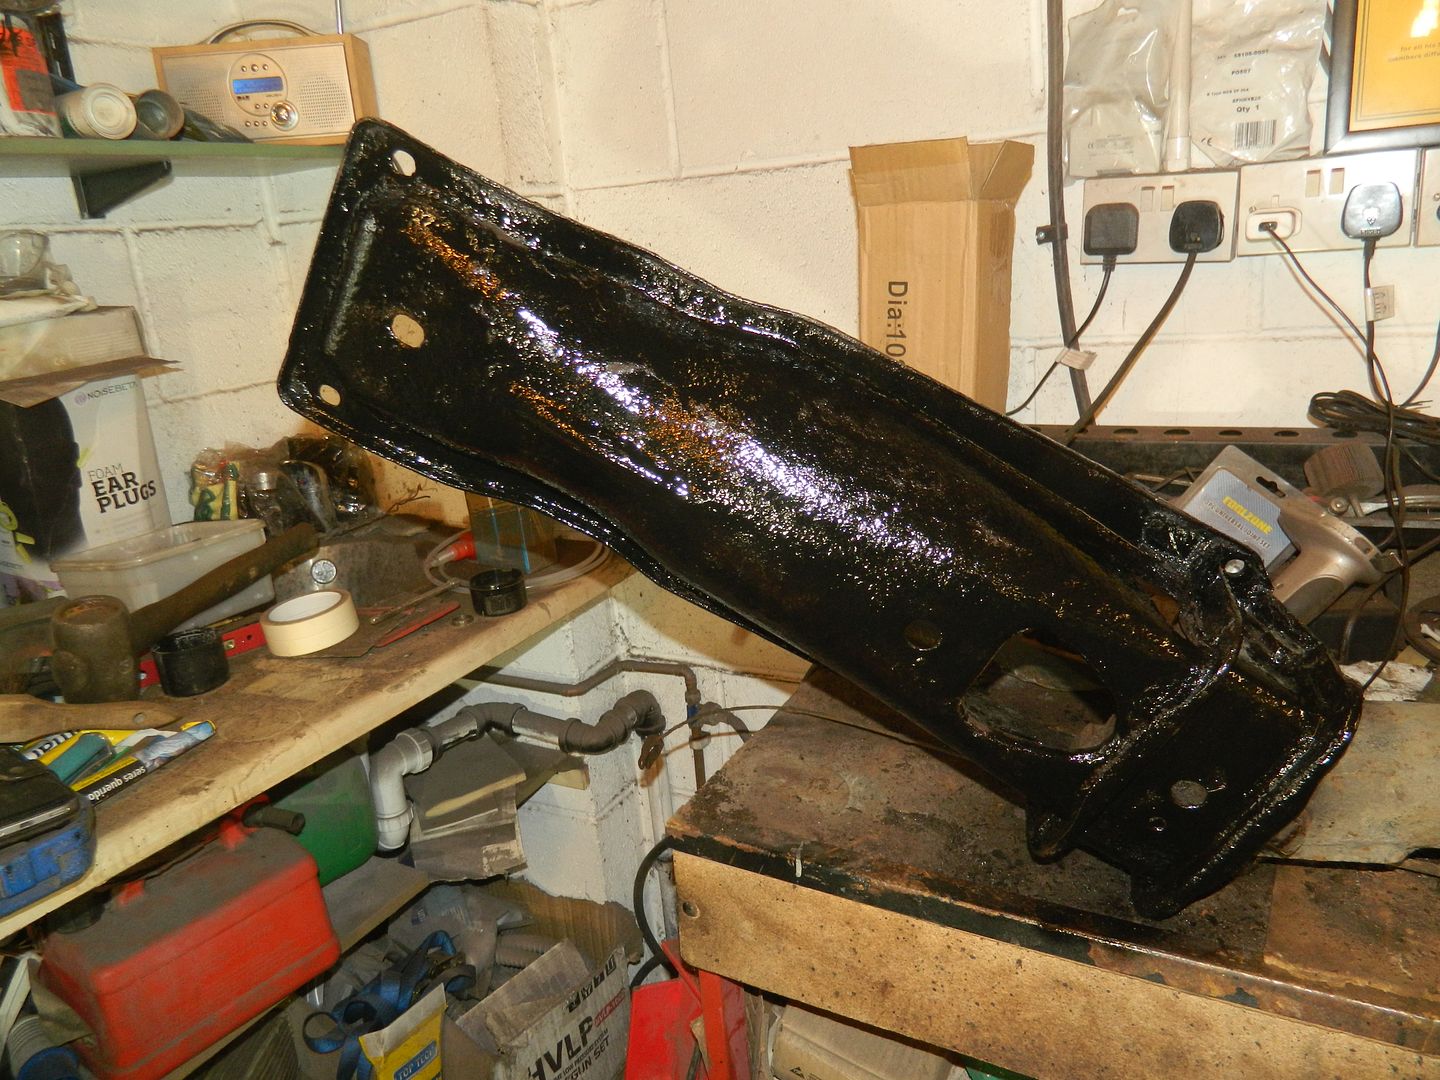 Started off well enough. Cleaned up and de-rusted the housing, then tried to remove the carrier. 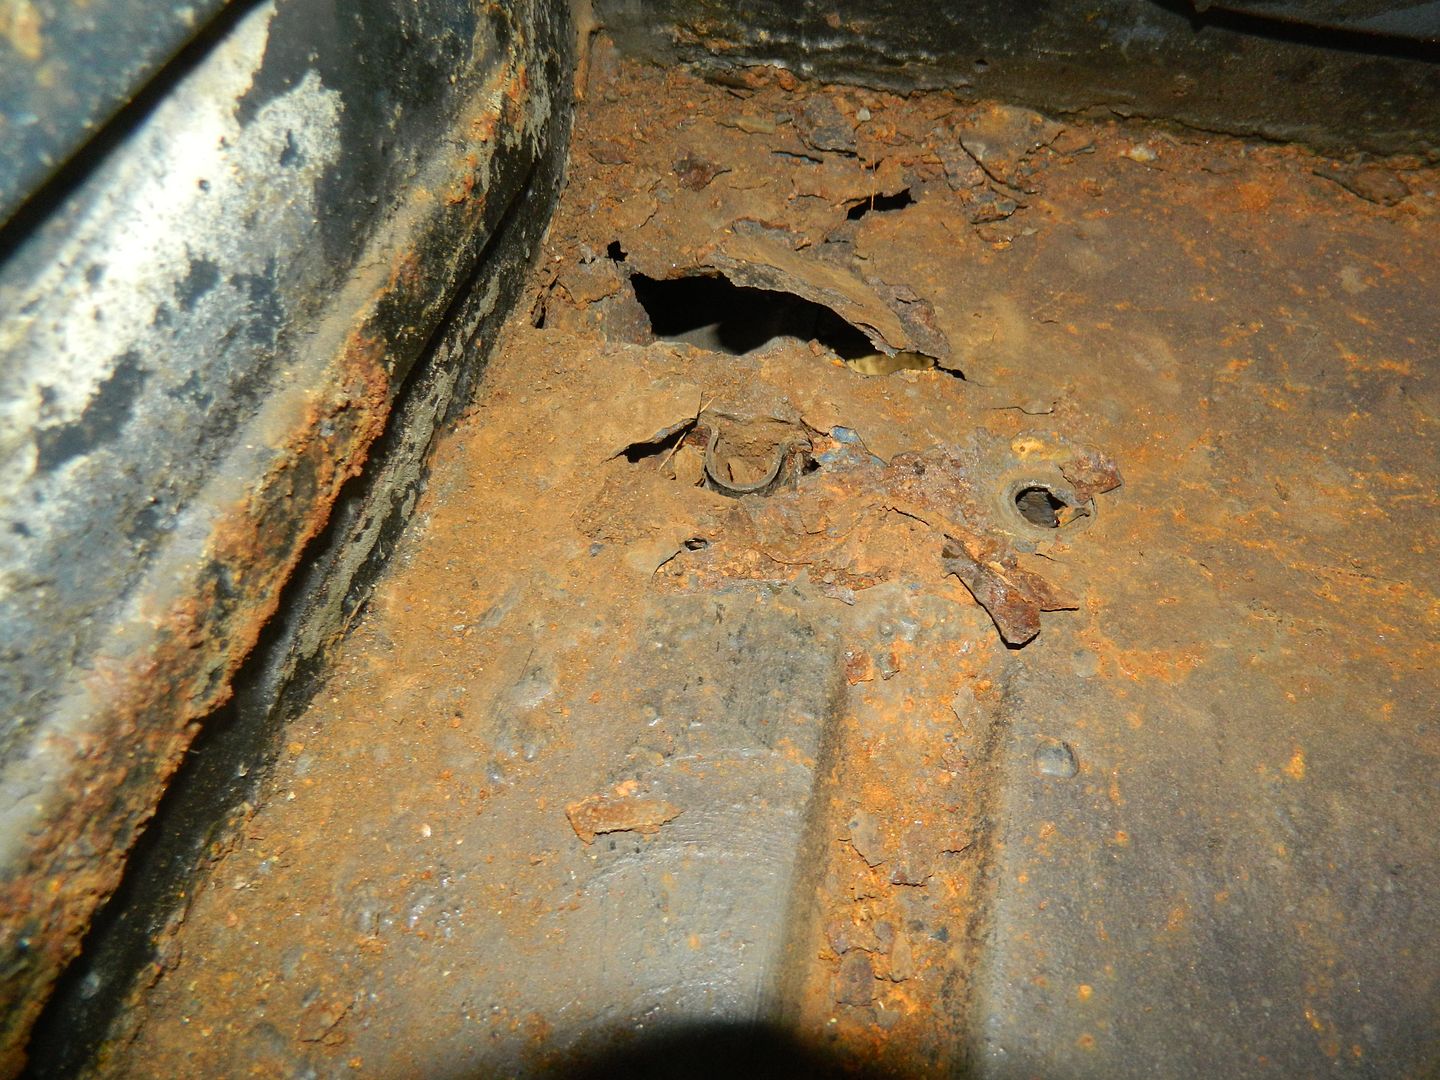 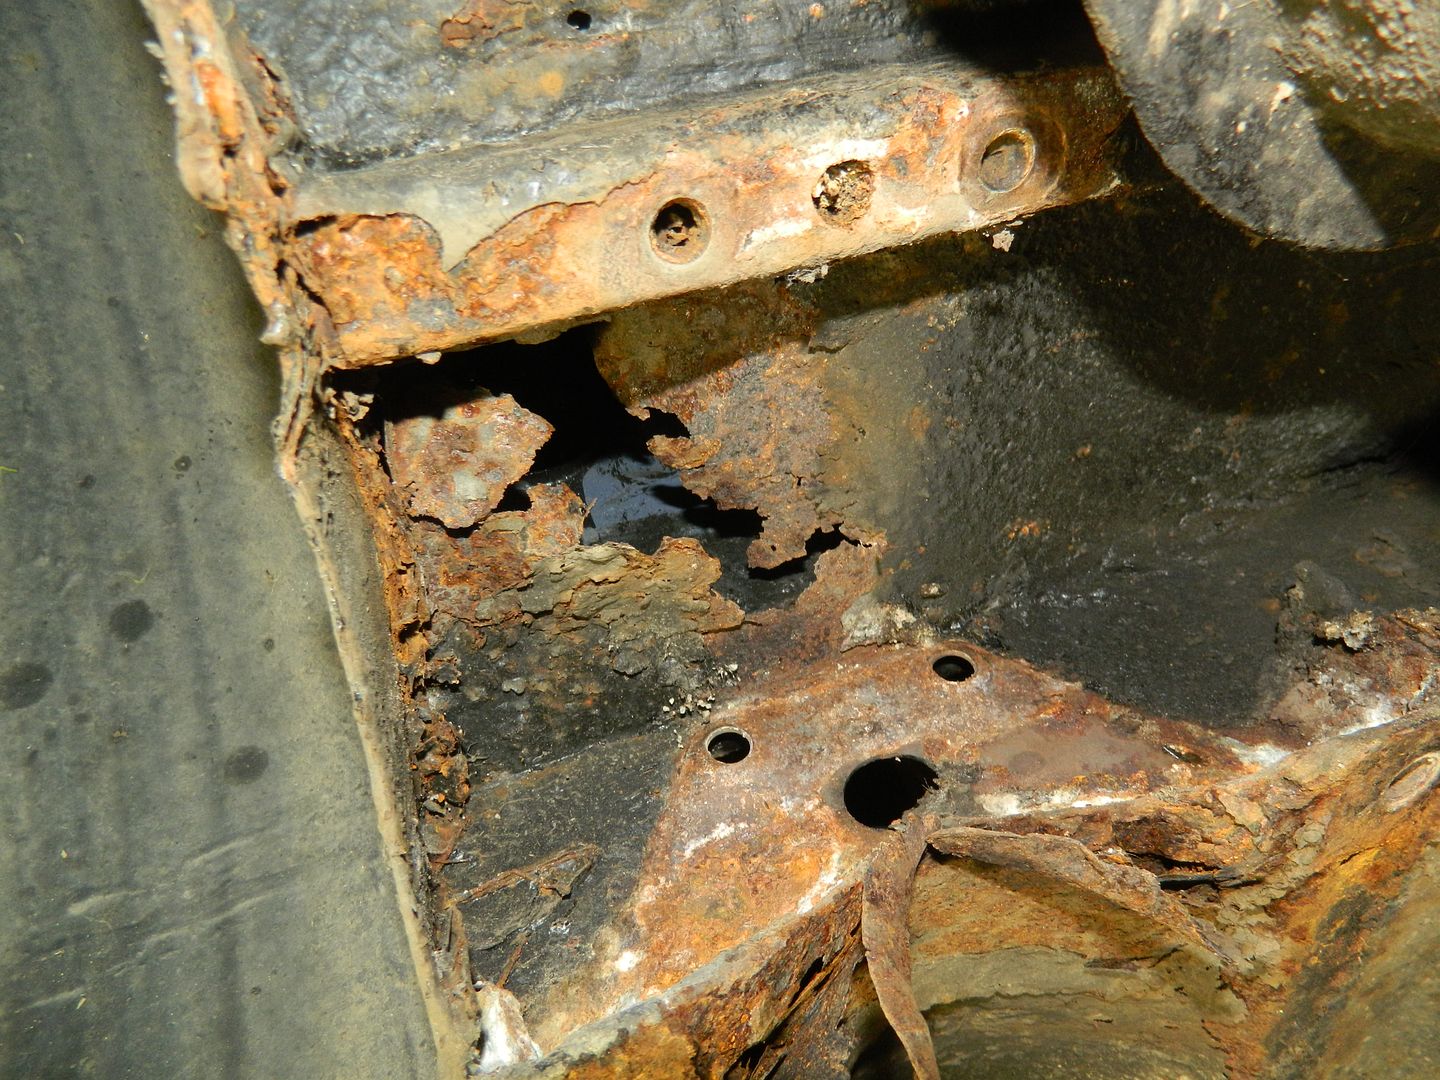 That led to that happening. 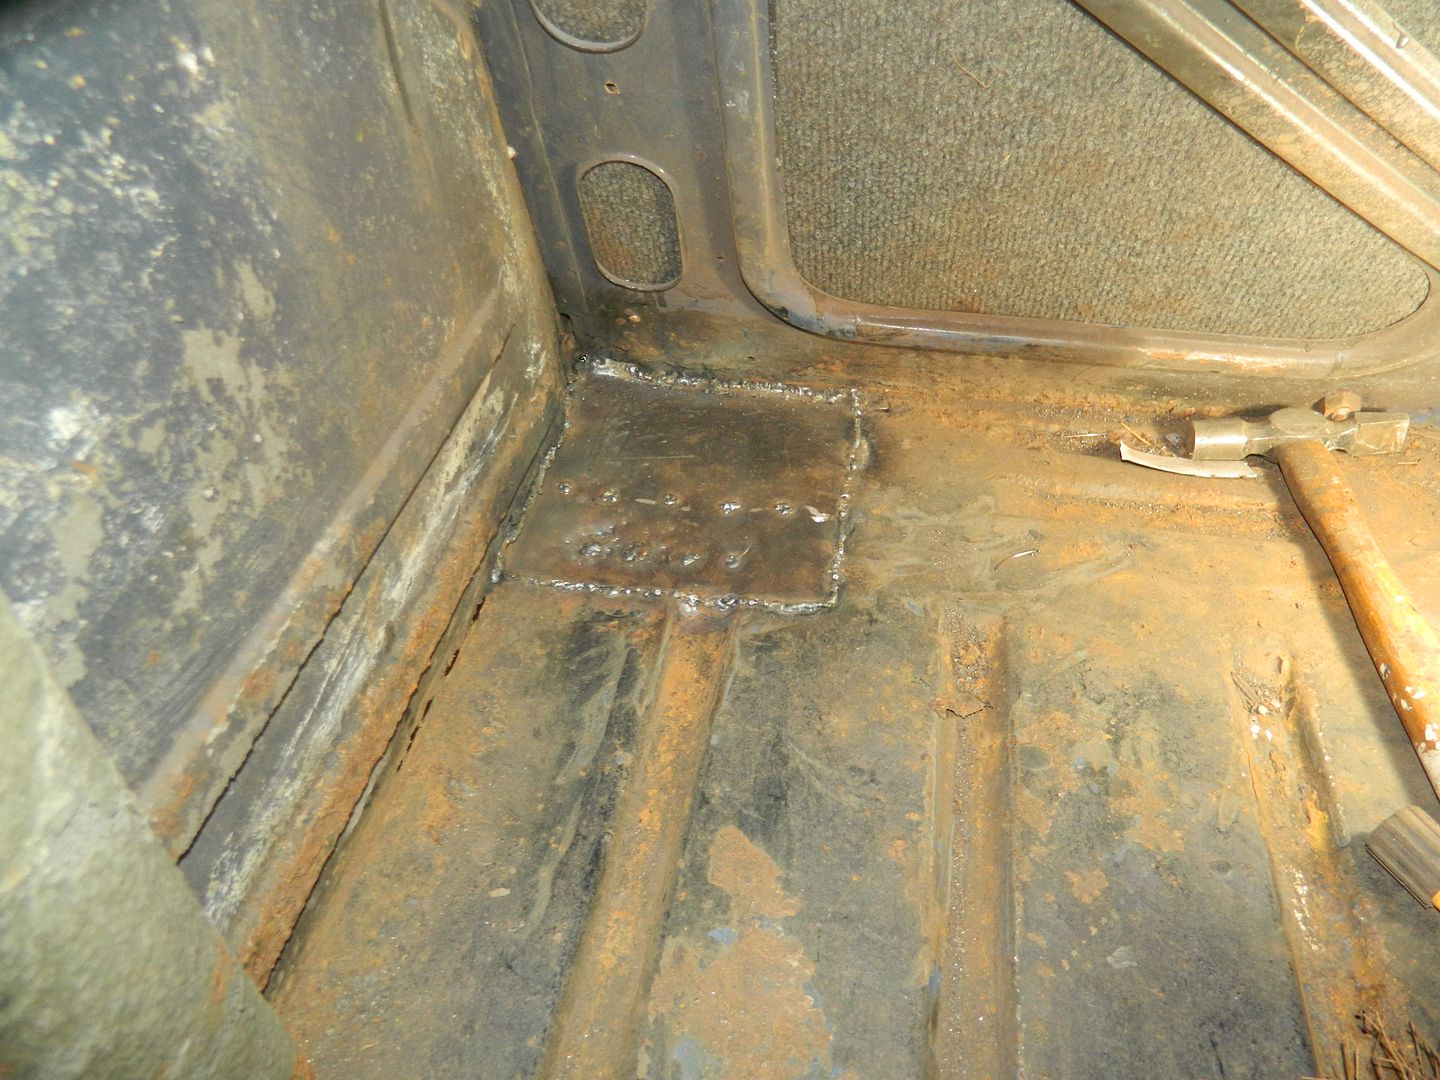 Fixed, followed by: 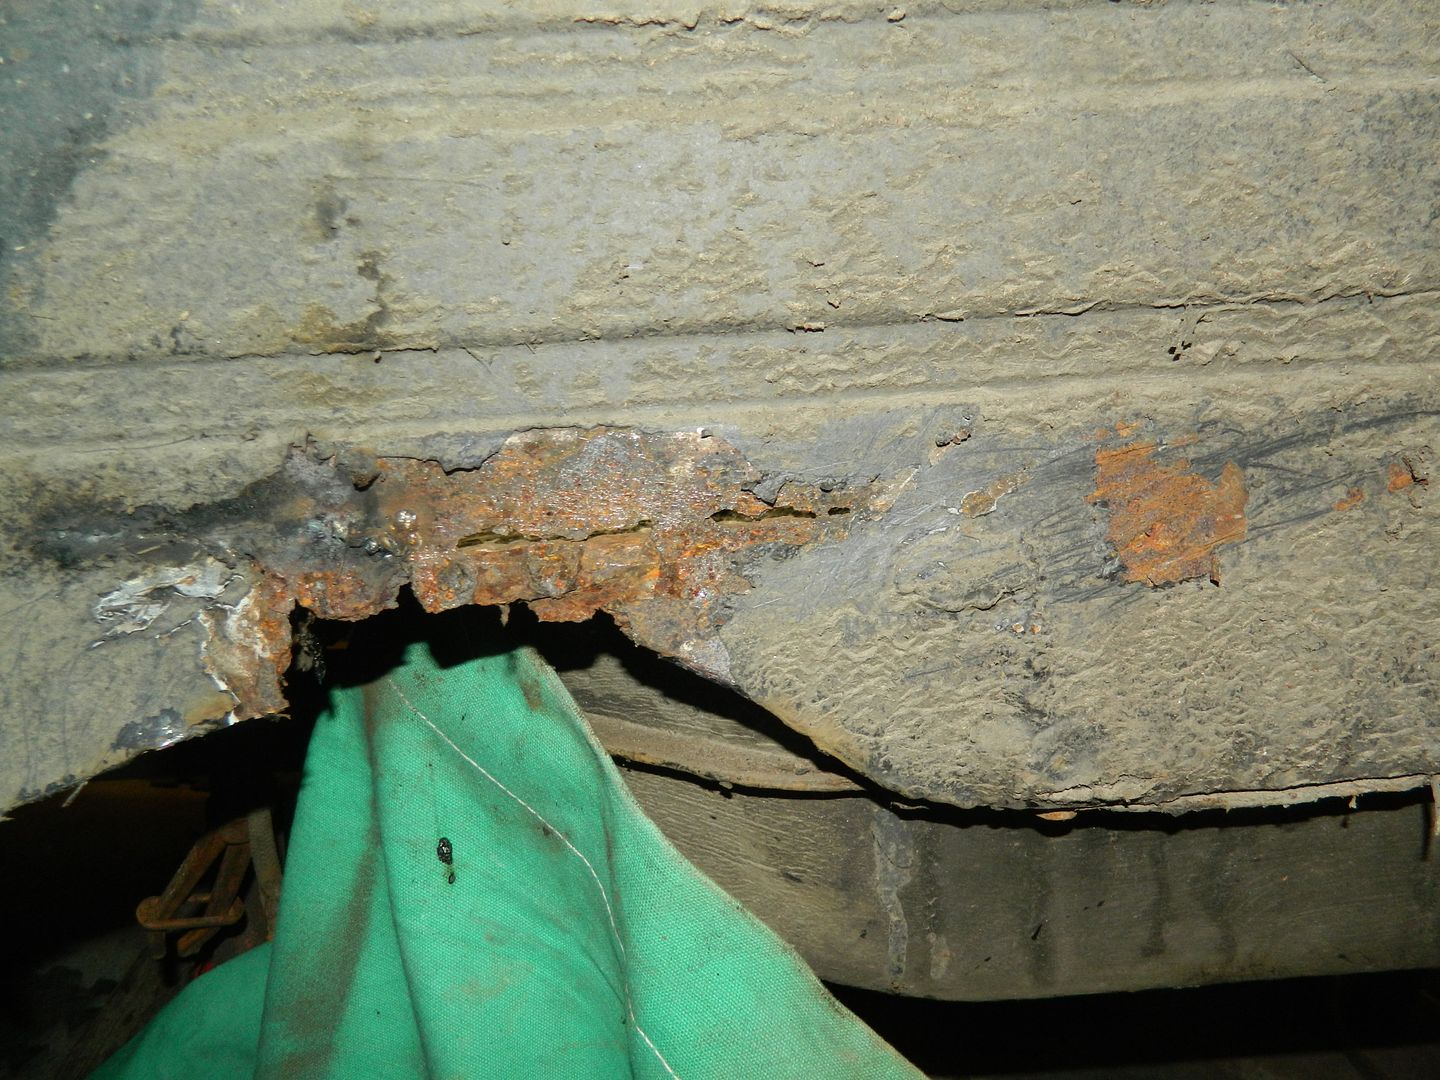 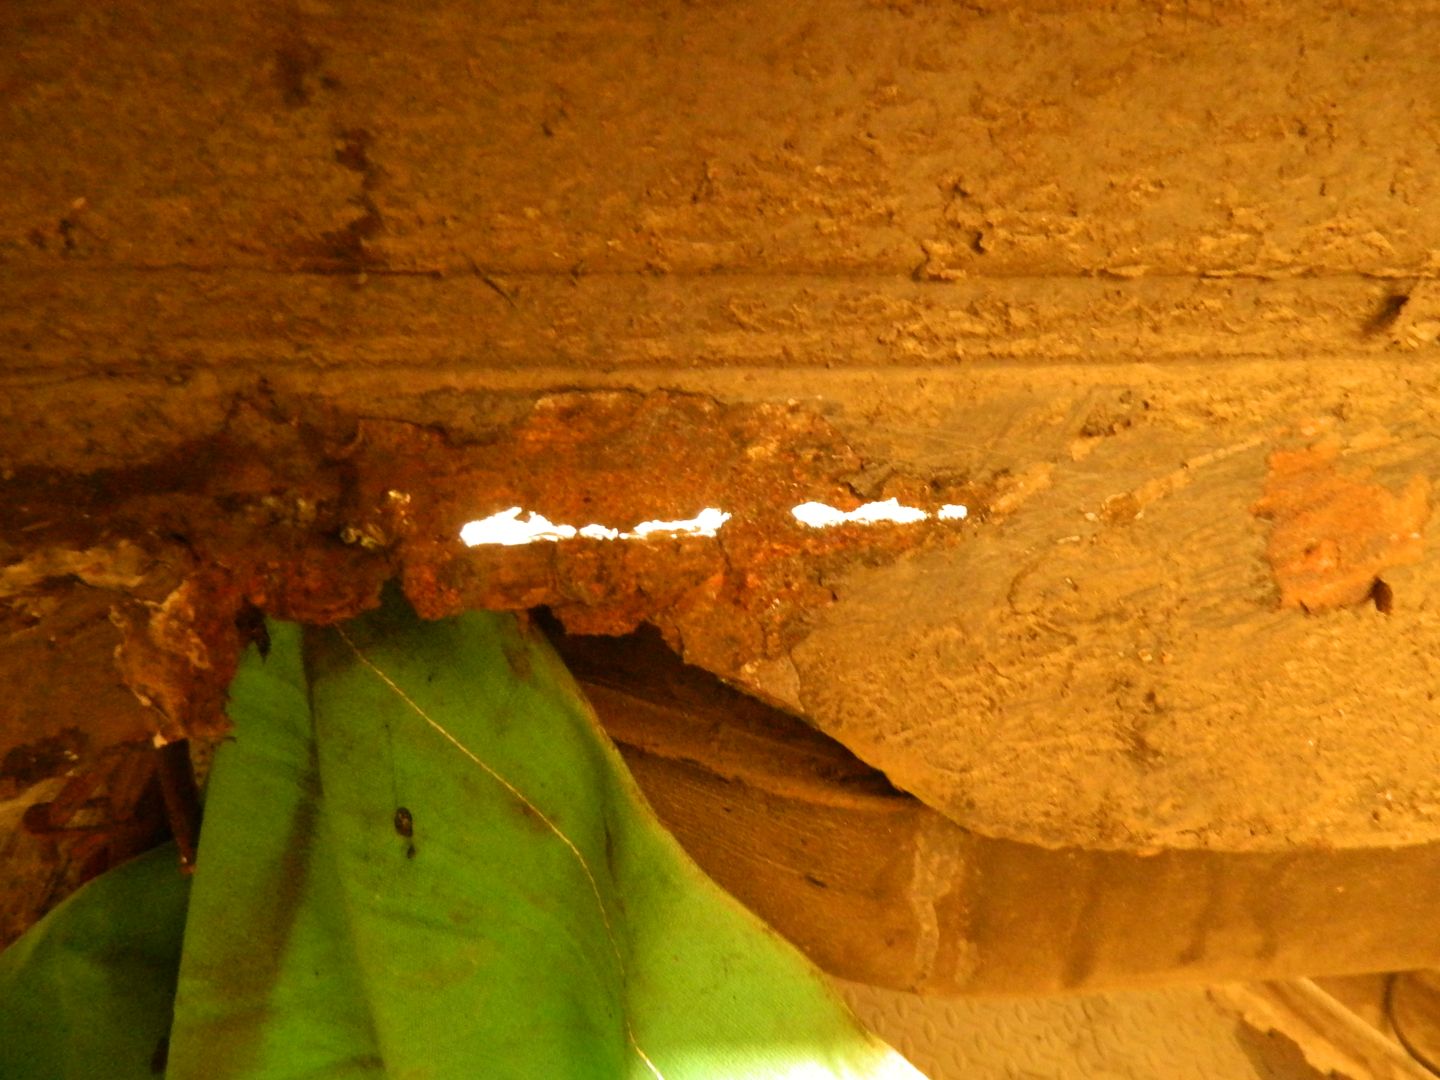 Also fixed but no Pic. Sure I took one. Then into the suspension housing mounting area. 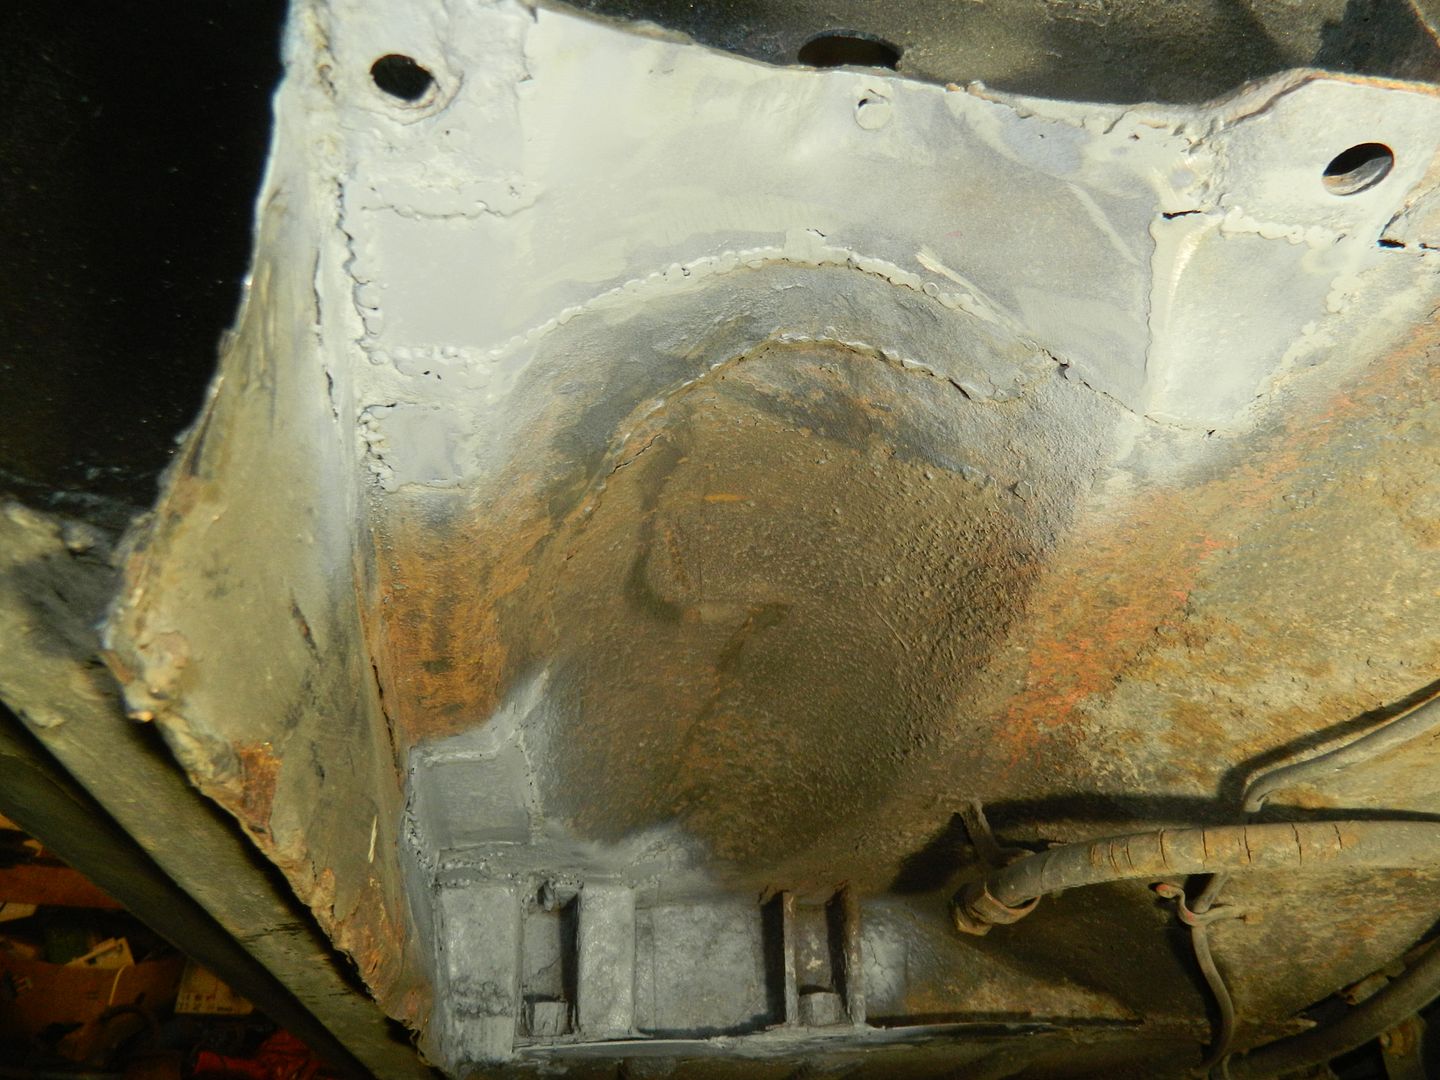 Extensive welded repairs required, nicely highlighted by the etch primer. I was not a happy bunny. P45. |
|
|
|
Post by penguin45 on Apr 23, 2017 23:39:58 GMT
Then I could get on with what I was meant to be doing - re-hosing the displacer.  Destroy hose crimp. 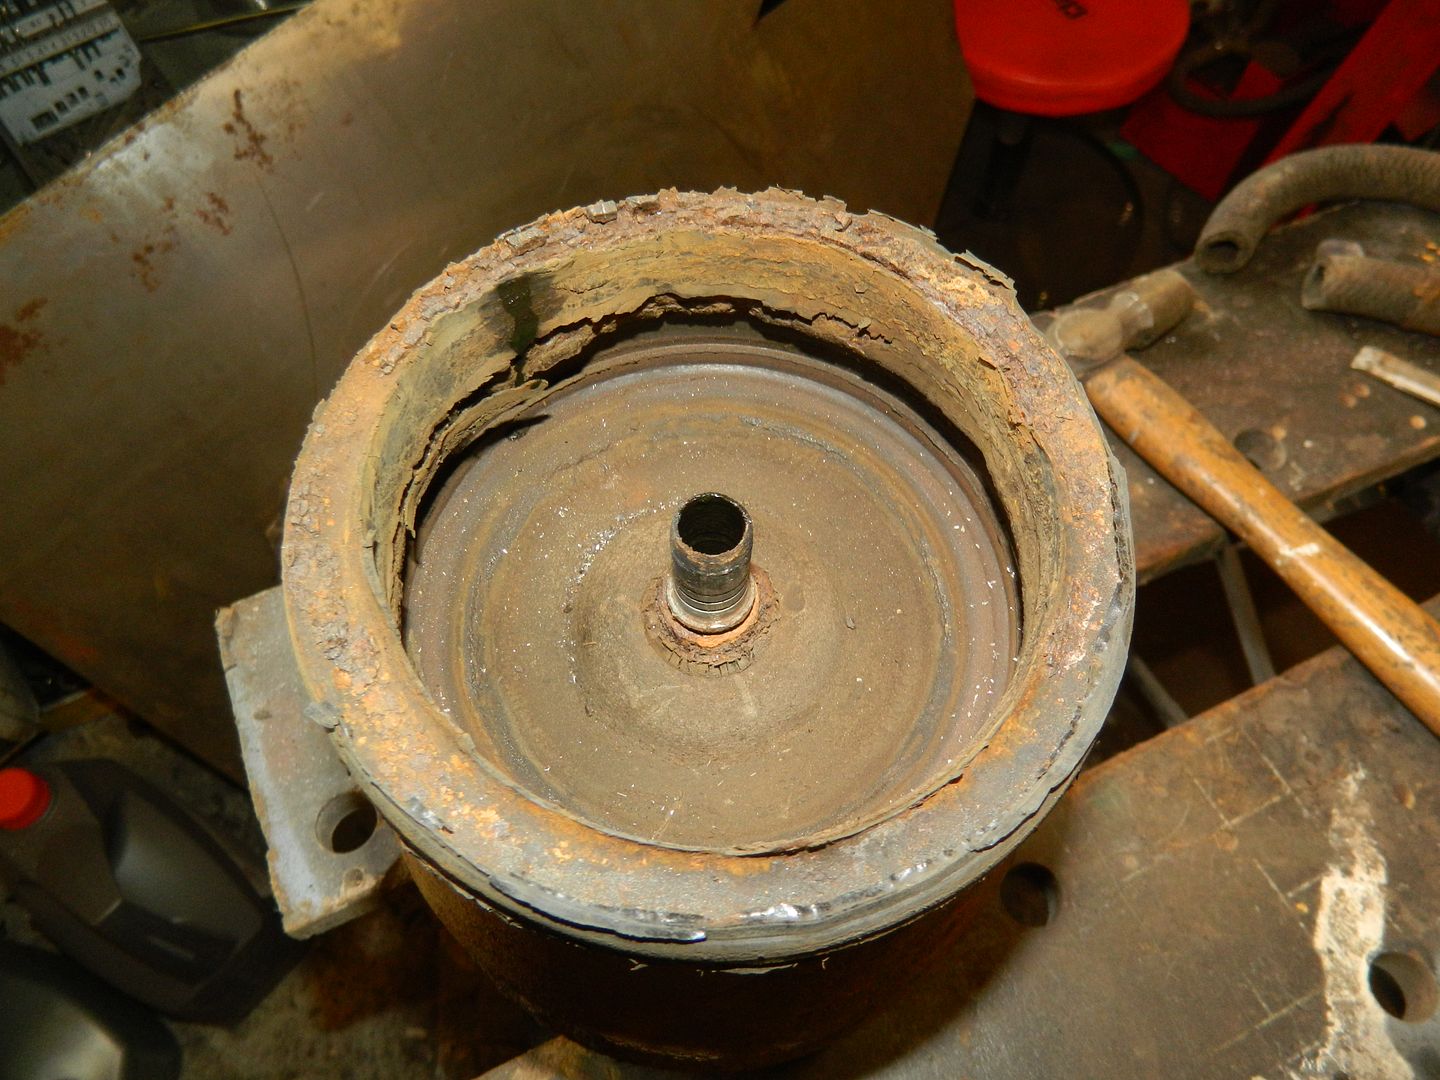 Remove hose and expose spigot. 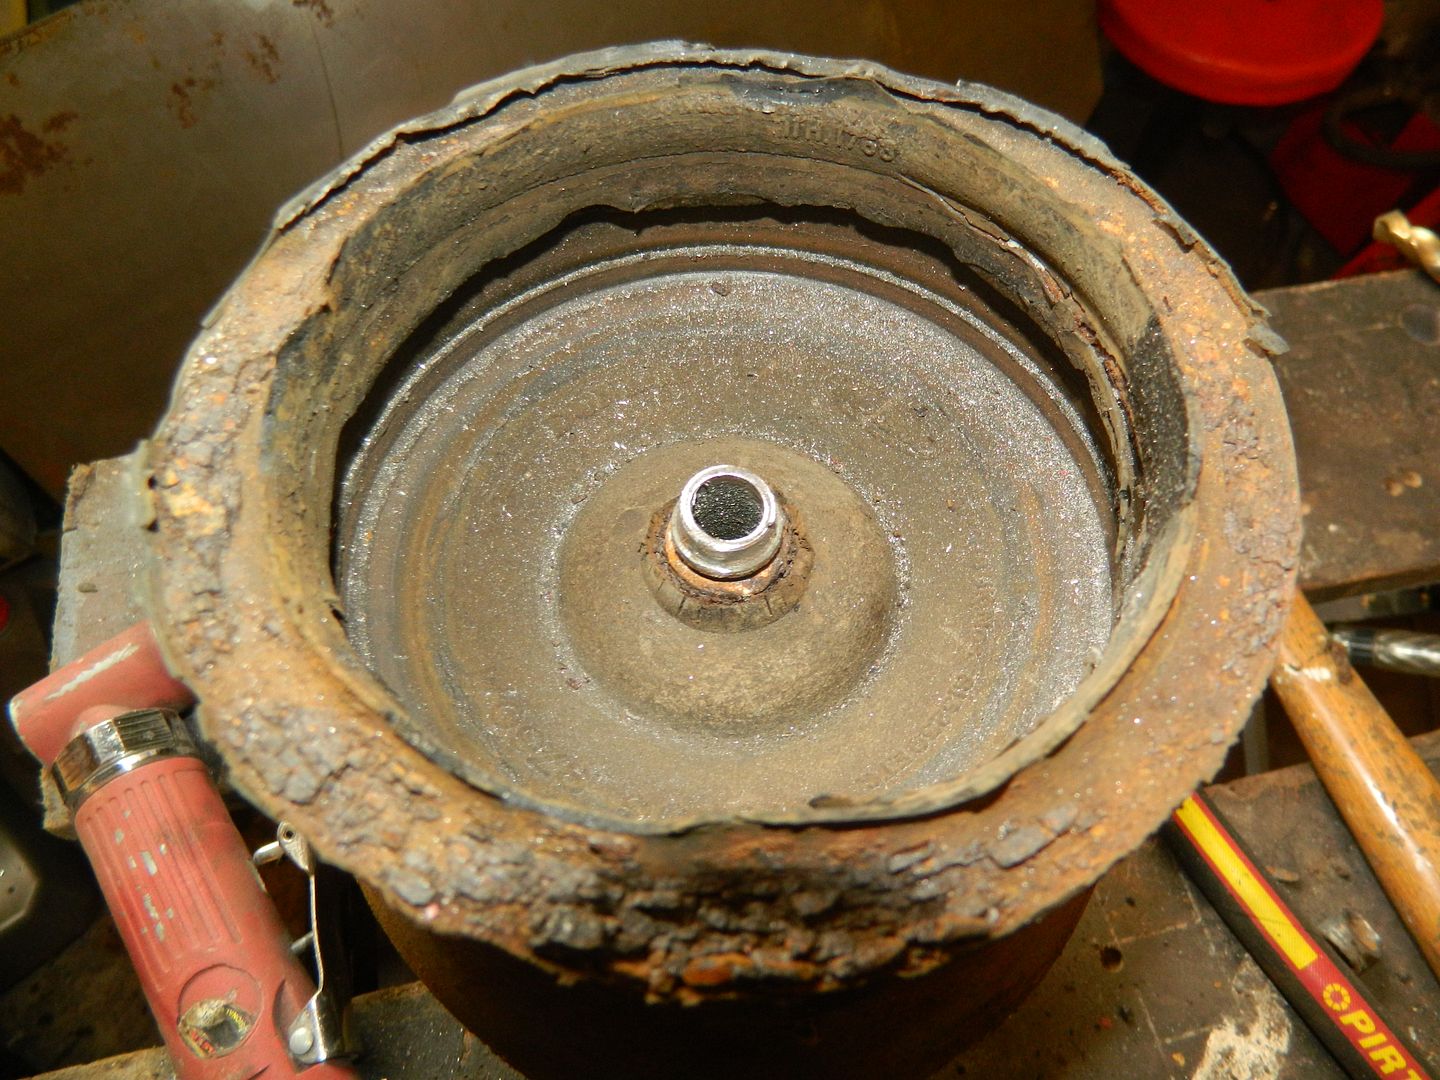 Chop off spigot and smooth of remains. 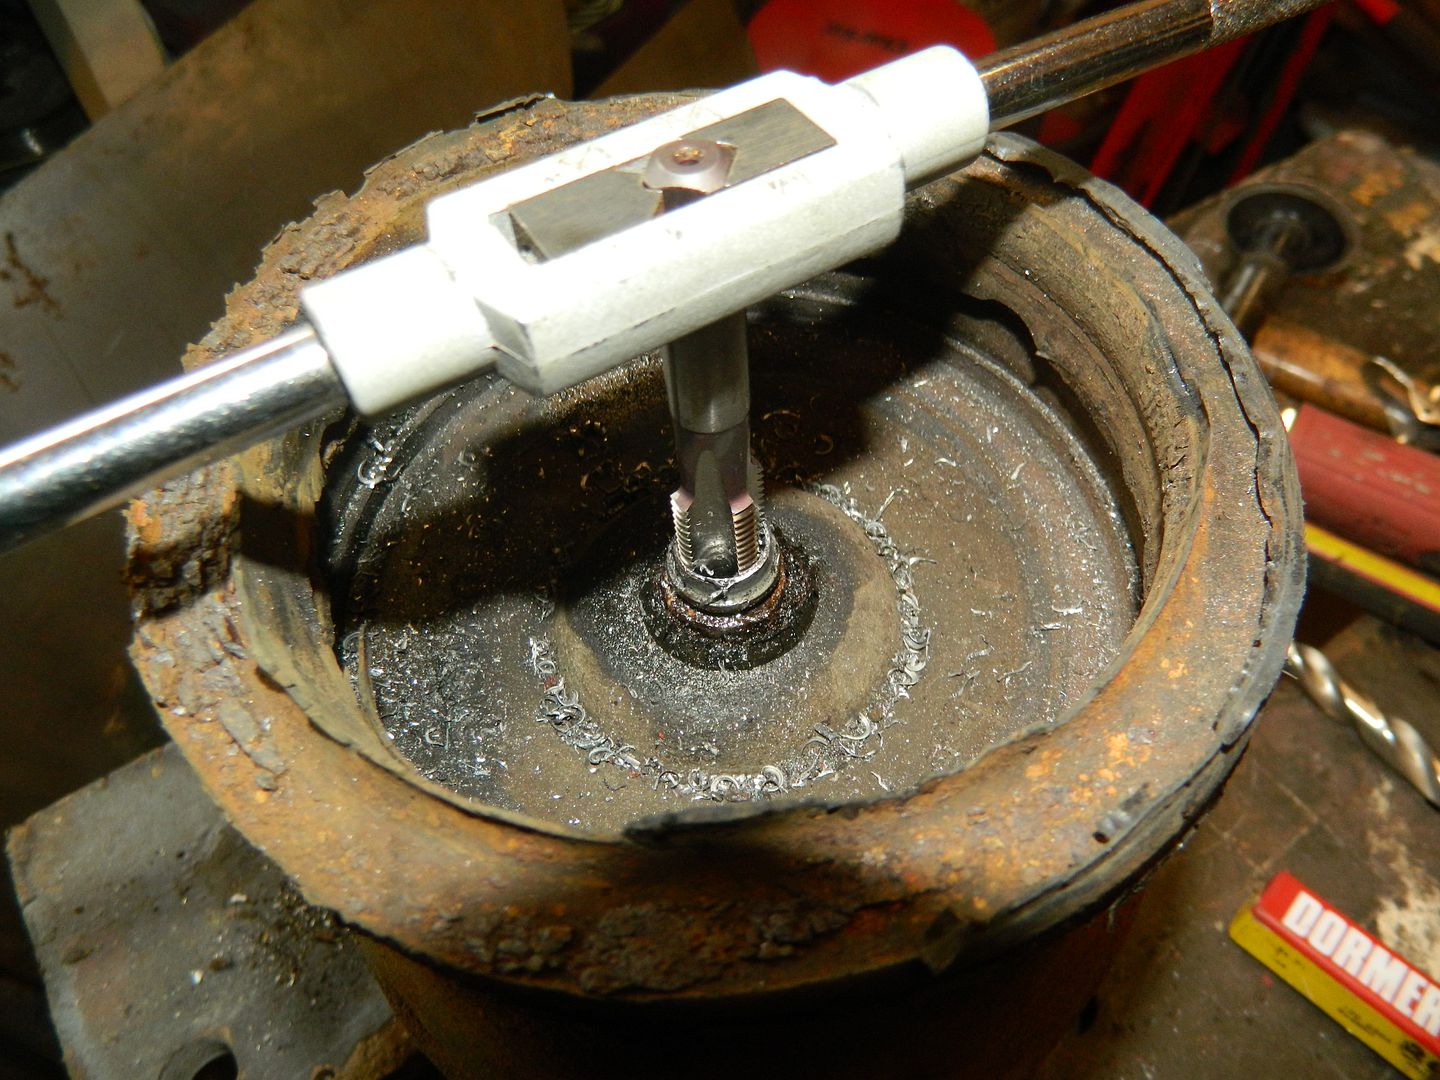 Drill out to 11.8mm amd tap hole for ¼" BSP. 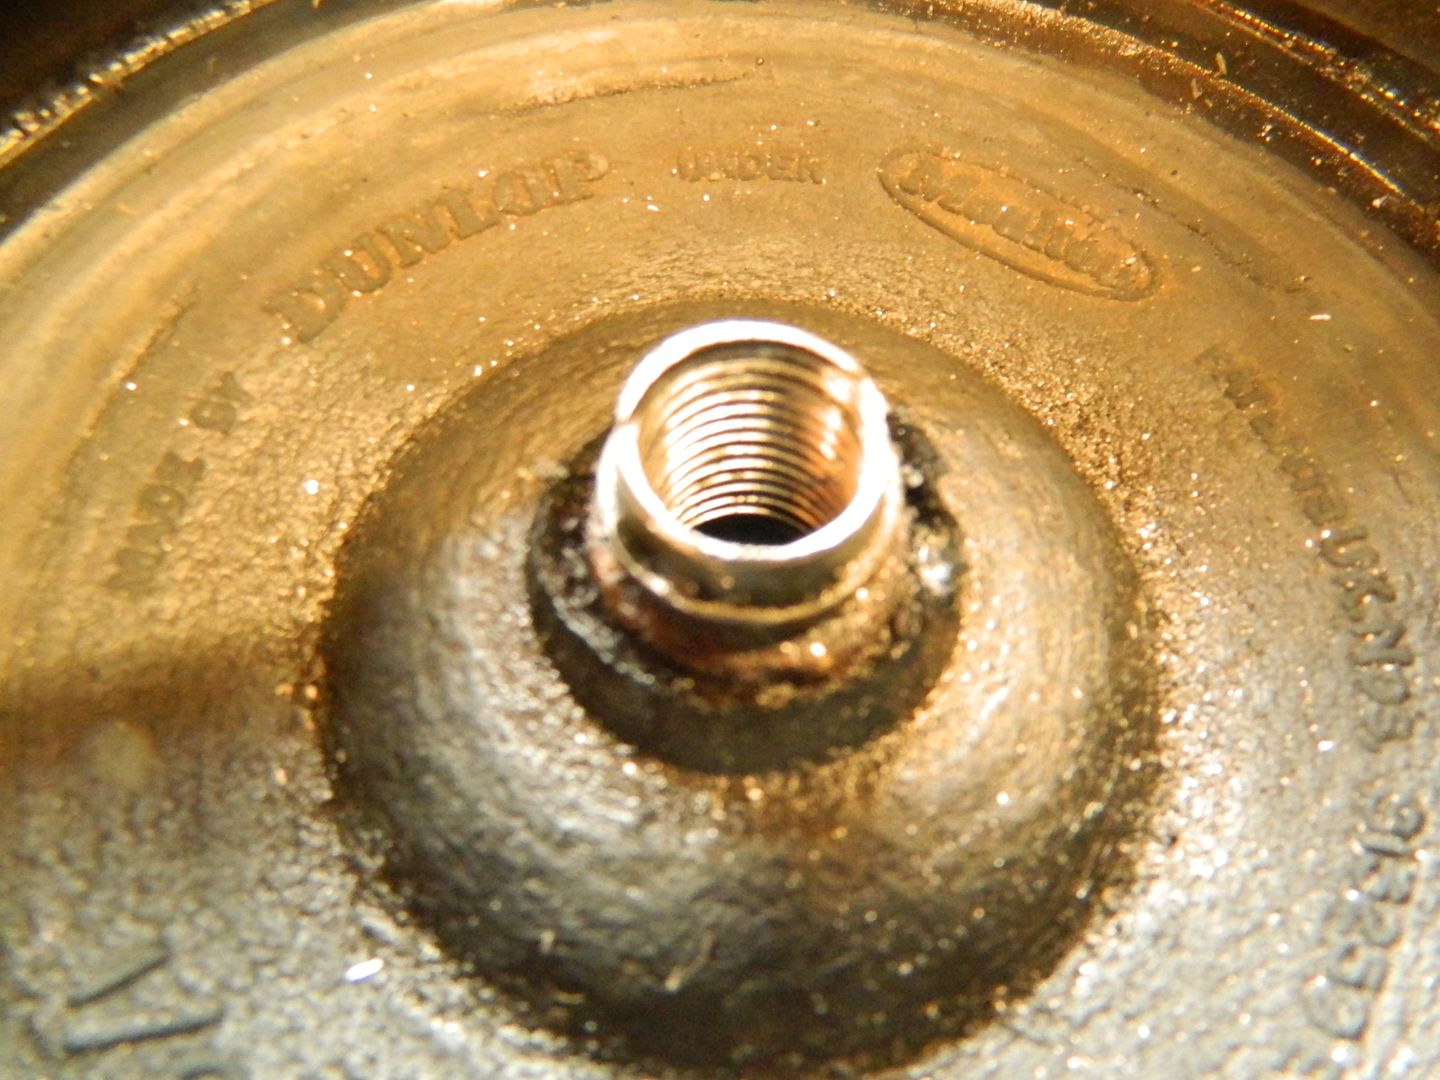 Stop for mug of tea and admire handiwork. 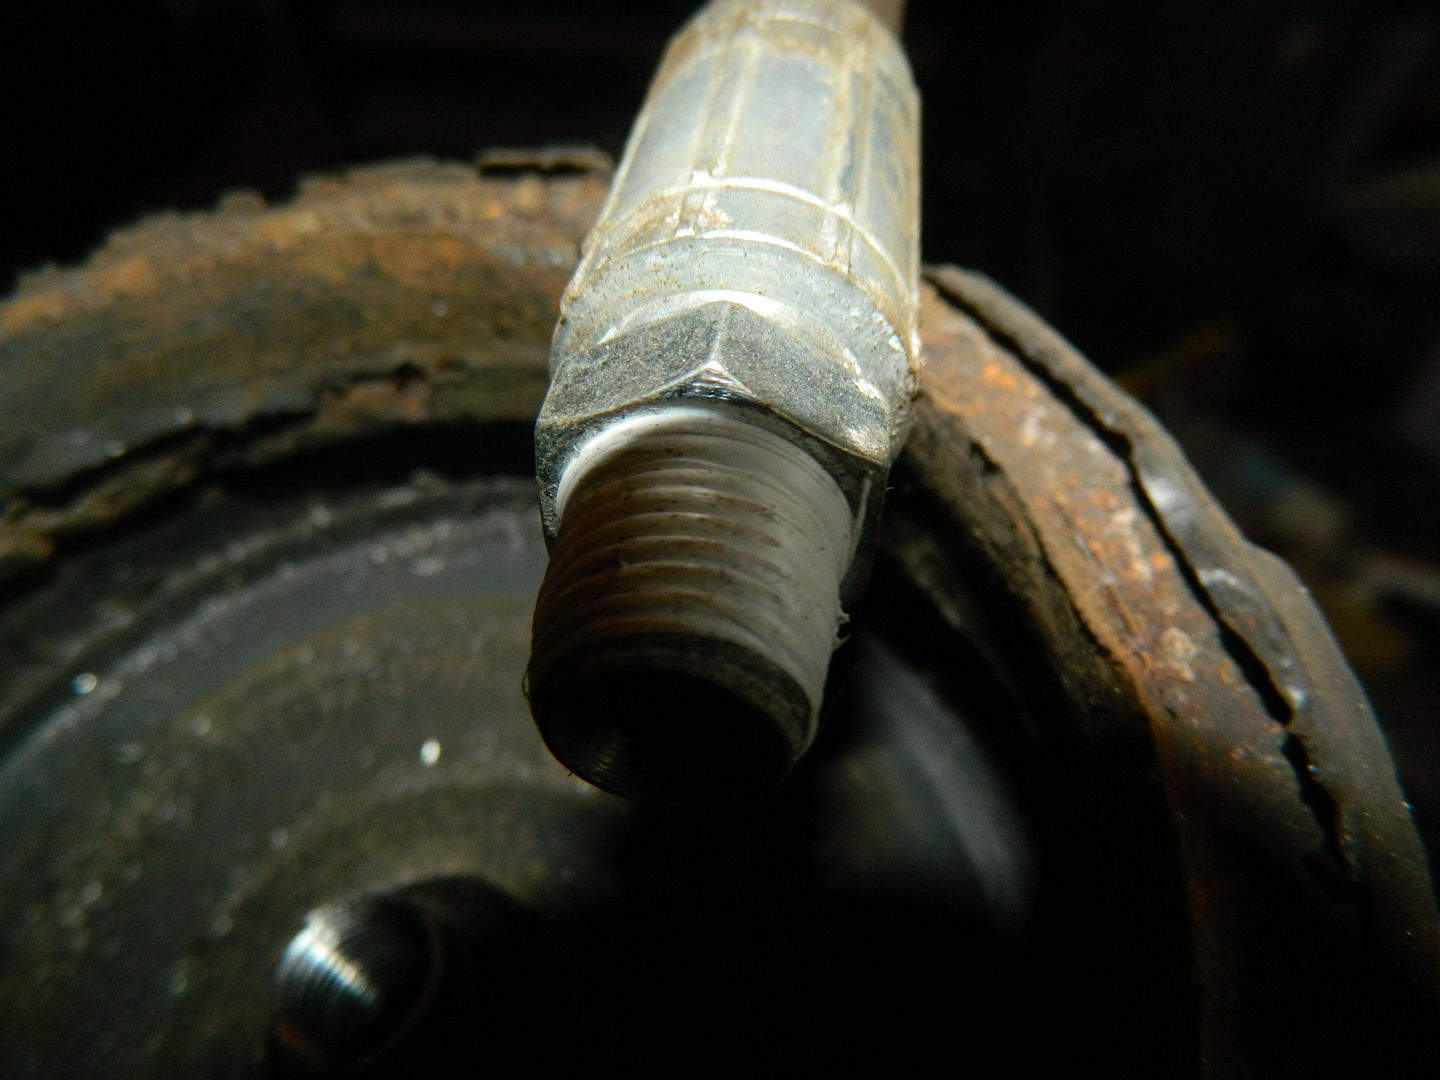 Hose ready for fitting. Copper crush washer to be fitted on the belt, bfraces and safety pins principle. 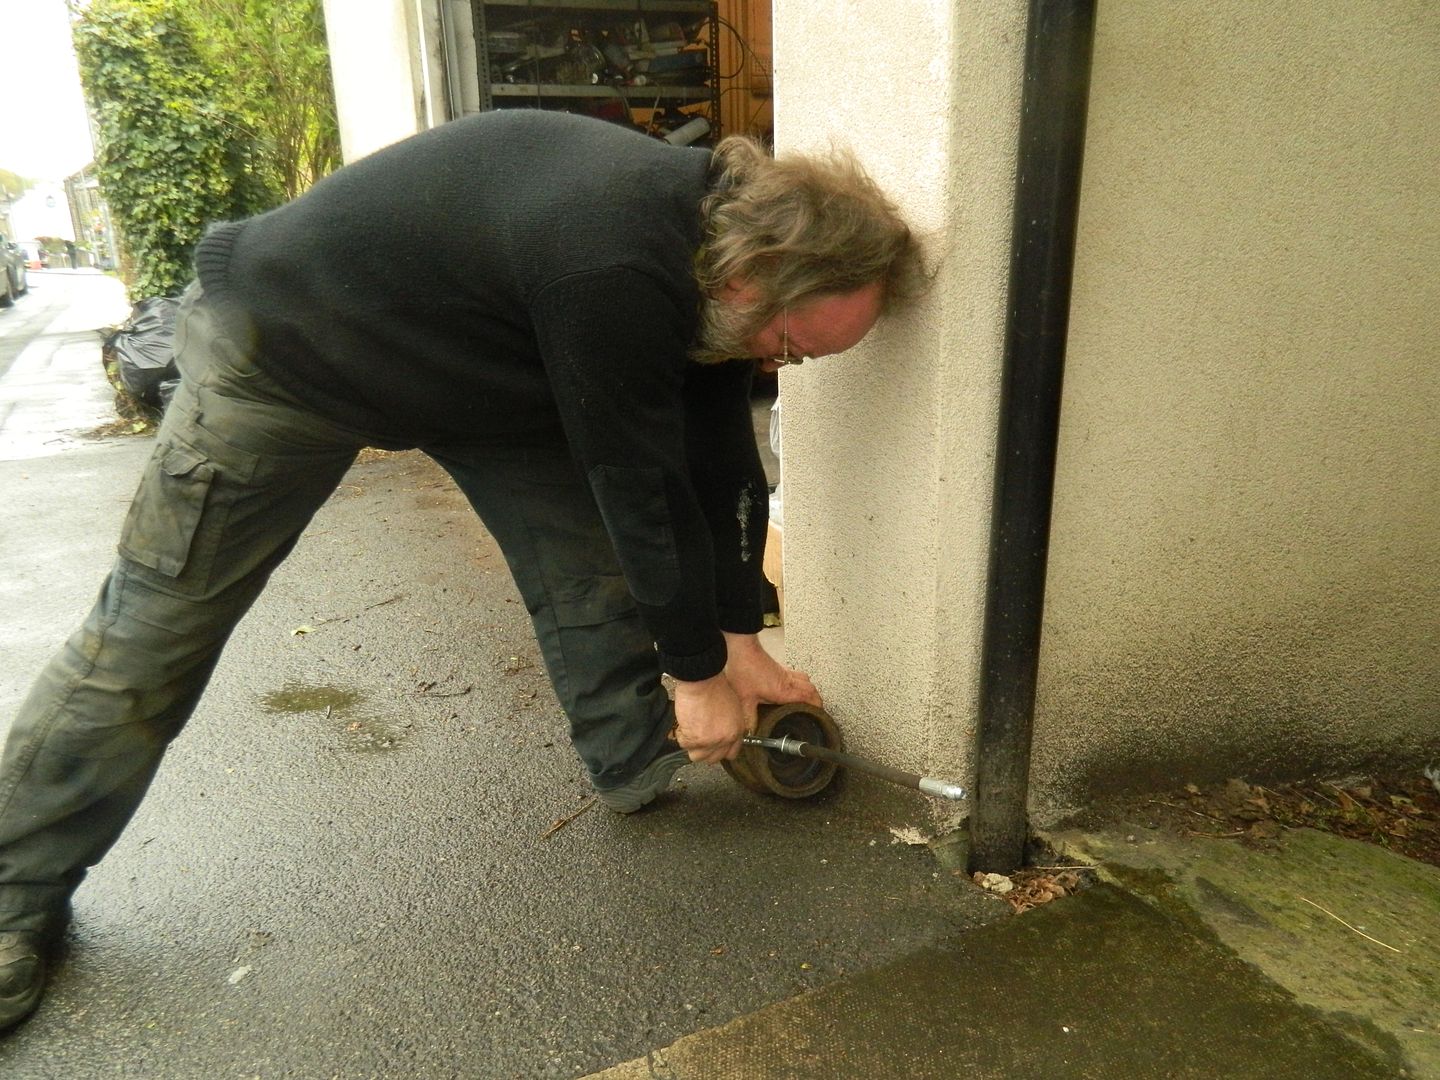 Adopt the [osition for serious hose tightening. 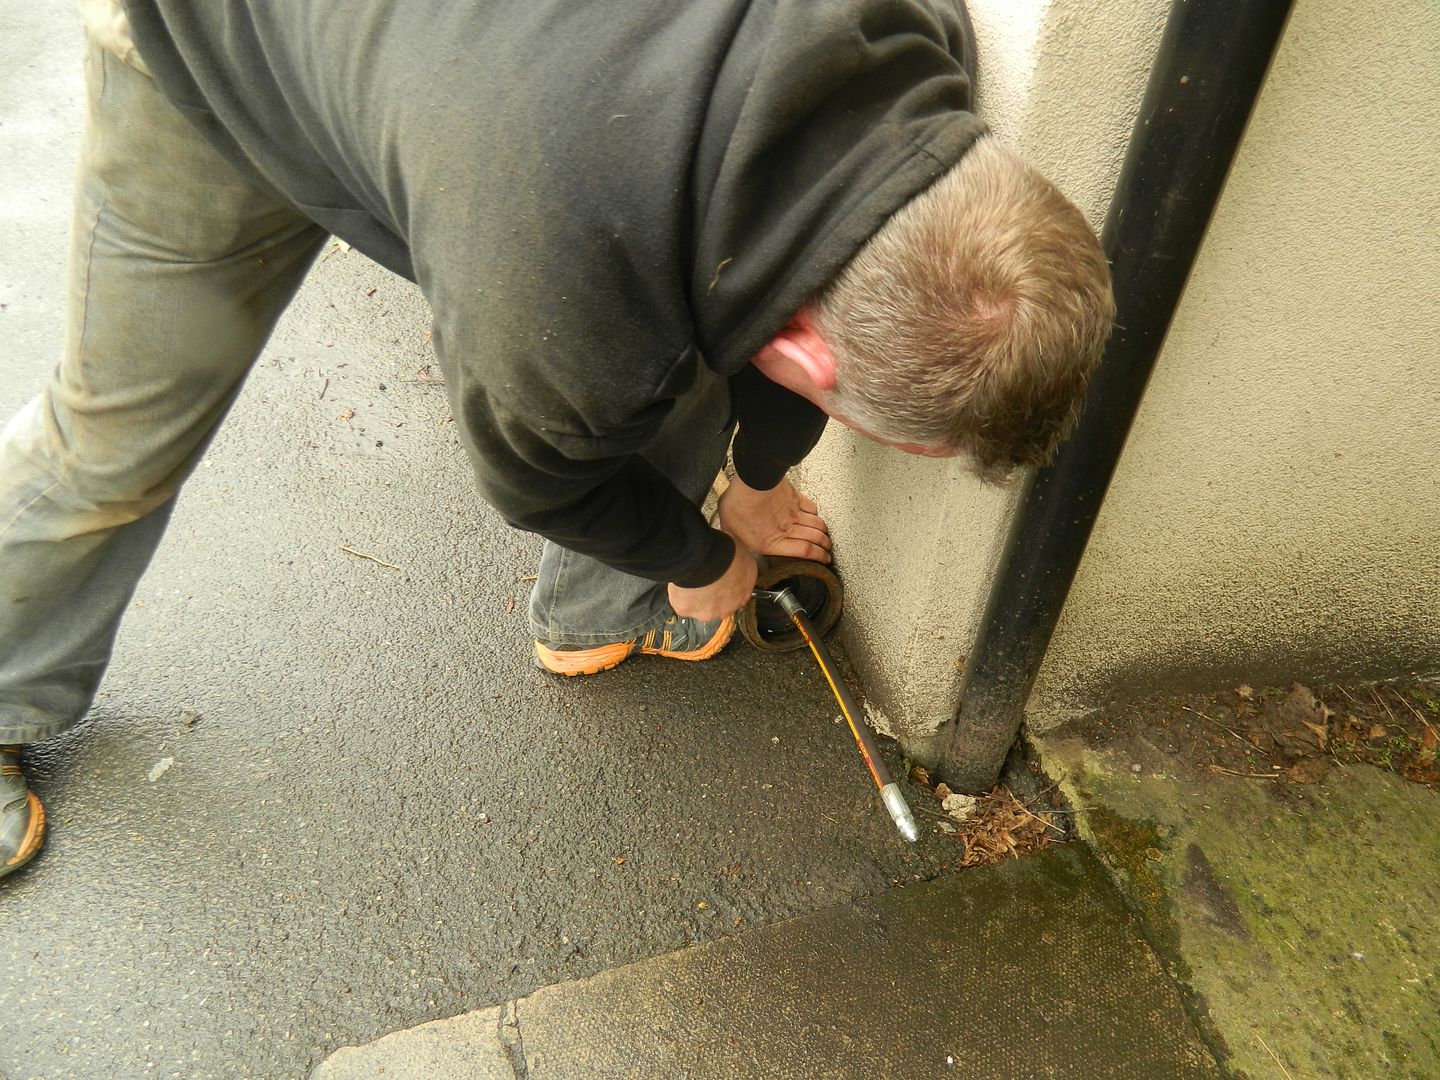 Get large mate Mark to give it an extra tweak. 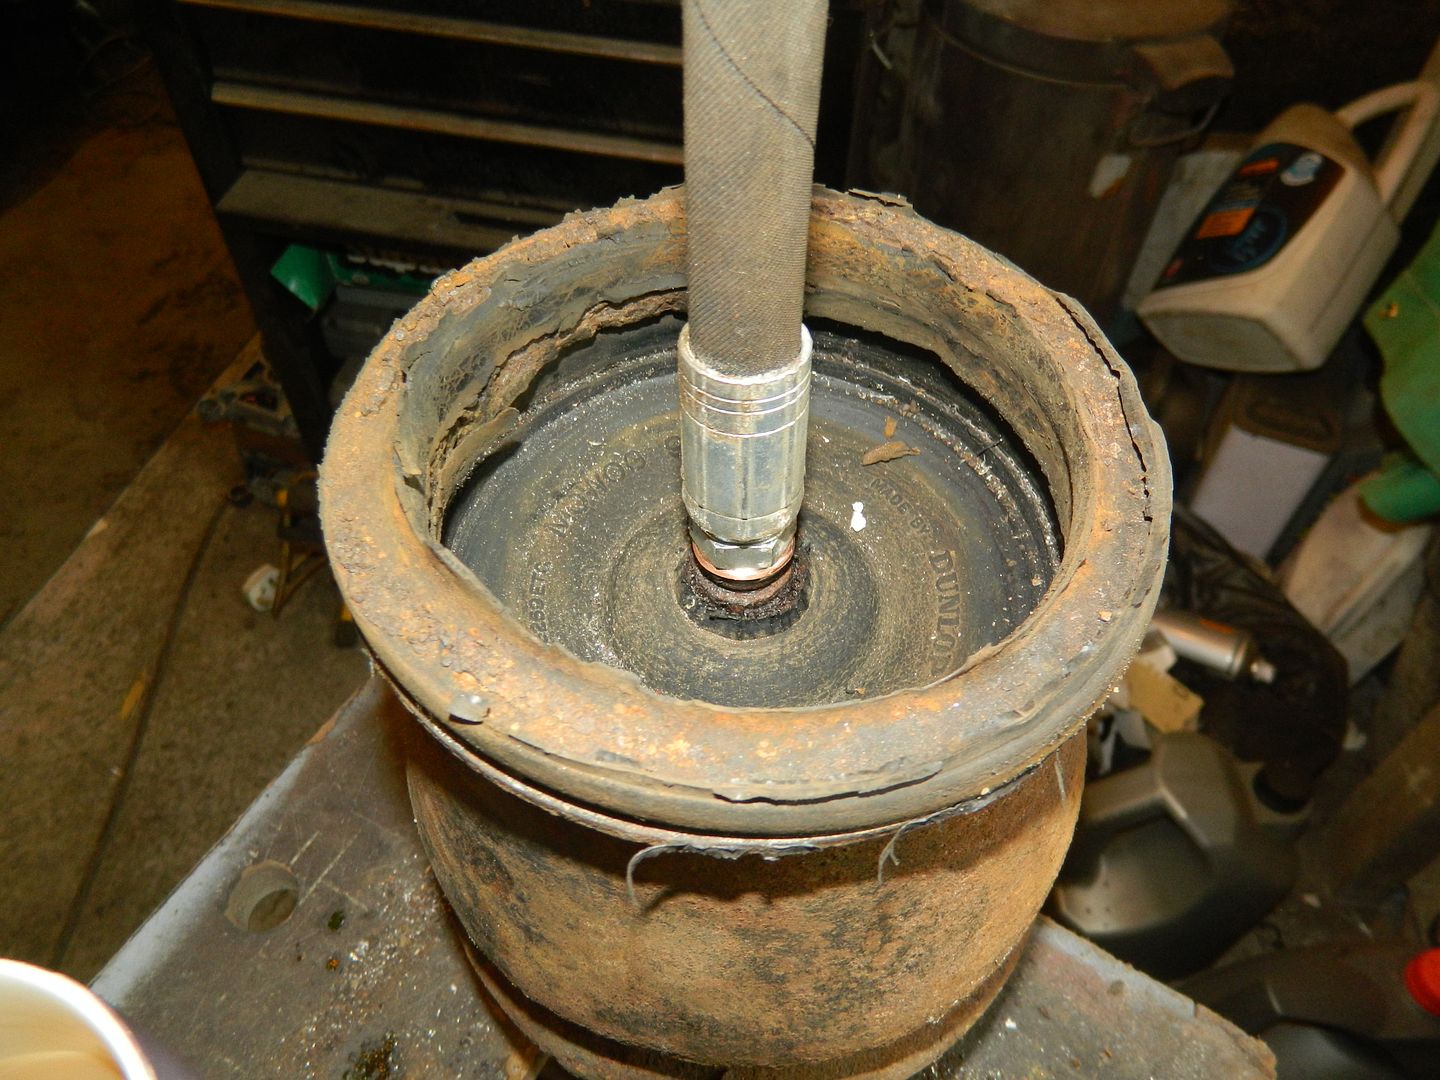 Lovely. P45. |
|
|
|
Post by penguin45 on Apr 23, 2017 23:55:34 GMT
So, it's all got to go back together. 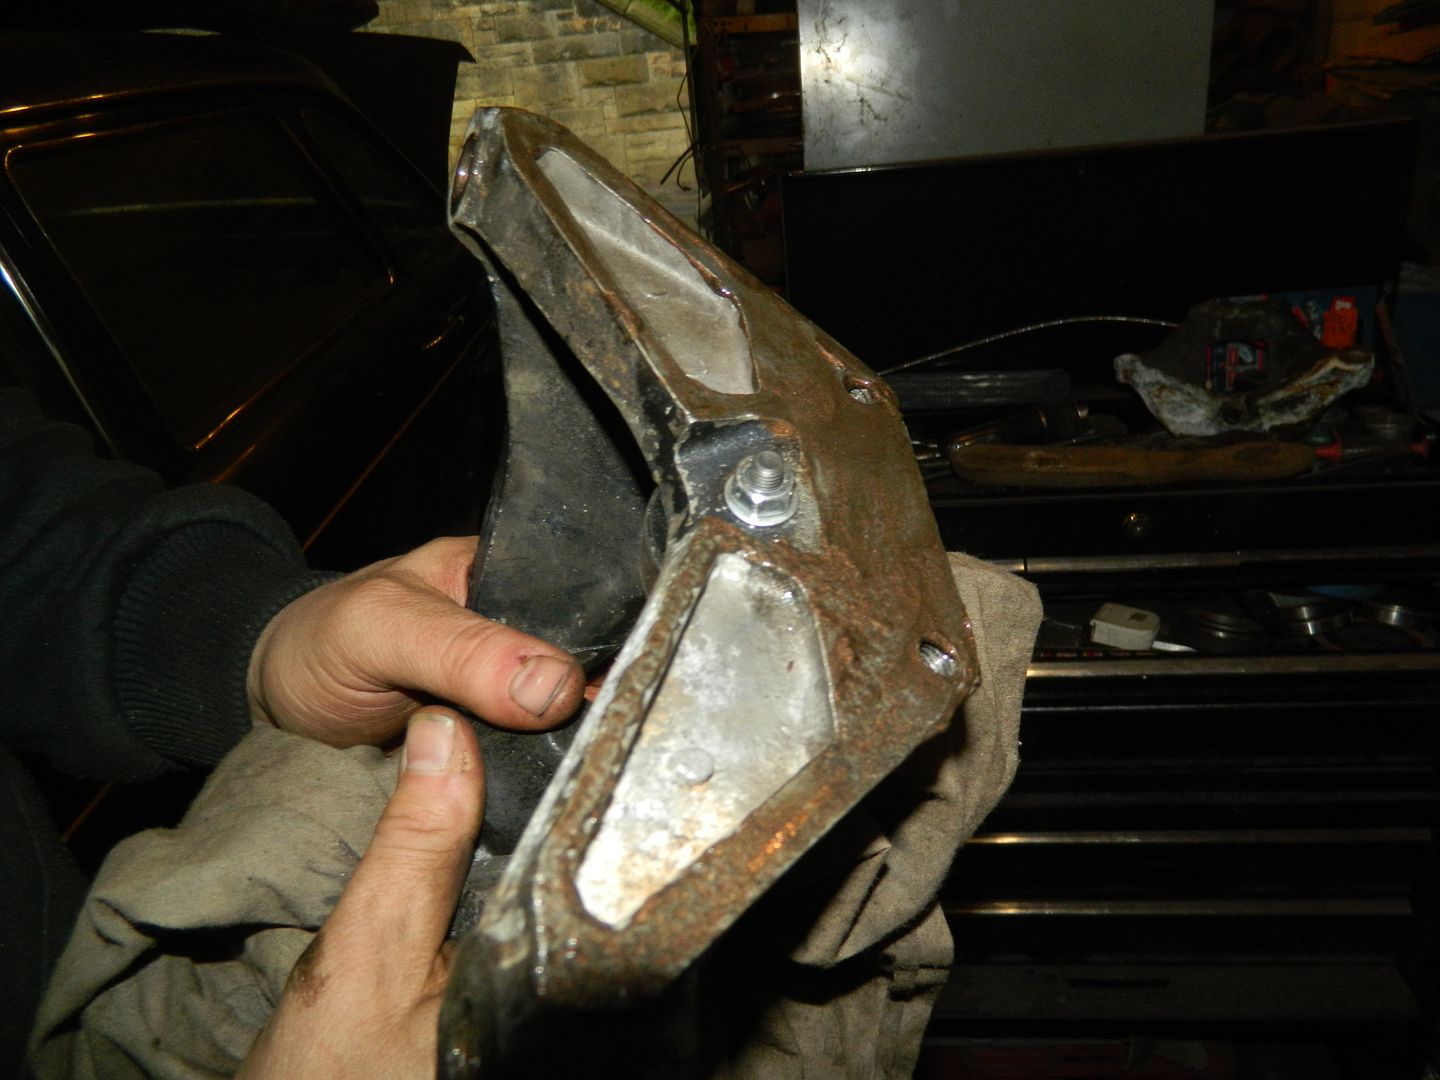 The last spare carrier I've got got slathered in copper slip on the facing surface. Being alloy, it wants to stick to the steel surface and rot. 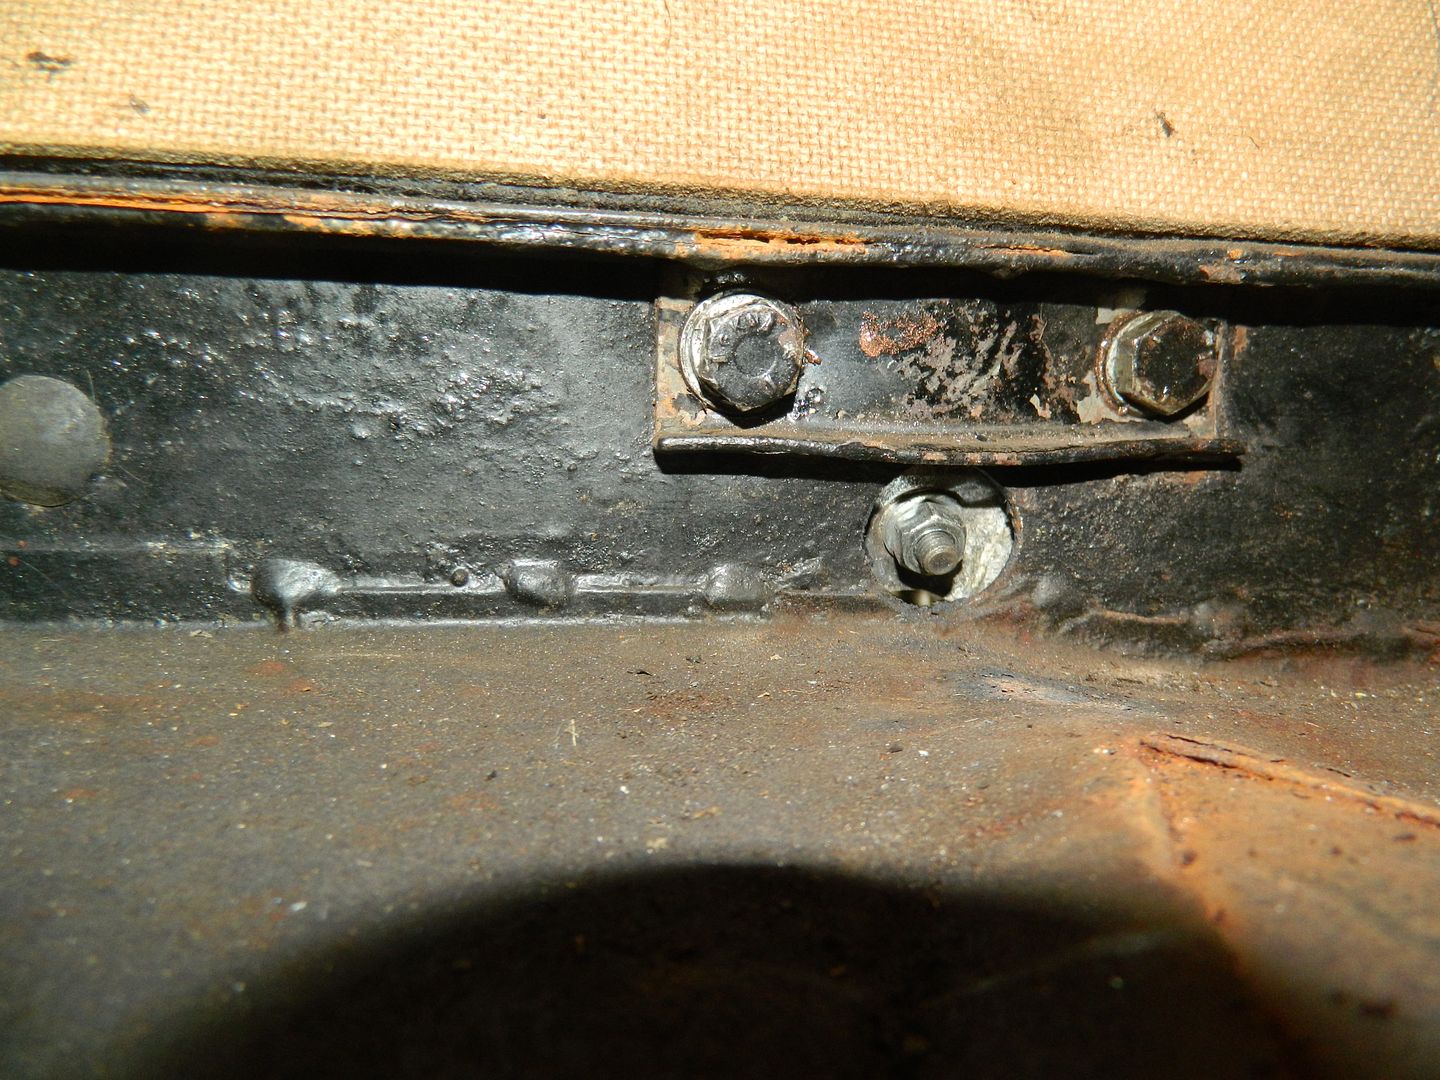 Bolted through under the seat back and: 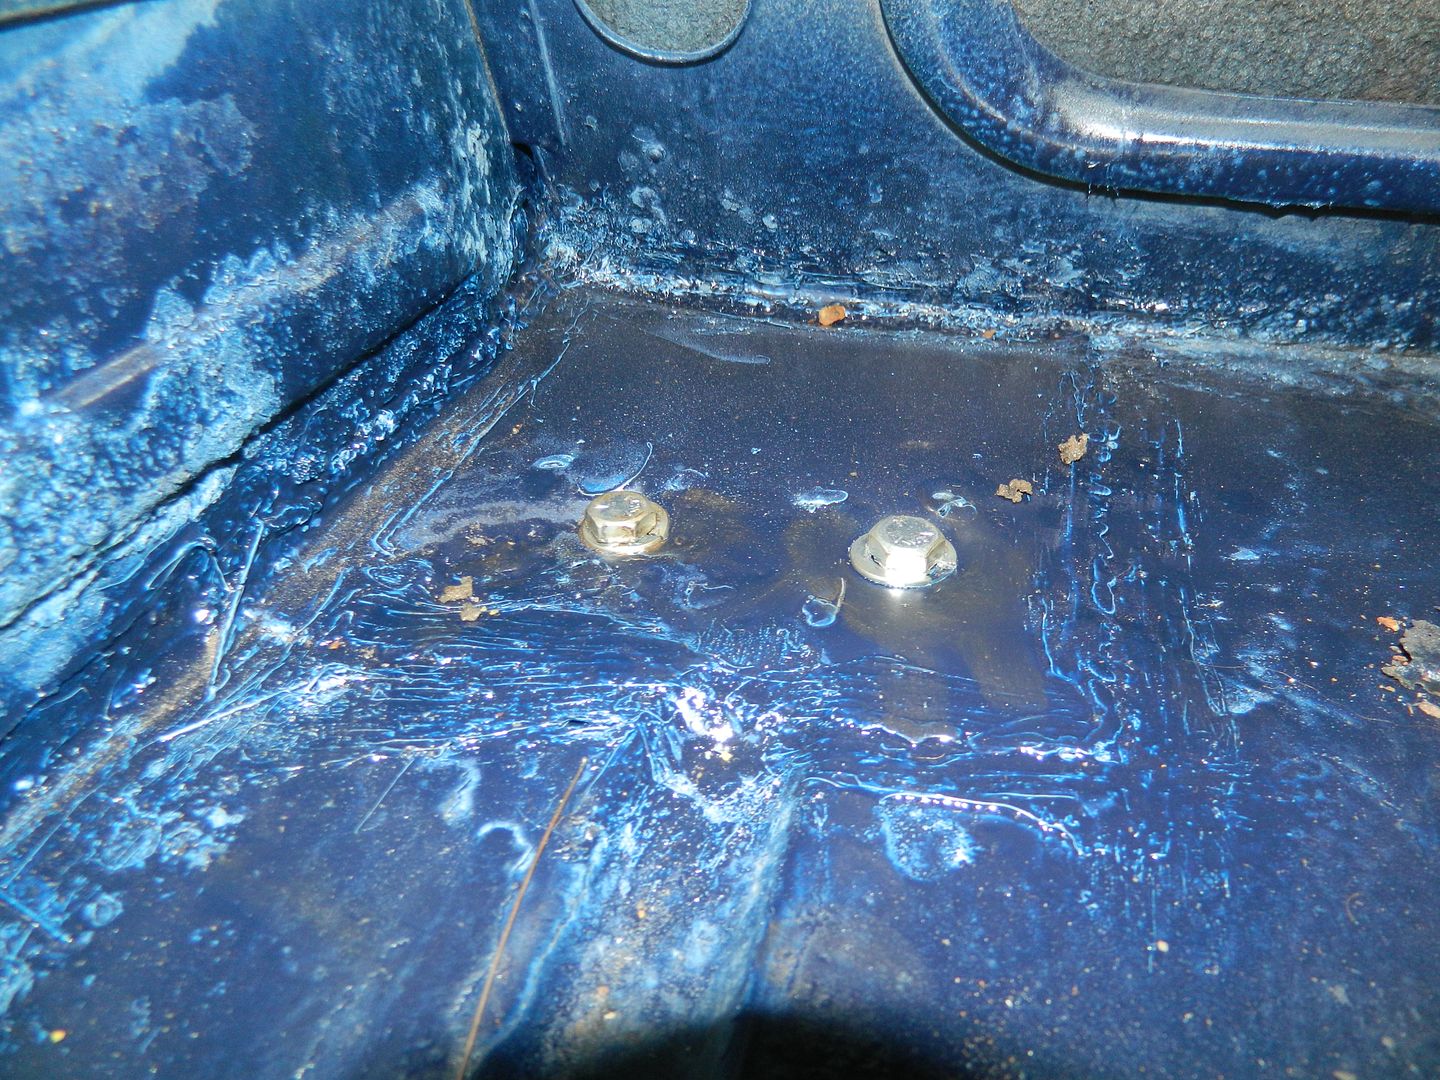 Through the boot floor. Interesting psychadelic effect with the camera flash! 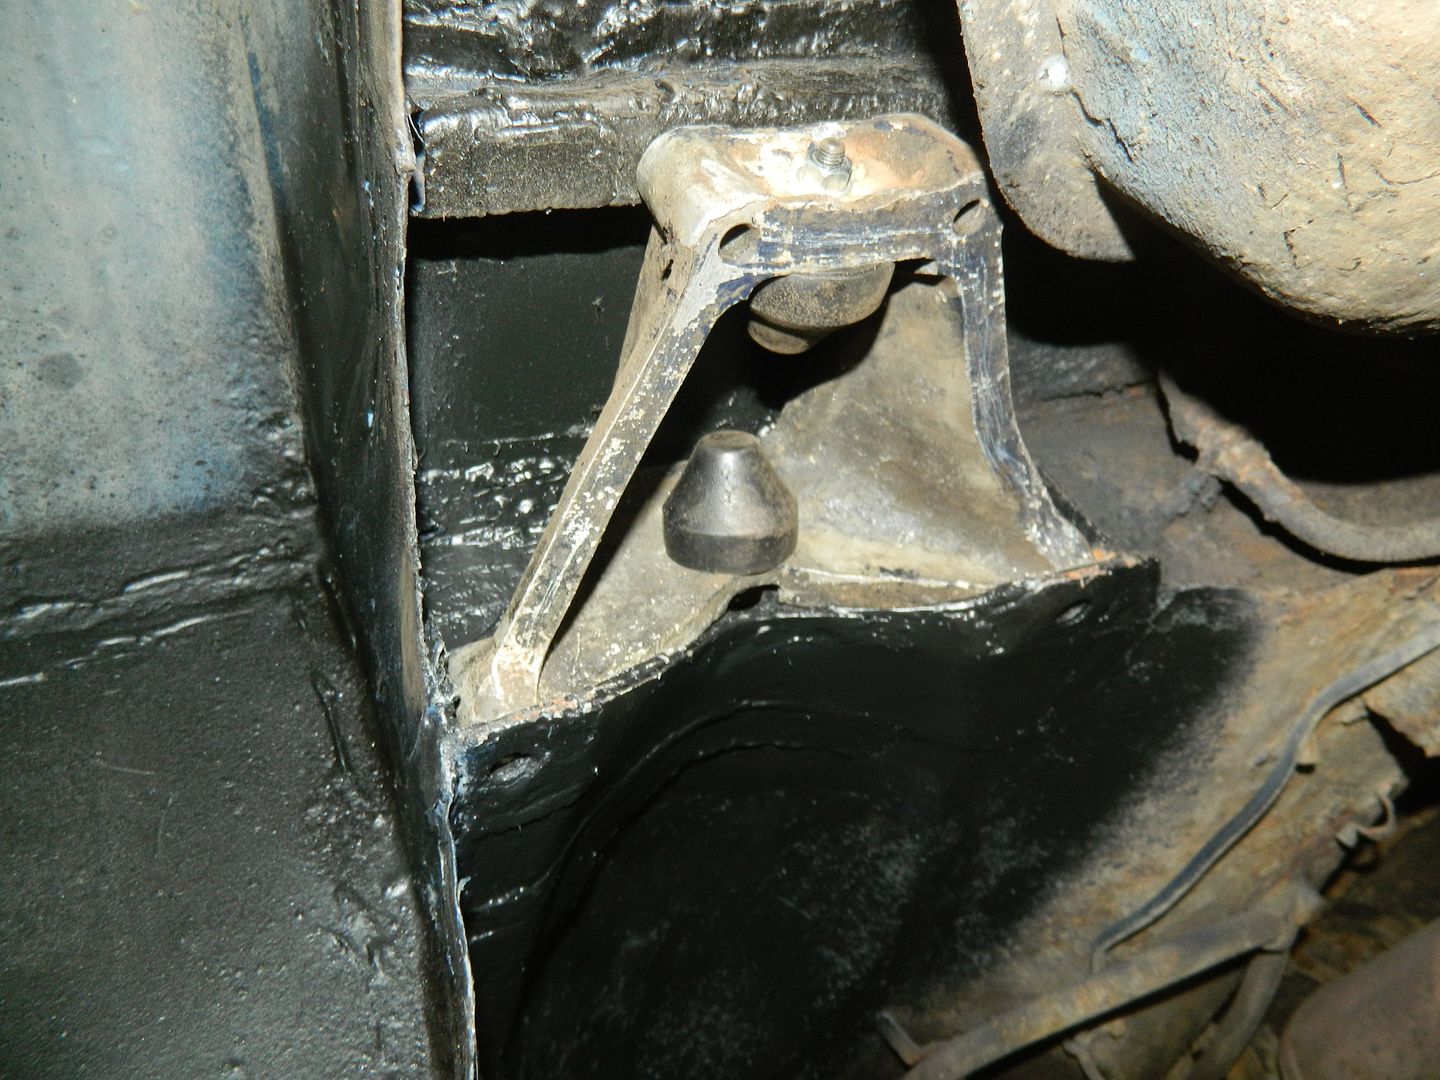 There it is, complete with nice big polyurethane bump stops. Suspension housing followed. 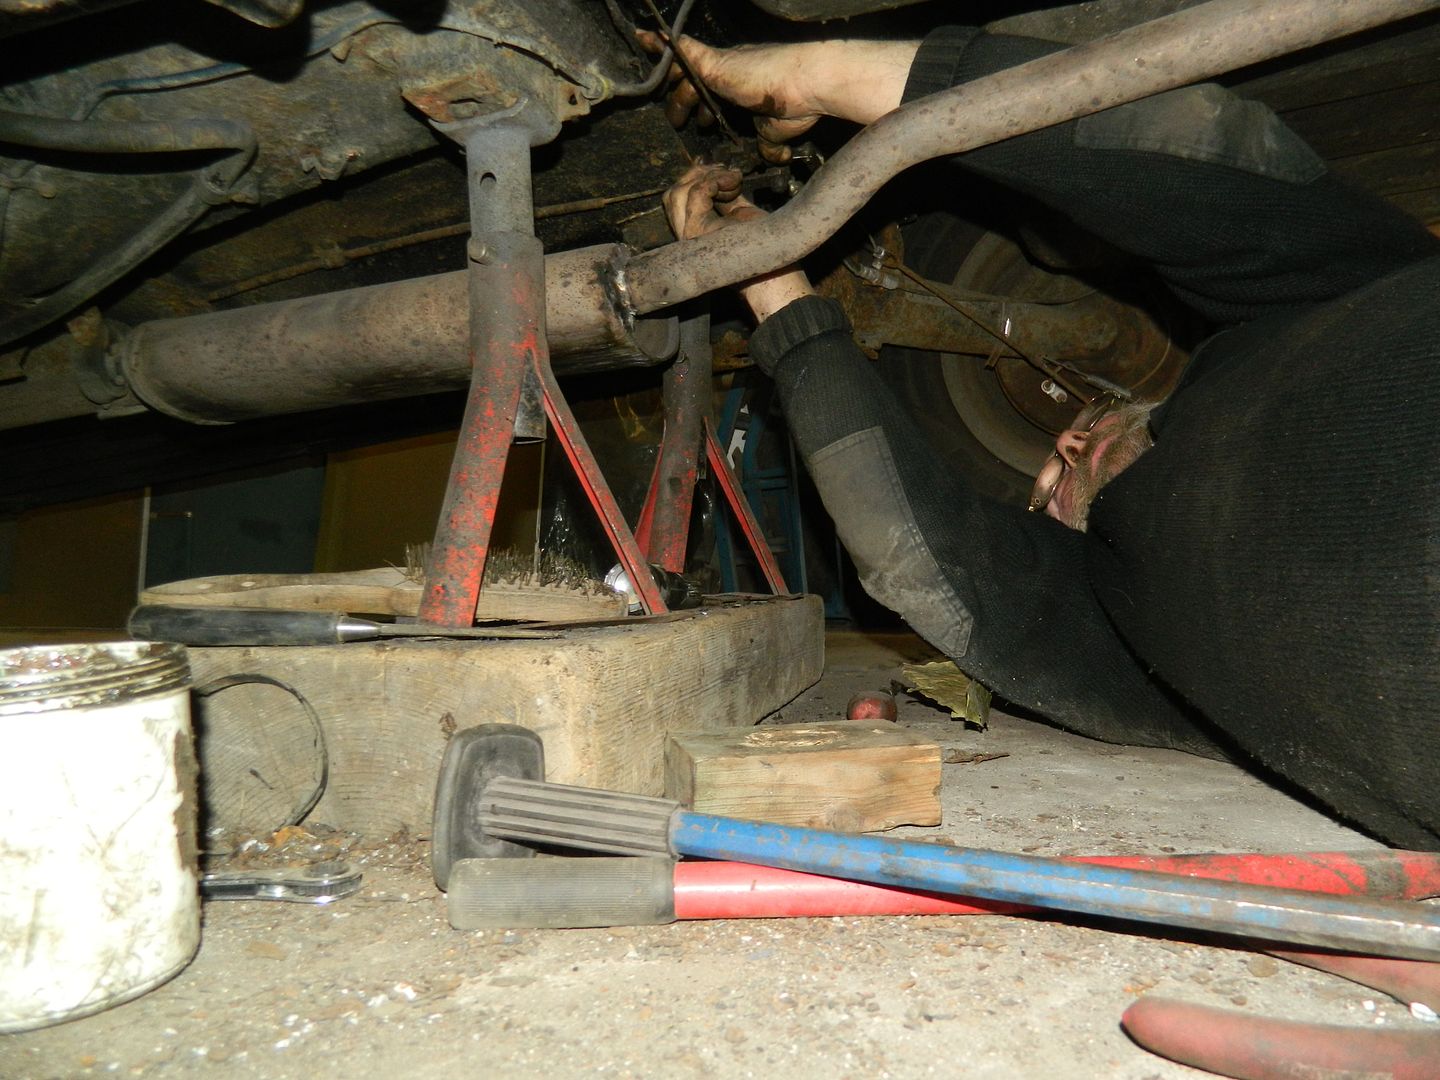 Reconnecting brake, handbrake and hydro line. Bounteous bad language...... So, thinking the job was done, we bled the brakes, re-set the handbrake and put the wheel back on before dropping her back on the floor. Got the pump out and blew up the hydrolastic system. Once ride height was achieved, Mark and I set about giving the car a right good bounce. Not having the proper Dalek, we can't evacuate the system. Bouncing the car violently will expel a lot of the air trapped in the displacers, which can them be bled off and the the car brought back to ride height. There was the most horrible cracking noise from the rear, on the other side. So, not going anywhere yet then.... P45. |
|
|
|
Post by penguin45 on Apr 24, 2017 0:27:55 GMT
Investigated the trailing arm on the off side. This showed play in the pivot bearing and a rather nasty rusty mark. So, deflate the suspension and drop the suspension housing. 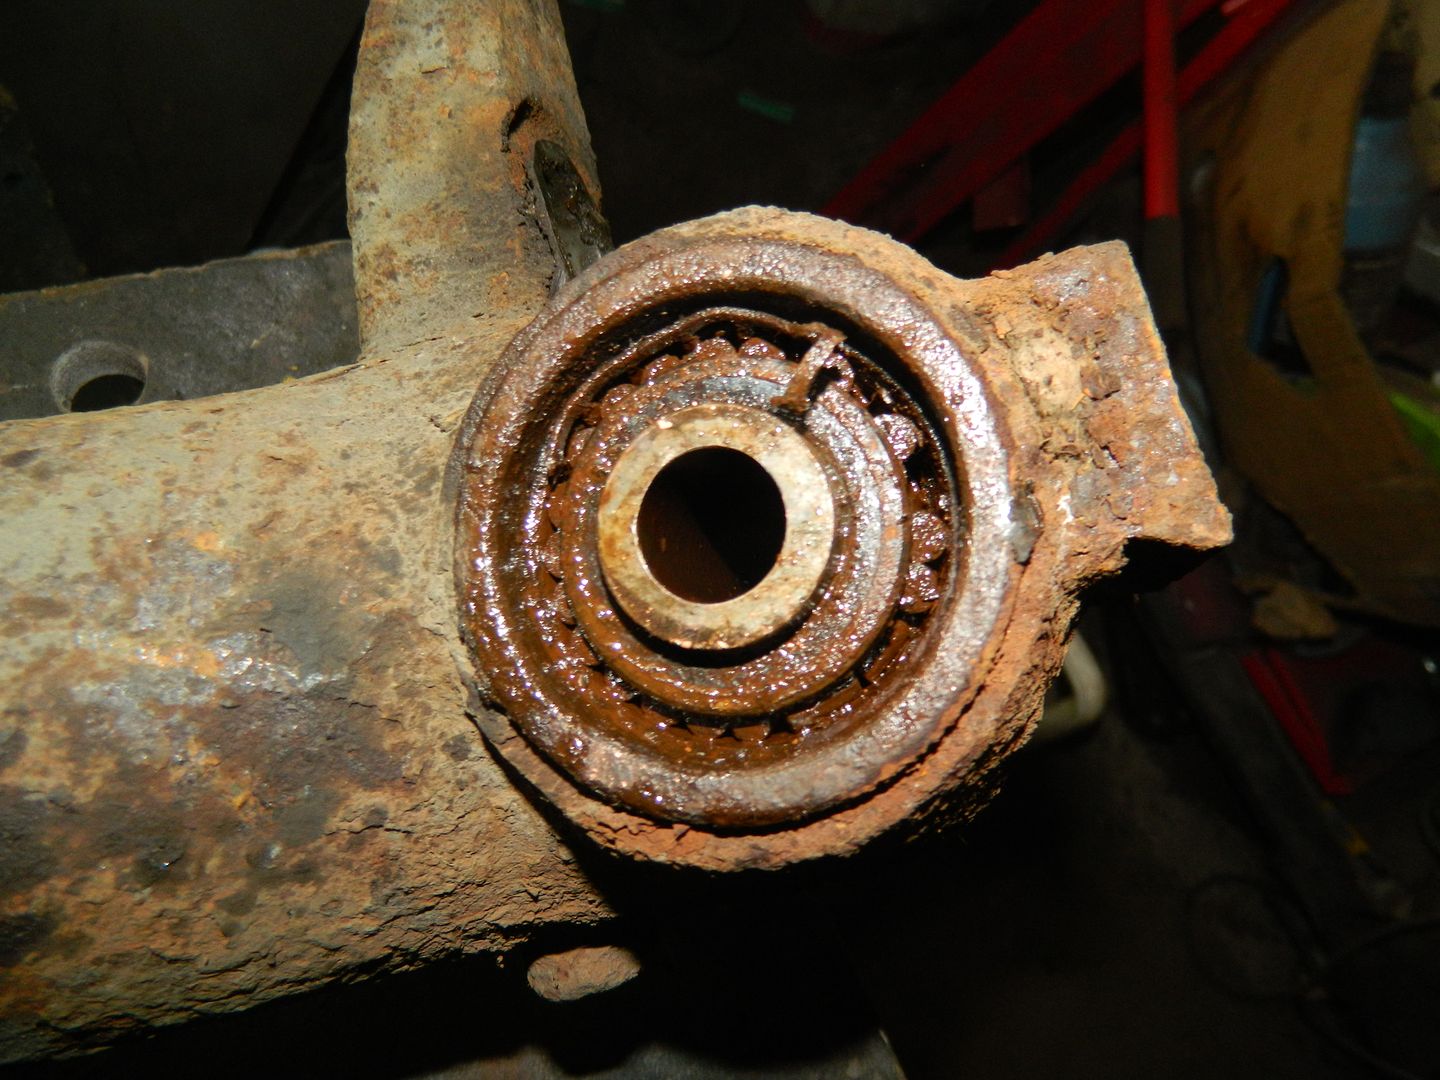 Removing the arm showed a badly damaged bearing with a broken cage - note the position of the rollers. An attempt to remove the bearing tube with a big copper hammer and a drift proved ineffective, so I dragged it over the road to visit Mick the Mustang. He's got a 10 tonne press.  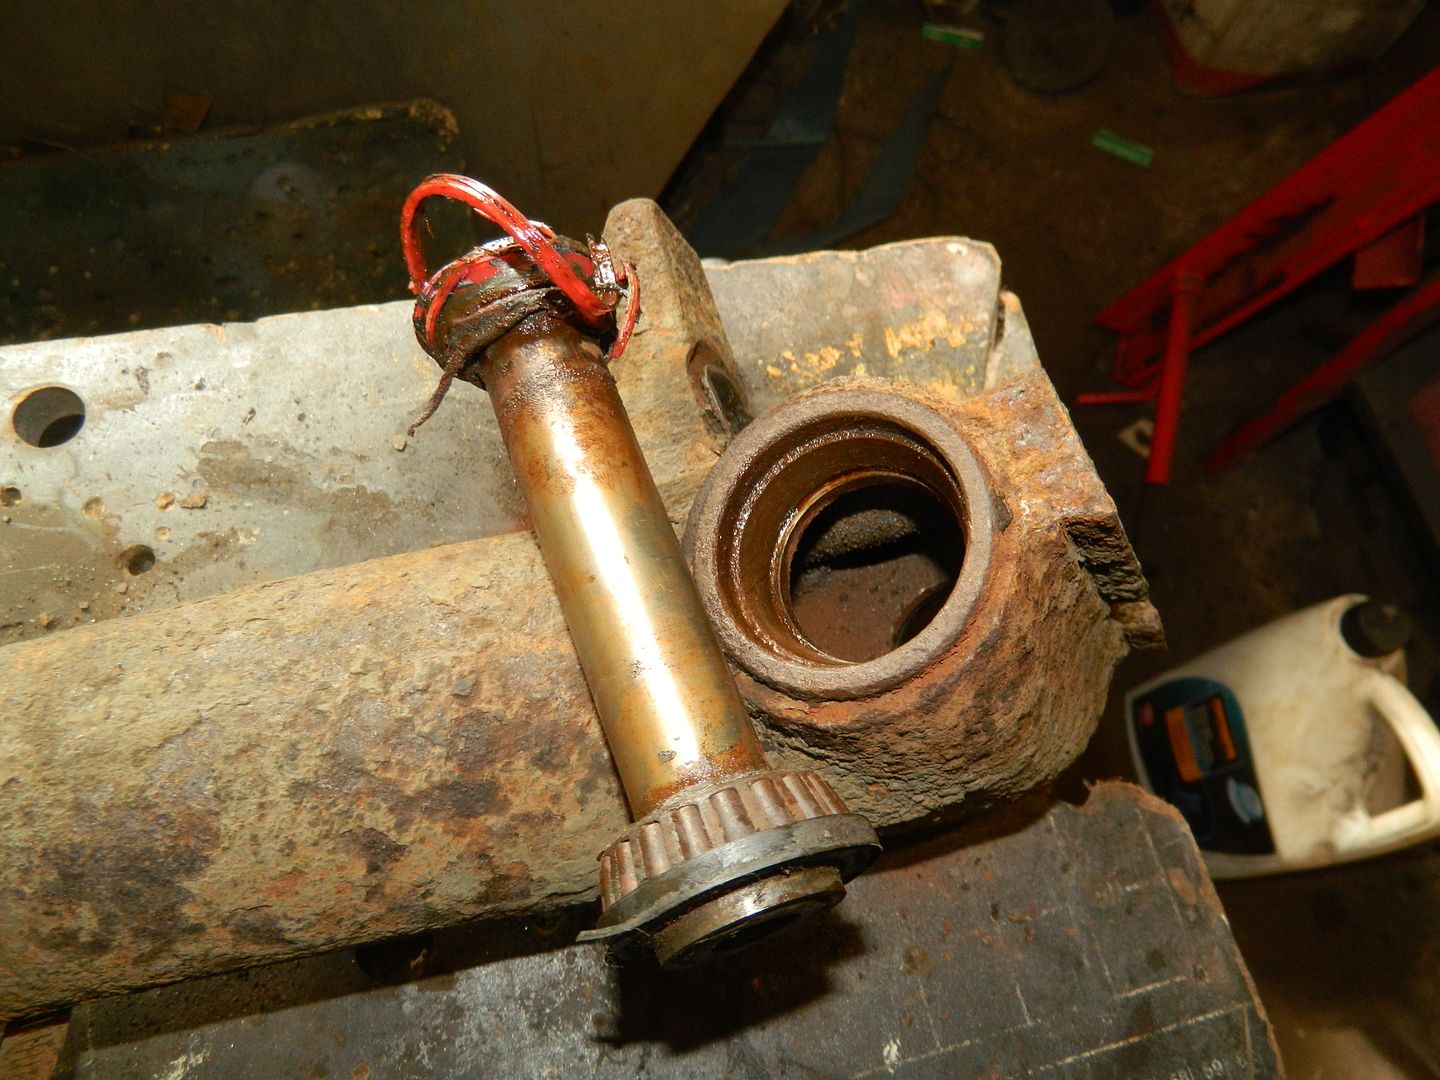 It let go at 6½ tonnes. I have no  what the red stuff is. Evidence of more previous bodgery. 14 years ownership and I'm still finding stuff. 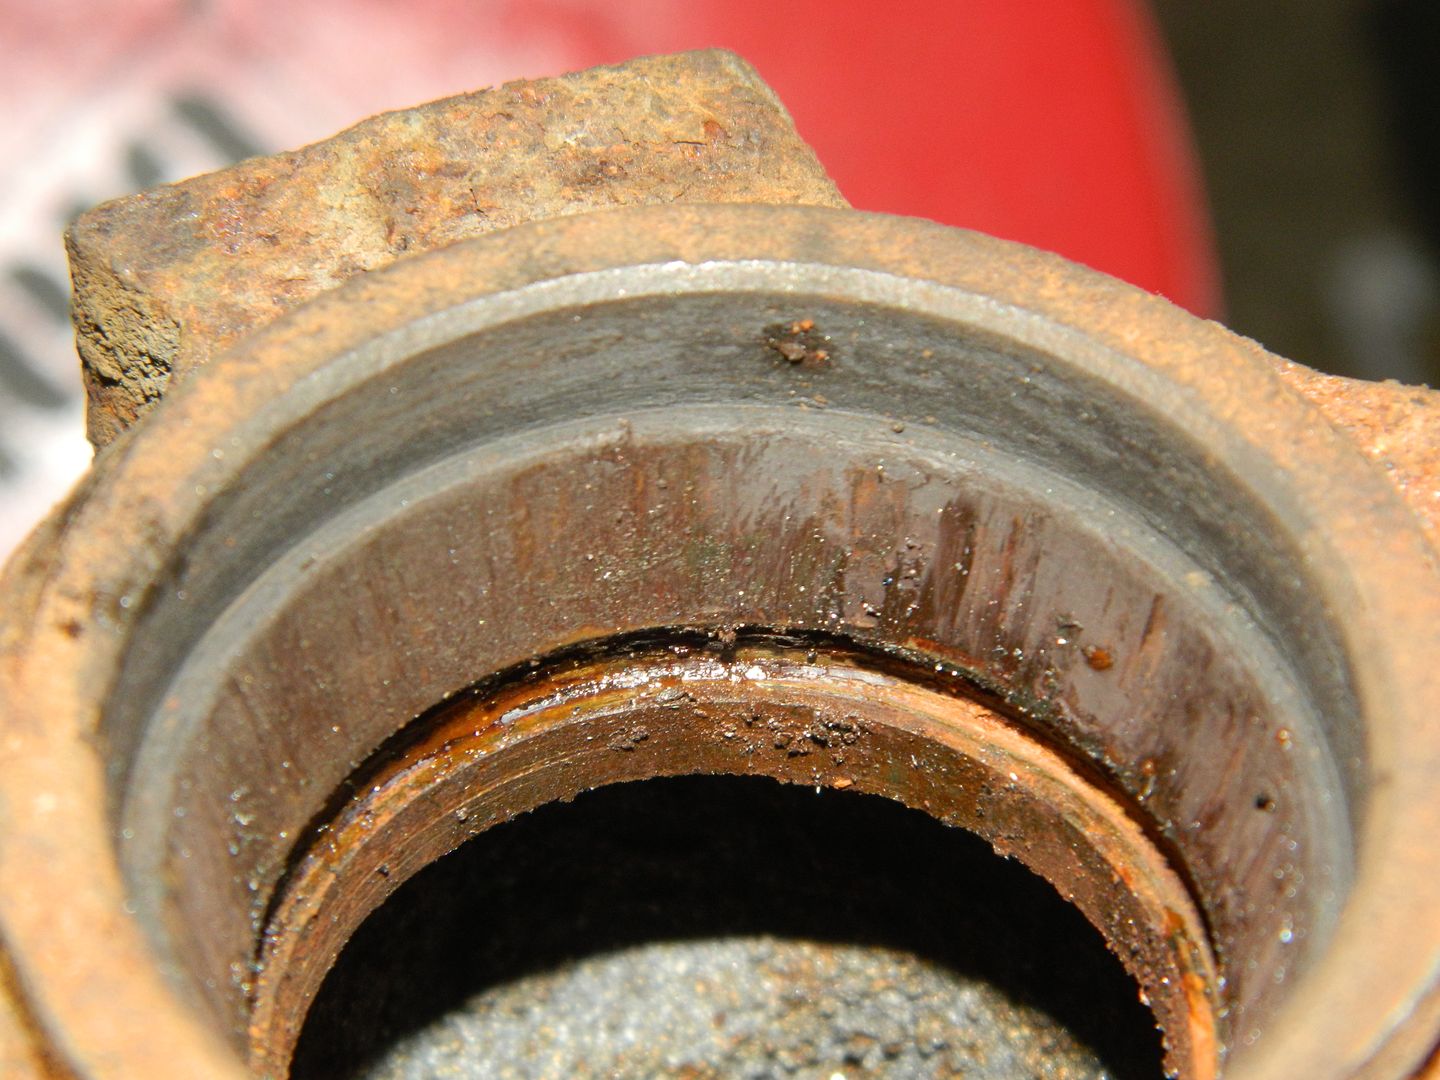 Races show clear signs of brinelling. This is grooves worn through the hardening by the rollers on bearings with little rotation. Reading the WM suggested that I needed no less that four BMC special tools in order to remove the inner races.. A search of the garage revealed none of them, so I used the die grinder to cut each race in half, so that they fell out. 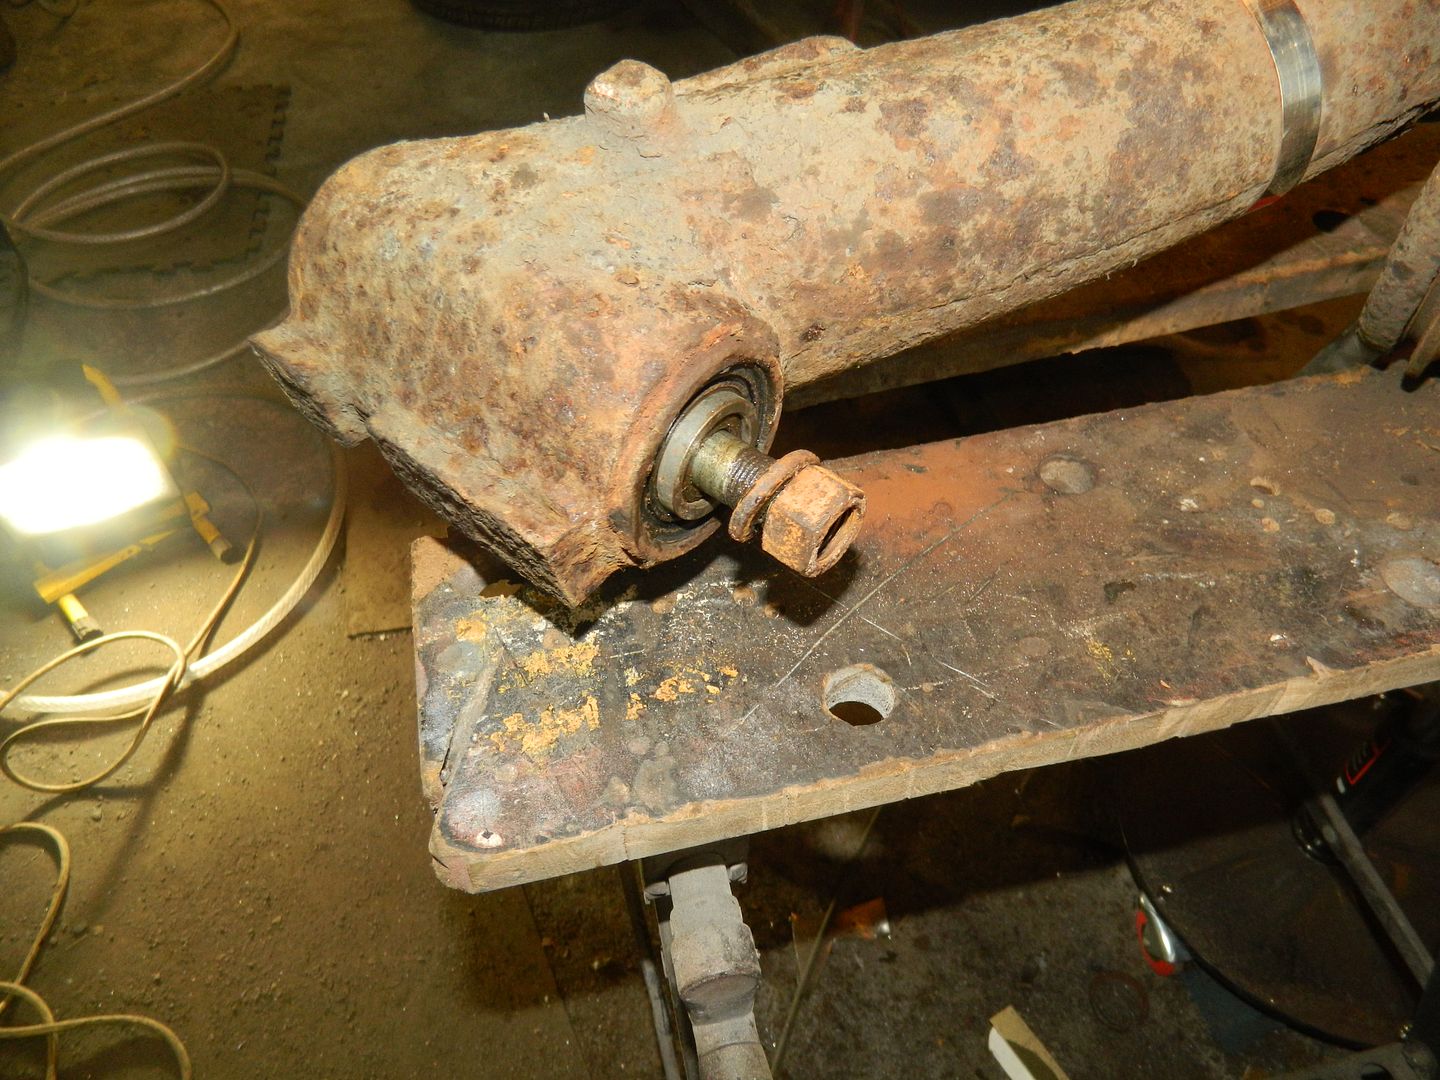 New bearings, tube and spacers. This eliminates the first possible source of the "clack". Housing cleaned up and being rust treated. Now all painted. What else then? 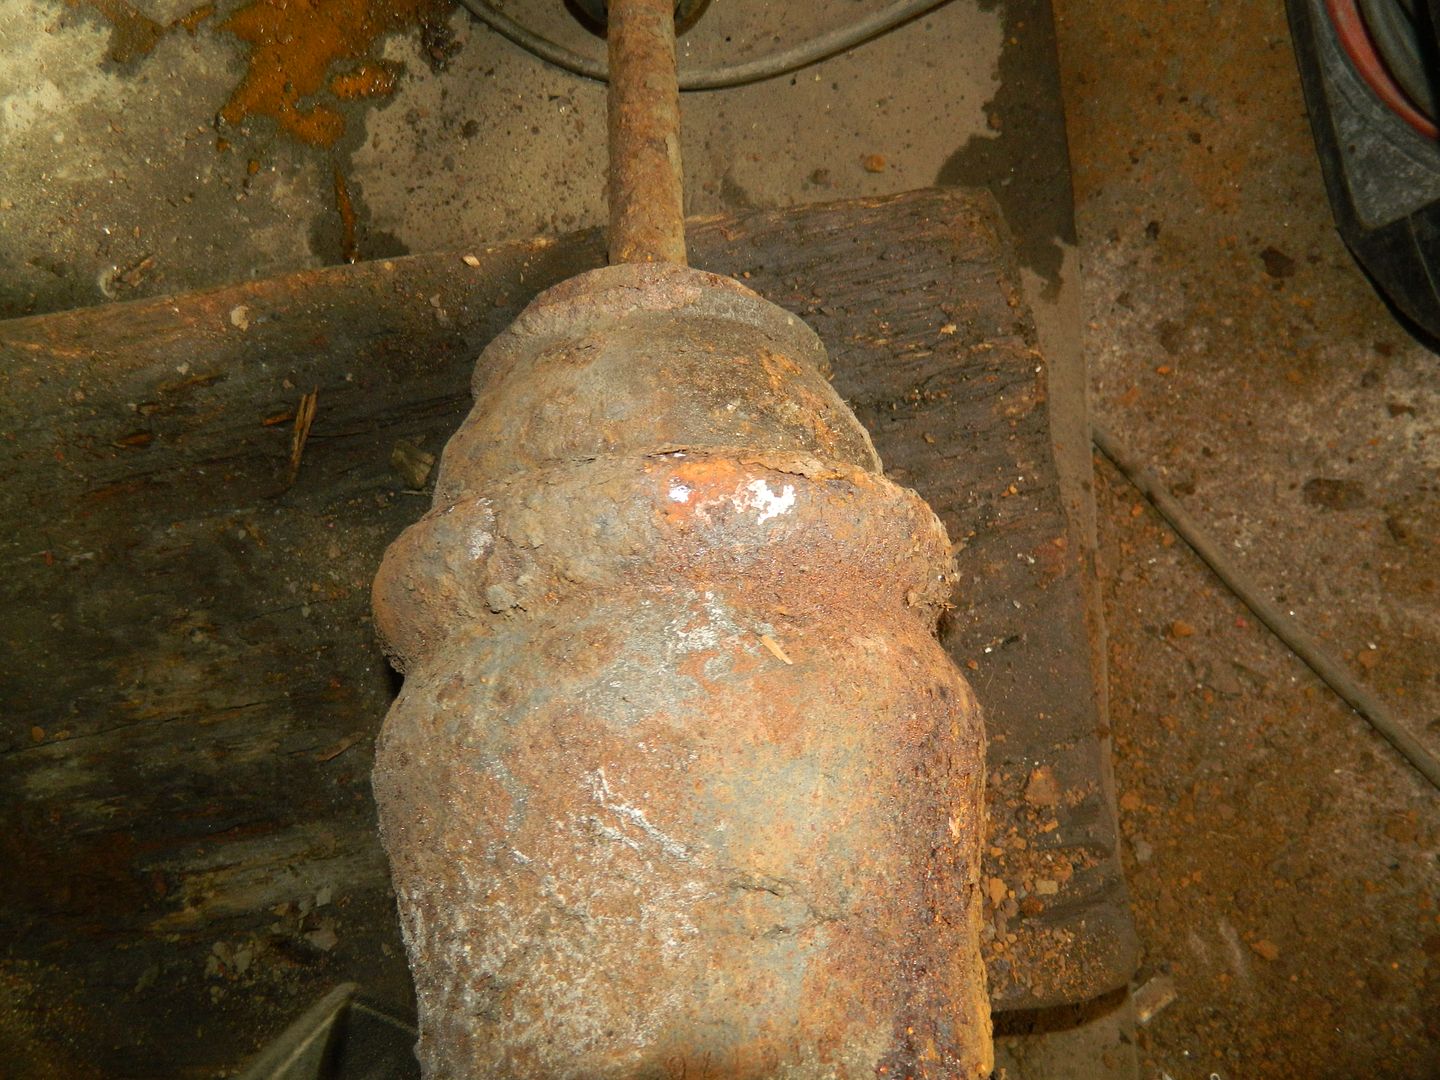 Displacer was sat cock-eyed in the housing. You can see the witness mark in the pic. This turned out to be the rubber faced support ring being badly rusted and distorted. So that got cleaned up and re-rusted, as did the displacer itself and the push rod. 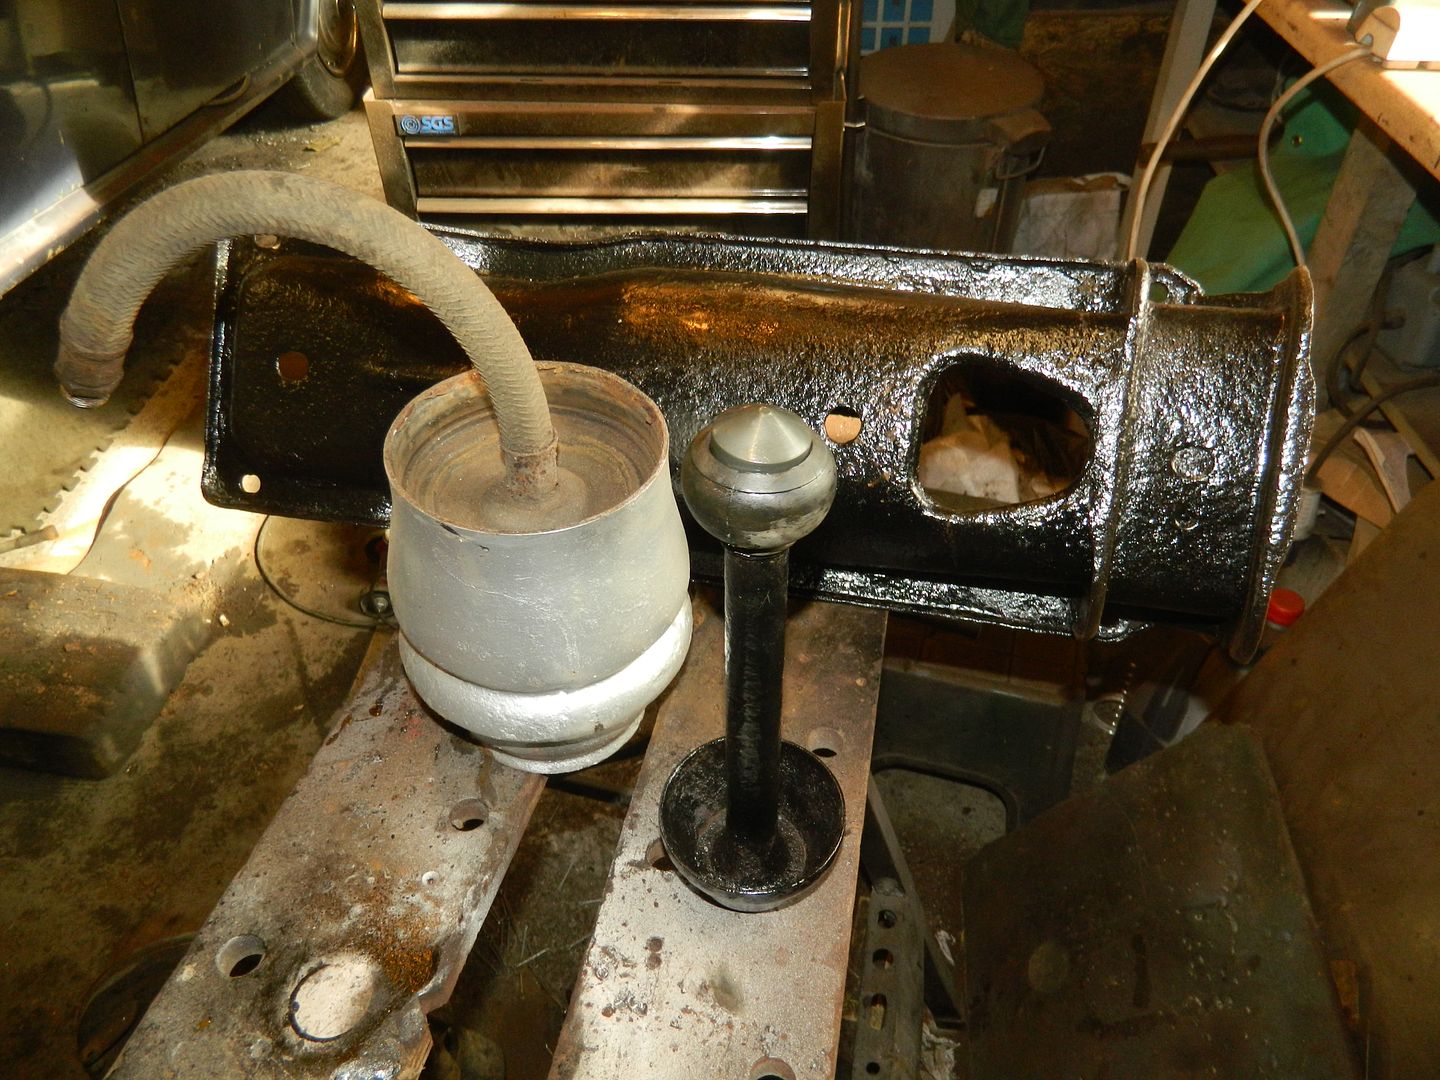 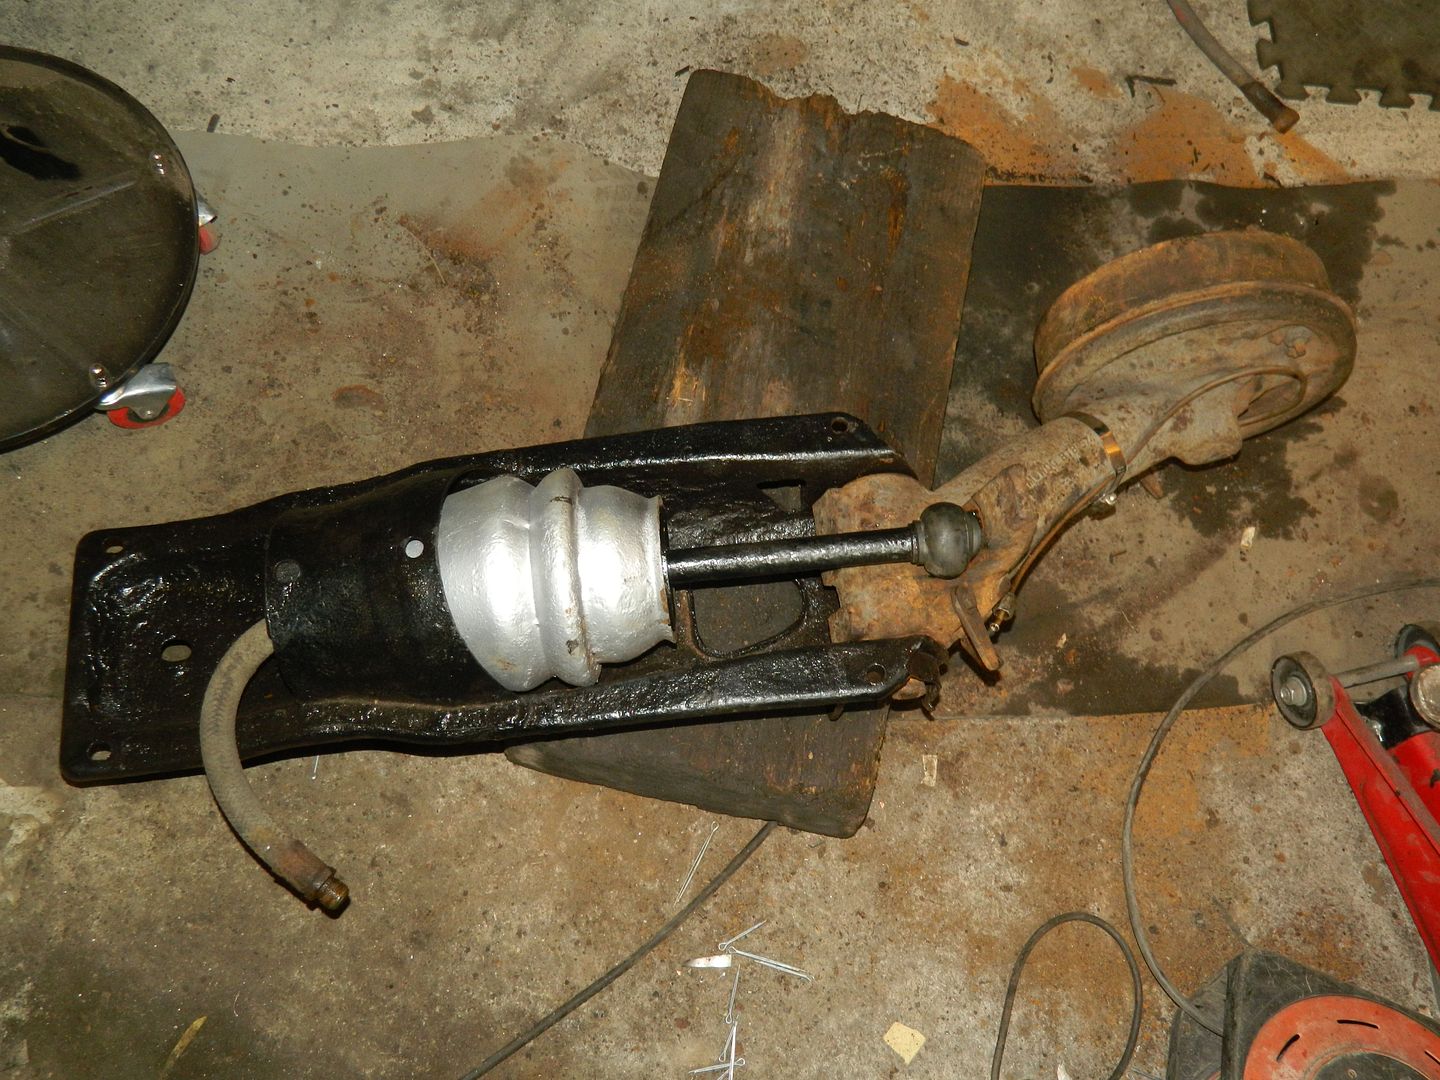 New cup and boot on the pushrod knuckle and I was going to refit it, when I got, shall we say, bullied by my chums over on the Landcrab forum. 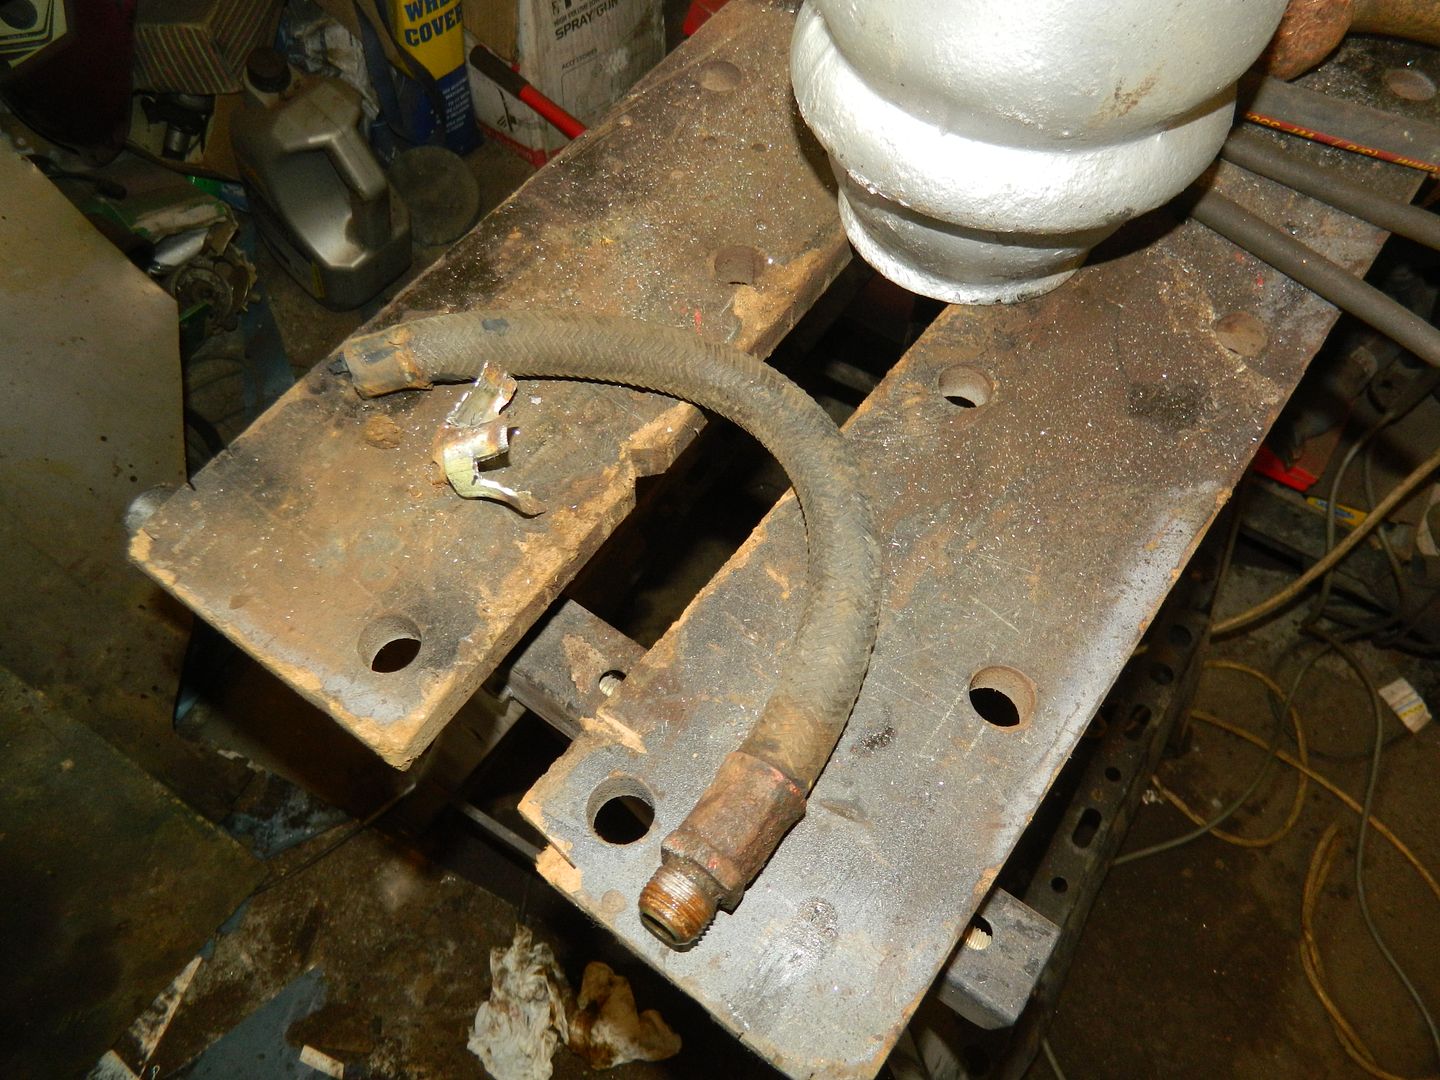 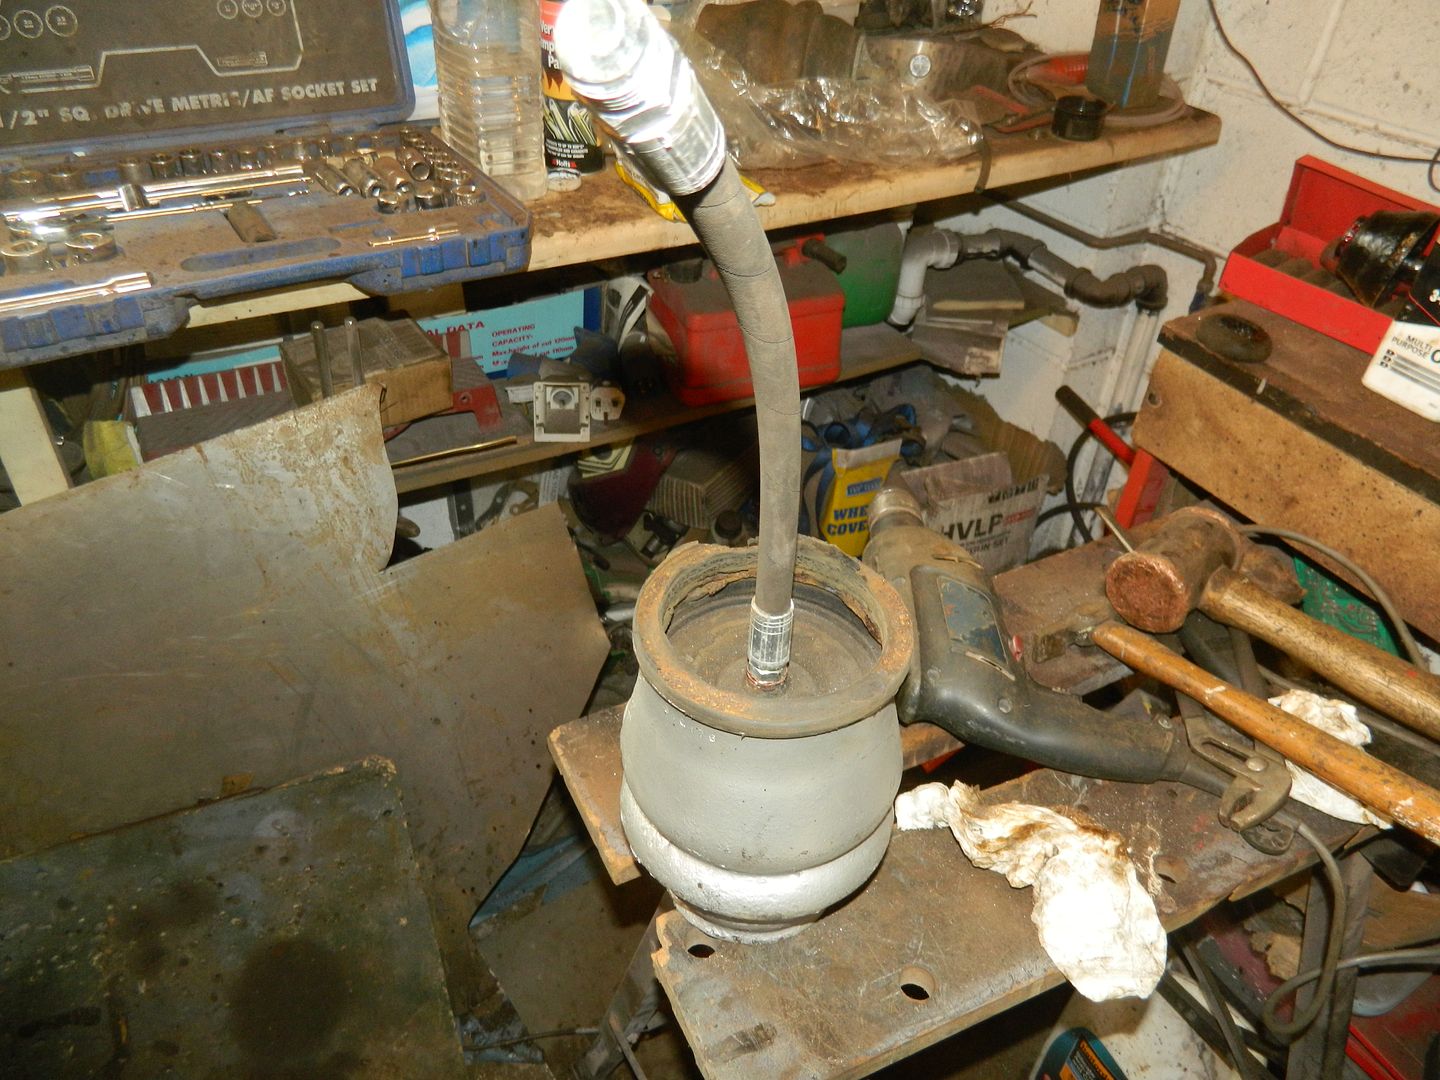 Nylon hydraulic hose replaced by a new steel braided one. Refitted suspension housing, coupled everything up, bled the brake and set her back on her wheels. Noticed that there was a bump stop missing, so that had to be replaced, giving a grand total of three possibilties for the "Clack". Which one? I've no  . Started to blow up the suspension and there was a distinct Pop! I stood back, expecting to watch the off side settle back towards the floor, but no. The near side dropped instead. Bum. Actually, that's not quite what I said.... So, remove the n/s suspension housing again. 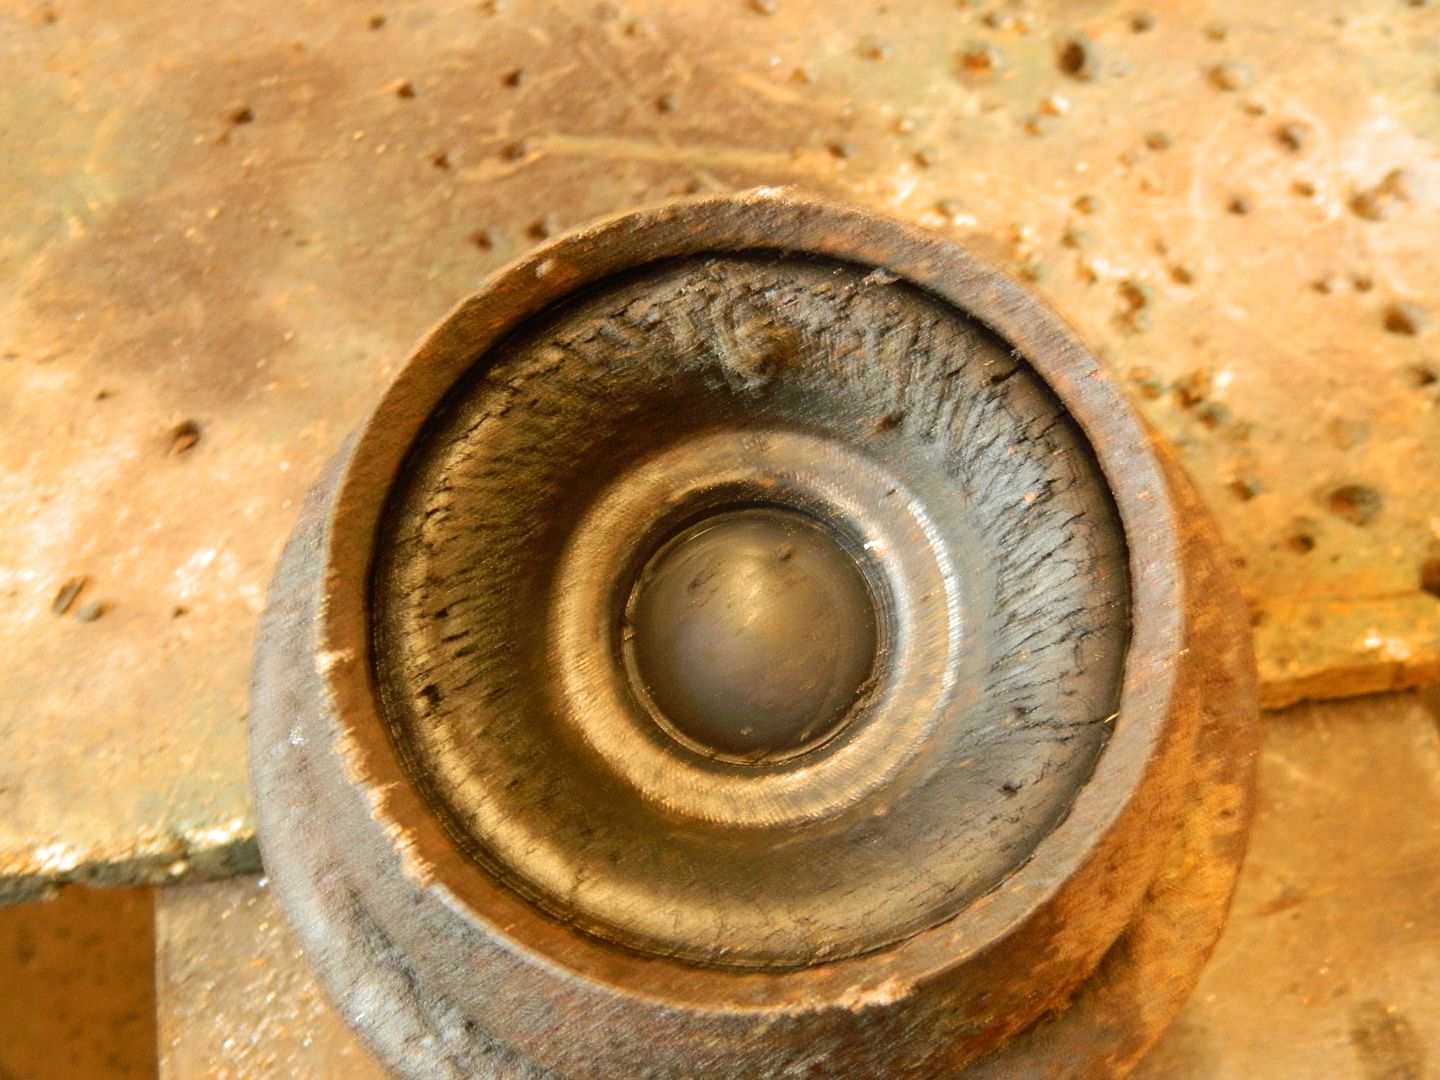 The first displacer I repaired has blown at the push rod end. You can see what look like threads poking out at the 12 o'clock position. I had one spare rear displacer left in the garage over the road. Whacked it into the housing, managed to get everything back on the car (It's a seriously heavy and awkward bit of kit when working single handed), reconnected and back on its wheels. Again. Blew it all up, checked for leaks and locked the garage and went to the pub. This morning, I went to take her out for a drive. I unlocked the garage to find the car kipping over to the near side and a pool of green fluid. The displacer appears to be leaking from the rubber around the hose mounting. It's all got to come off. Again. I have sourced a rear displacer, but it will take a few days to come. In the meantime, the garage can stay locked, because I really, really have had enough. Chris. |
|
|
|
Post by Matt of the Vivas on Apr 26, 2017 19:52:28 GMT
I love the  of fluid suspension, but i will never own one..... With my luck id be better off fitting extended bumpstops and not bothering to pump it up at all..... You will sort it im sure. |
|